Page 15 of 24
Re: Some pics of my 95 SLE (4/12 Update)
Posted: Wed Apr 13, 2016 9:59 am
by ga93sle
Haaa, PBR FTW!!!!
Re: Some pics of my 95 SLE (4/12 Update)
Posted: Wed Apr 13, 2016 10:03 am
by 95naSTA
@Andrew That's exactly where I got it from!!
@Chris, PBR.. it gets the job done. lol. Those smaller bottles are bitters for Moscow mules.
Re: Some pics of my 95 SLE (4/12 Update)
Posted: Sun Apr 17, 2016 11:14 pm
by 95naSTA
Re: Some pics of my 95 SLE (4/17 Update)
Posted: Mon Apr 18, 2016 7:12 pm
by ga93sle
That is pure hawtness. I'm eager to see it all back together.
Re: Some pics of my 95 SLE (4/17 Update)
Posted: Sat Jun 18, 2016 11:00 pm
by 95naSTA
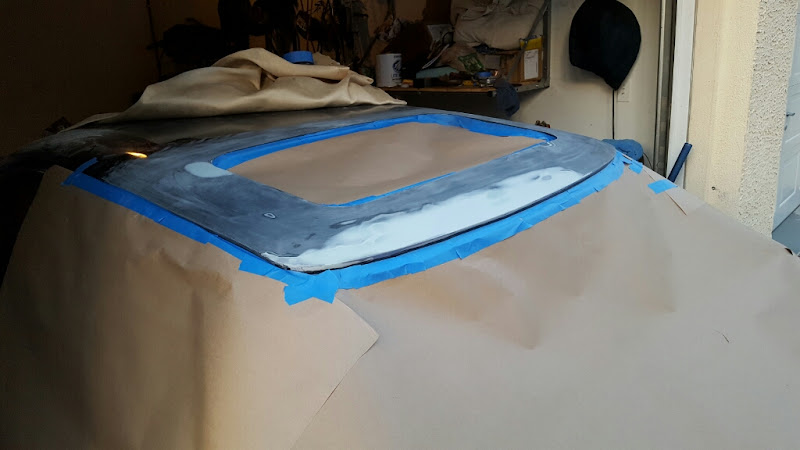
I had a couple things left standing in the way of putting the glass back in but now I'm very close.
Today I fixed two small dents above the front doors and primed everything. I also put in an air drier in-line with my air hose setup so I can lay down a base coat on the roof. That base coat is really all that's left before the glass goes back in.


Re: Some pics of my 95 SLE (6/15 Update)
Posted: Sat Aug 06, 2016 12:09 am
by jfields86
I just read this whole thread. Greatness!! Sad i finished it.

Re: Some pics of my 95 SLE (6/15 Update)
Posted: Mon Aug 08, 2016 10:36 am
by 95naSTA
I appreciate it.
I wish I had more to update this thread with.
I've been at a road block with getting 2K primer to shoot right on a practice piece so I can 2K the front roof section then base coat it.
I've tried different tip sizes, pressures, ratio of reducer, etc. and it still can't get it to lay wet enough. It lays semi-dry and creates crevices when I go to sand it. I may wait till the humidity is down to screw with it again.
Re: Some pics of my 95 SLE (6/15 Update)
Posted: Mon Aug 08, 2016 4:01 pm
by Luxrain
try going a little bit slower with the passes, i know alot of people try to go super fast. you can also try turning down the air pressure
Re: Some pics of my 95 SLE (6/15 Update)
Posted: Wed Aug 31, 2016 10:49 pm
by zuper8
Going back through pics, and looking at your headliner/ interior pillar work....... remind me to never show you the headliner I did on my car lol
Re: Some pics of my 95 SLE (6/15 Update)
Posted: Fri Nov 18, 2016 9:25 pm
by 95naSTA
Blows the dust off..
So after many failed attempts at shooting 2k primer and therefore not being able to shoot the roof.. I've decided the car has sat too long and the glass is going back in. My contingency plan for getting good paint coverage is removing the windshield reveal moldings prior to paint and just taping up the rear like I did the 1st repaint.
I went to the junkyard today in hopes of scoring a rear glass reveal molding in good shape. That also didn't go very well. It looks like I'll have to use a universal one.
The good news is I found a 92 SSEi and scored the following for $25
-Rear speaker deck with tweeters
-Rear speakers
-Rear seat belts (mine are rusted and these looked different)
-Trunk lid carpet
-Factory air pump
-Trunk air compressor latch molding
-Sacrificial door seal (to re-space out all my door moldings)
-Drivers door bottom window trim (mine doesn't want to stay seated)
-Front fender to body spacers
I also took the build sheet stashed in the trunk for S&G. It was a blue 2 tone interior car. So a little different.
I've always planned on eventually incorporating a pump into my rear air assist shocks. That's why I picked up the pump. I tested it out and it looks like it's still good:
https://www.youtube.com/watch?v=SC3umKkYGGQ
I think I'm going to try and set something up with the buddy who removed the glass for him to put it back in soon. He'll have easier access to that universal reveal molding..
Re: Some pics of my 95 SLE (11/18 Update)
Posted: Fri Nov 18, 2016 9:52 pm
by harofreak00
FYI those pumps can run but not produce adequate pressure. I've had 6 on the bench at the same time and they all perform differently. My scientific test procedure is to put my thumb over the line and press as hard as I can. If the pump pressure can break the seal and cause a leak, the pump is good. If it can't break my thumb seal, its junk.
Re: Some pics of my 95 SLE (11/18 Update)
Posted: Fri Nov 18, 2016 10:26 pm
by J Wikoff
I took mine apart and lubed it up with air tool oil. It's quieter and runs less, so I assume it's working better.
Re: Some pics of my 95 SLE (11/18 Update)
Posted: Sat Nov 19, 2016 1:10 am
by 95naSTA
@Andrew, I don't think my scientific testing was as extensive off camera. I'll give it another whirl. Appreciate the heads up.
@John, are there any gaskets associated with taking it apart to oil it?
Re: Some pics of my 95 SLE (11/18 Update)
Posted: Sat Nov 19, 2016 9:59 am
by J Wikoff
I might remember a rubber gasket that I reused... Not sure. Willwren did a write up on it ages ago.
Re: Some pics of my 95 SLE (11/18 Update)
Posted: Thu Jan 05, 2017 11:13 pm
by 95naSTA
The front and rear glass is back in as of a couple weeks ago. I didn't realize the front top reveal molding needed to be installed with the windshield since the oem one came out so easy. It unfortunately covers up the front lip of the hood where it's only primer at the moment. The good news is I was able to take the front reveal molding out without too much of a struggle. I might leave it out till I get that edge painted or sealed. Depending on how it goes back in, I might install it with some sealer or just have it re-done.
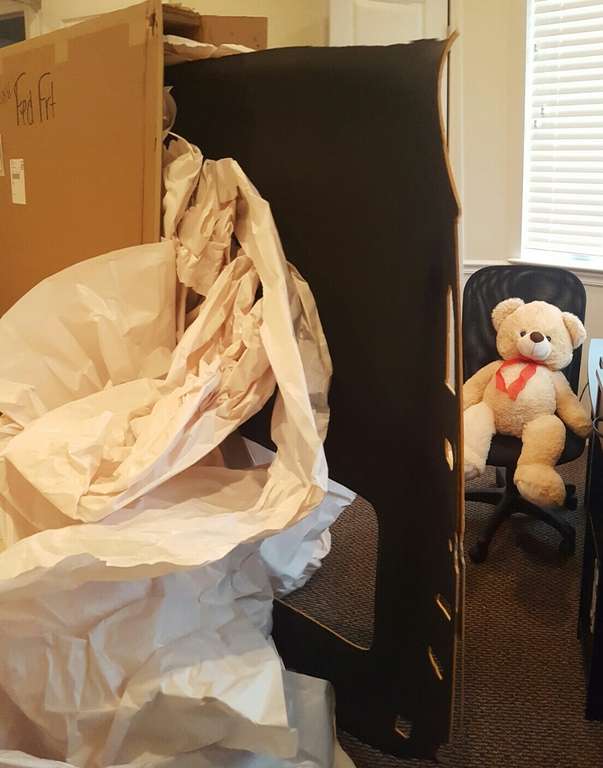
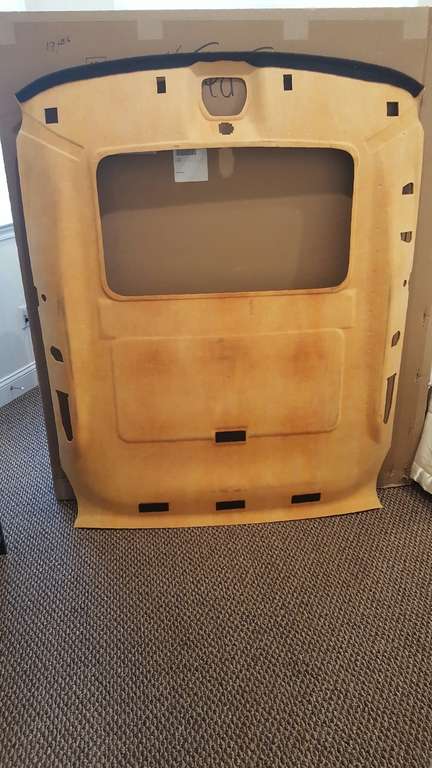
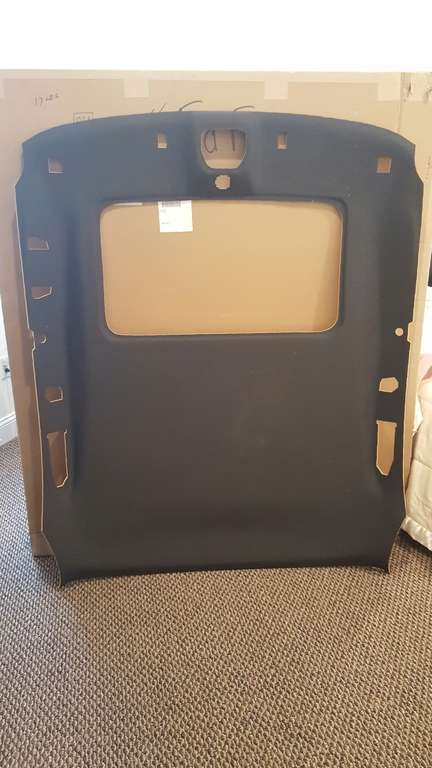
I took the opportunity with the glass out to put the headliner back in so I wouldn't have to taco it through the rear door. When I went to install I realized that when I fiberglassed the problem areas, I made it too thick for the grab handle push locks to properly reach the sheet metal. That, and it developed a couple creases. It's sort-of in for now but I'm exploring options for a new one. Possibly even NOS due to free time/motivation limitations.
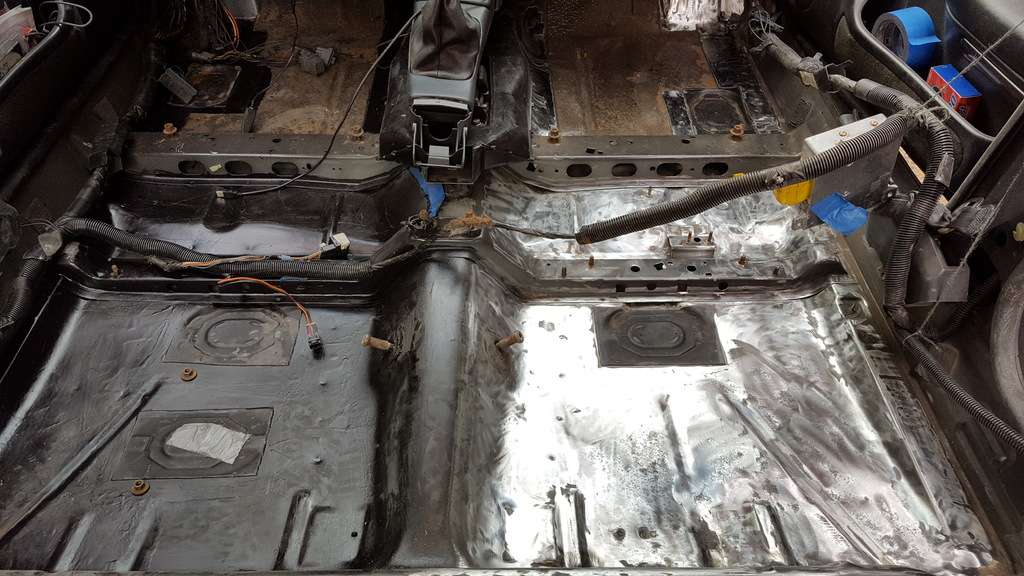
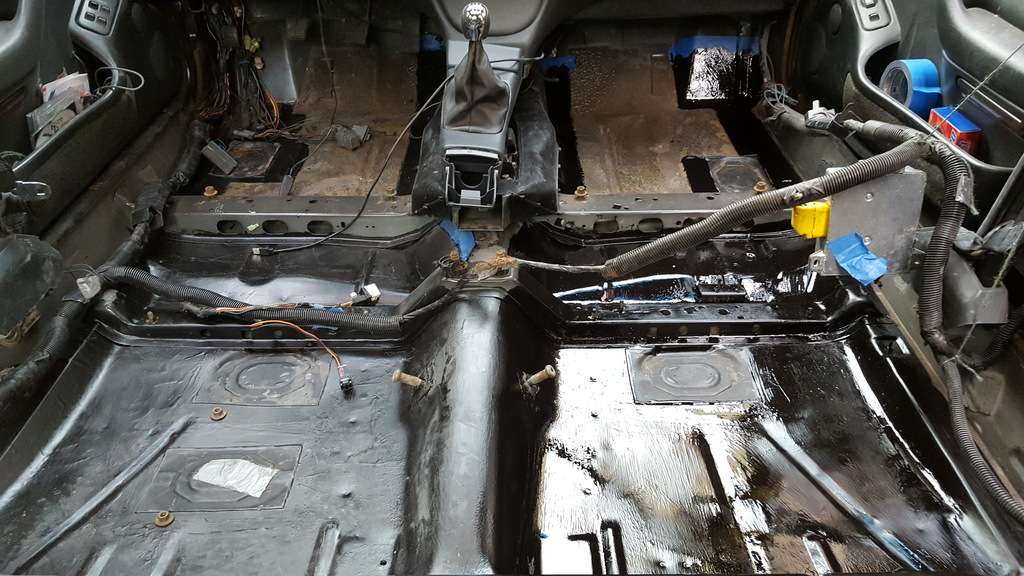
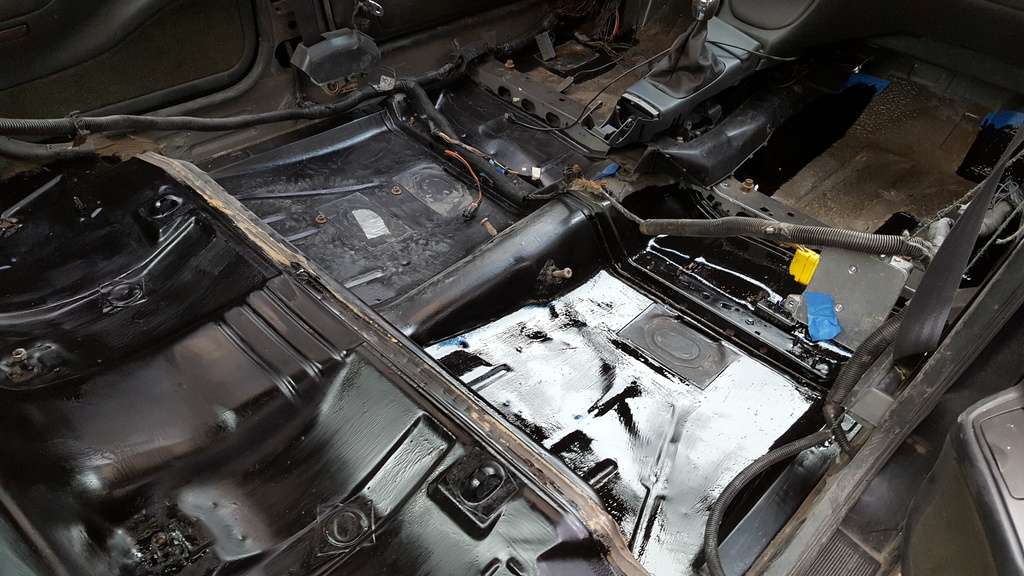
7 years or so ago when I parked the car and decided to go nuts in the engine bay, the water leaks from the front and rear glass seals turned my car into a fishbowl without me realizing. Water pooled on the floor and rear seat area for long enough to soak through the paint and cause it to bubble a bit in a few areas. I got around to stripping it down and painting it with rust proofer. Ended up with Zero Rust from Blue Lighting. Yesterday I did the driver's side up to the rear seat and today I did the rest. The good news is there's only one small area I didn't know about or remember that needs new sheet metal. It's about the size of a quarter on the driver's side rear seat pan. There's another spot in the driver's front rocker and the e-brake pass through that will require some new metal as well.

The new carpet came in the mail today too, but that'll stay out till I know the interior will stay dry.
Re: Some pics of my 95 SLE (1/5 Update)
Posted: Fri Jan 06, 2017 11:59 pm
by 95naSTA
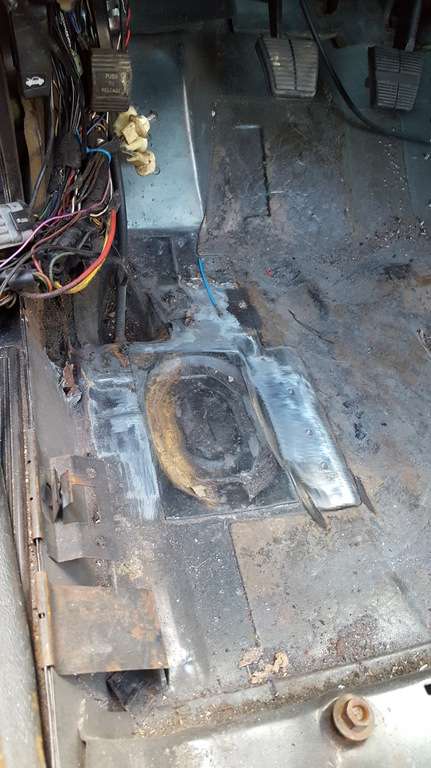
I started cutting some of the rot out to see how much work I have ahead of me. That small spot in the rear seat pan was a bit rougher underneath so I cut it out. I started to cut out the front corner and while not great, it's not as bad as I thought going aft.
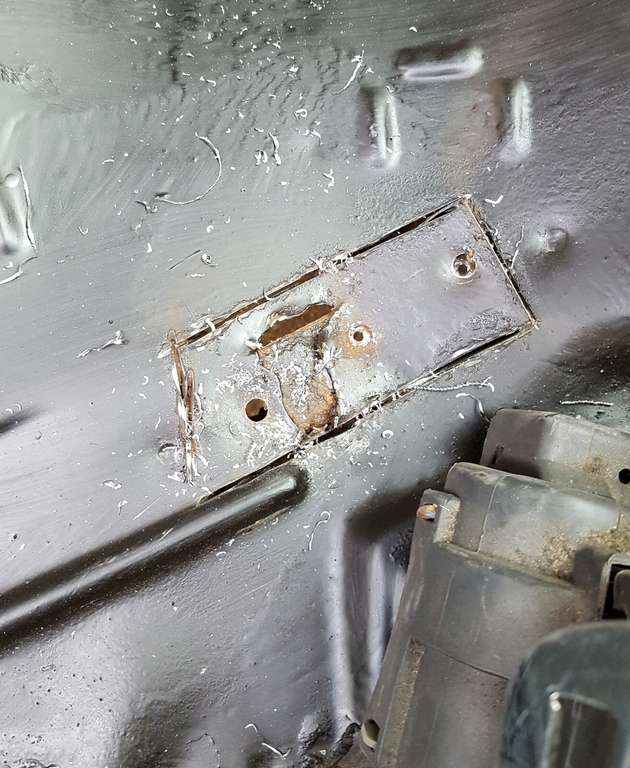

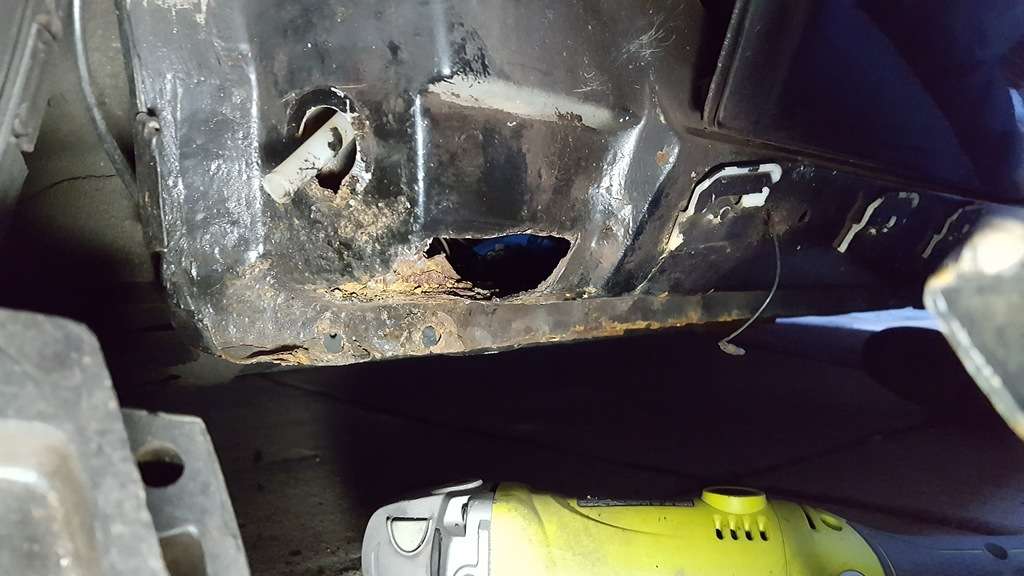
I still have a bit more to cut out on the front but I ran out of daylight today.. I made a couple templates to help make the sheet metal reconstruction a little easier. I'll mess with those templates a bit more before I go back to cutting. OCD won't let me just have it be close.
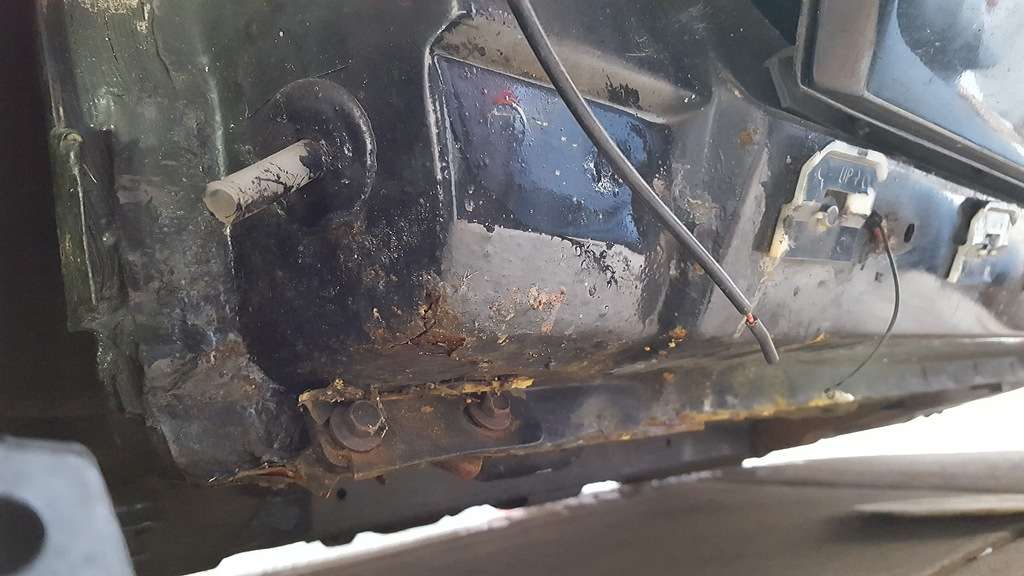
In that 3rd pic the bottom mounting portion of my fender is broken and mashed up. I'm not sure how/when I screwed that up but I'll plastic weld it back together at some point.
OEM headliner fiberboard is ordered.. money down, time up.
Re: Some pics of my 95 SLE (1/6 Update)
Posted: Sat Jan 14, 2017 6:09 pm
by 95naSTA
Re: Some pics of my 95 SLE (1/14 Update)
Posted: Mon Jan 16, 2017 9:46 pm
by 95naSTA
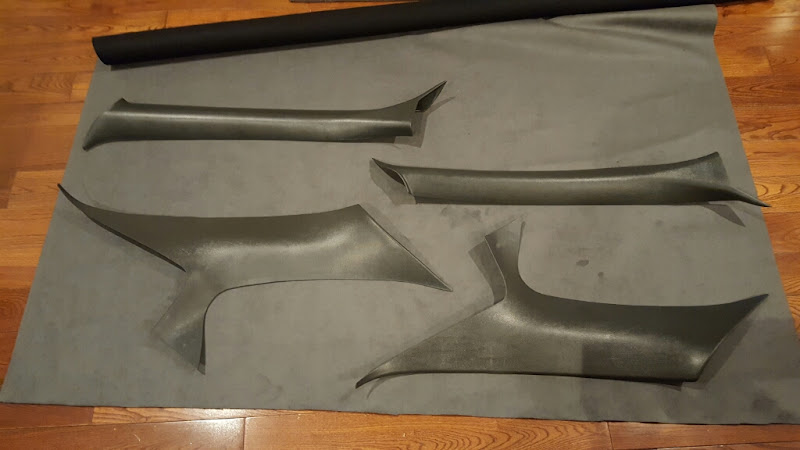
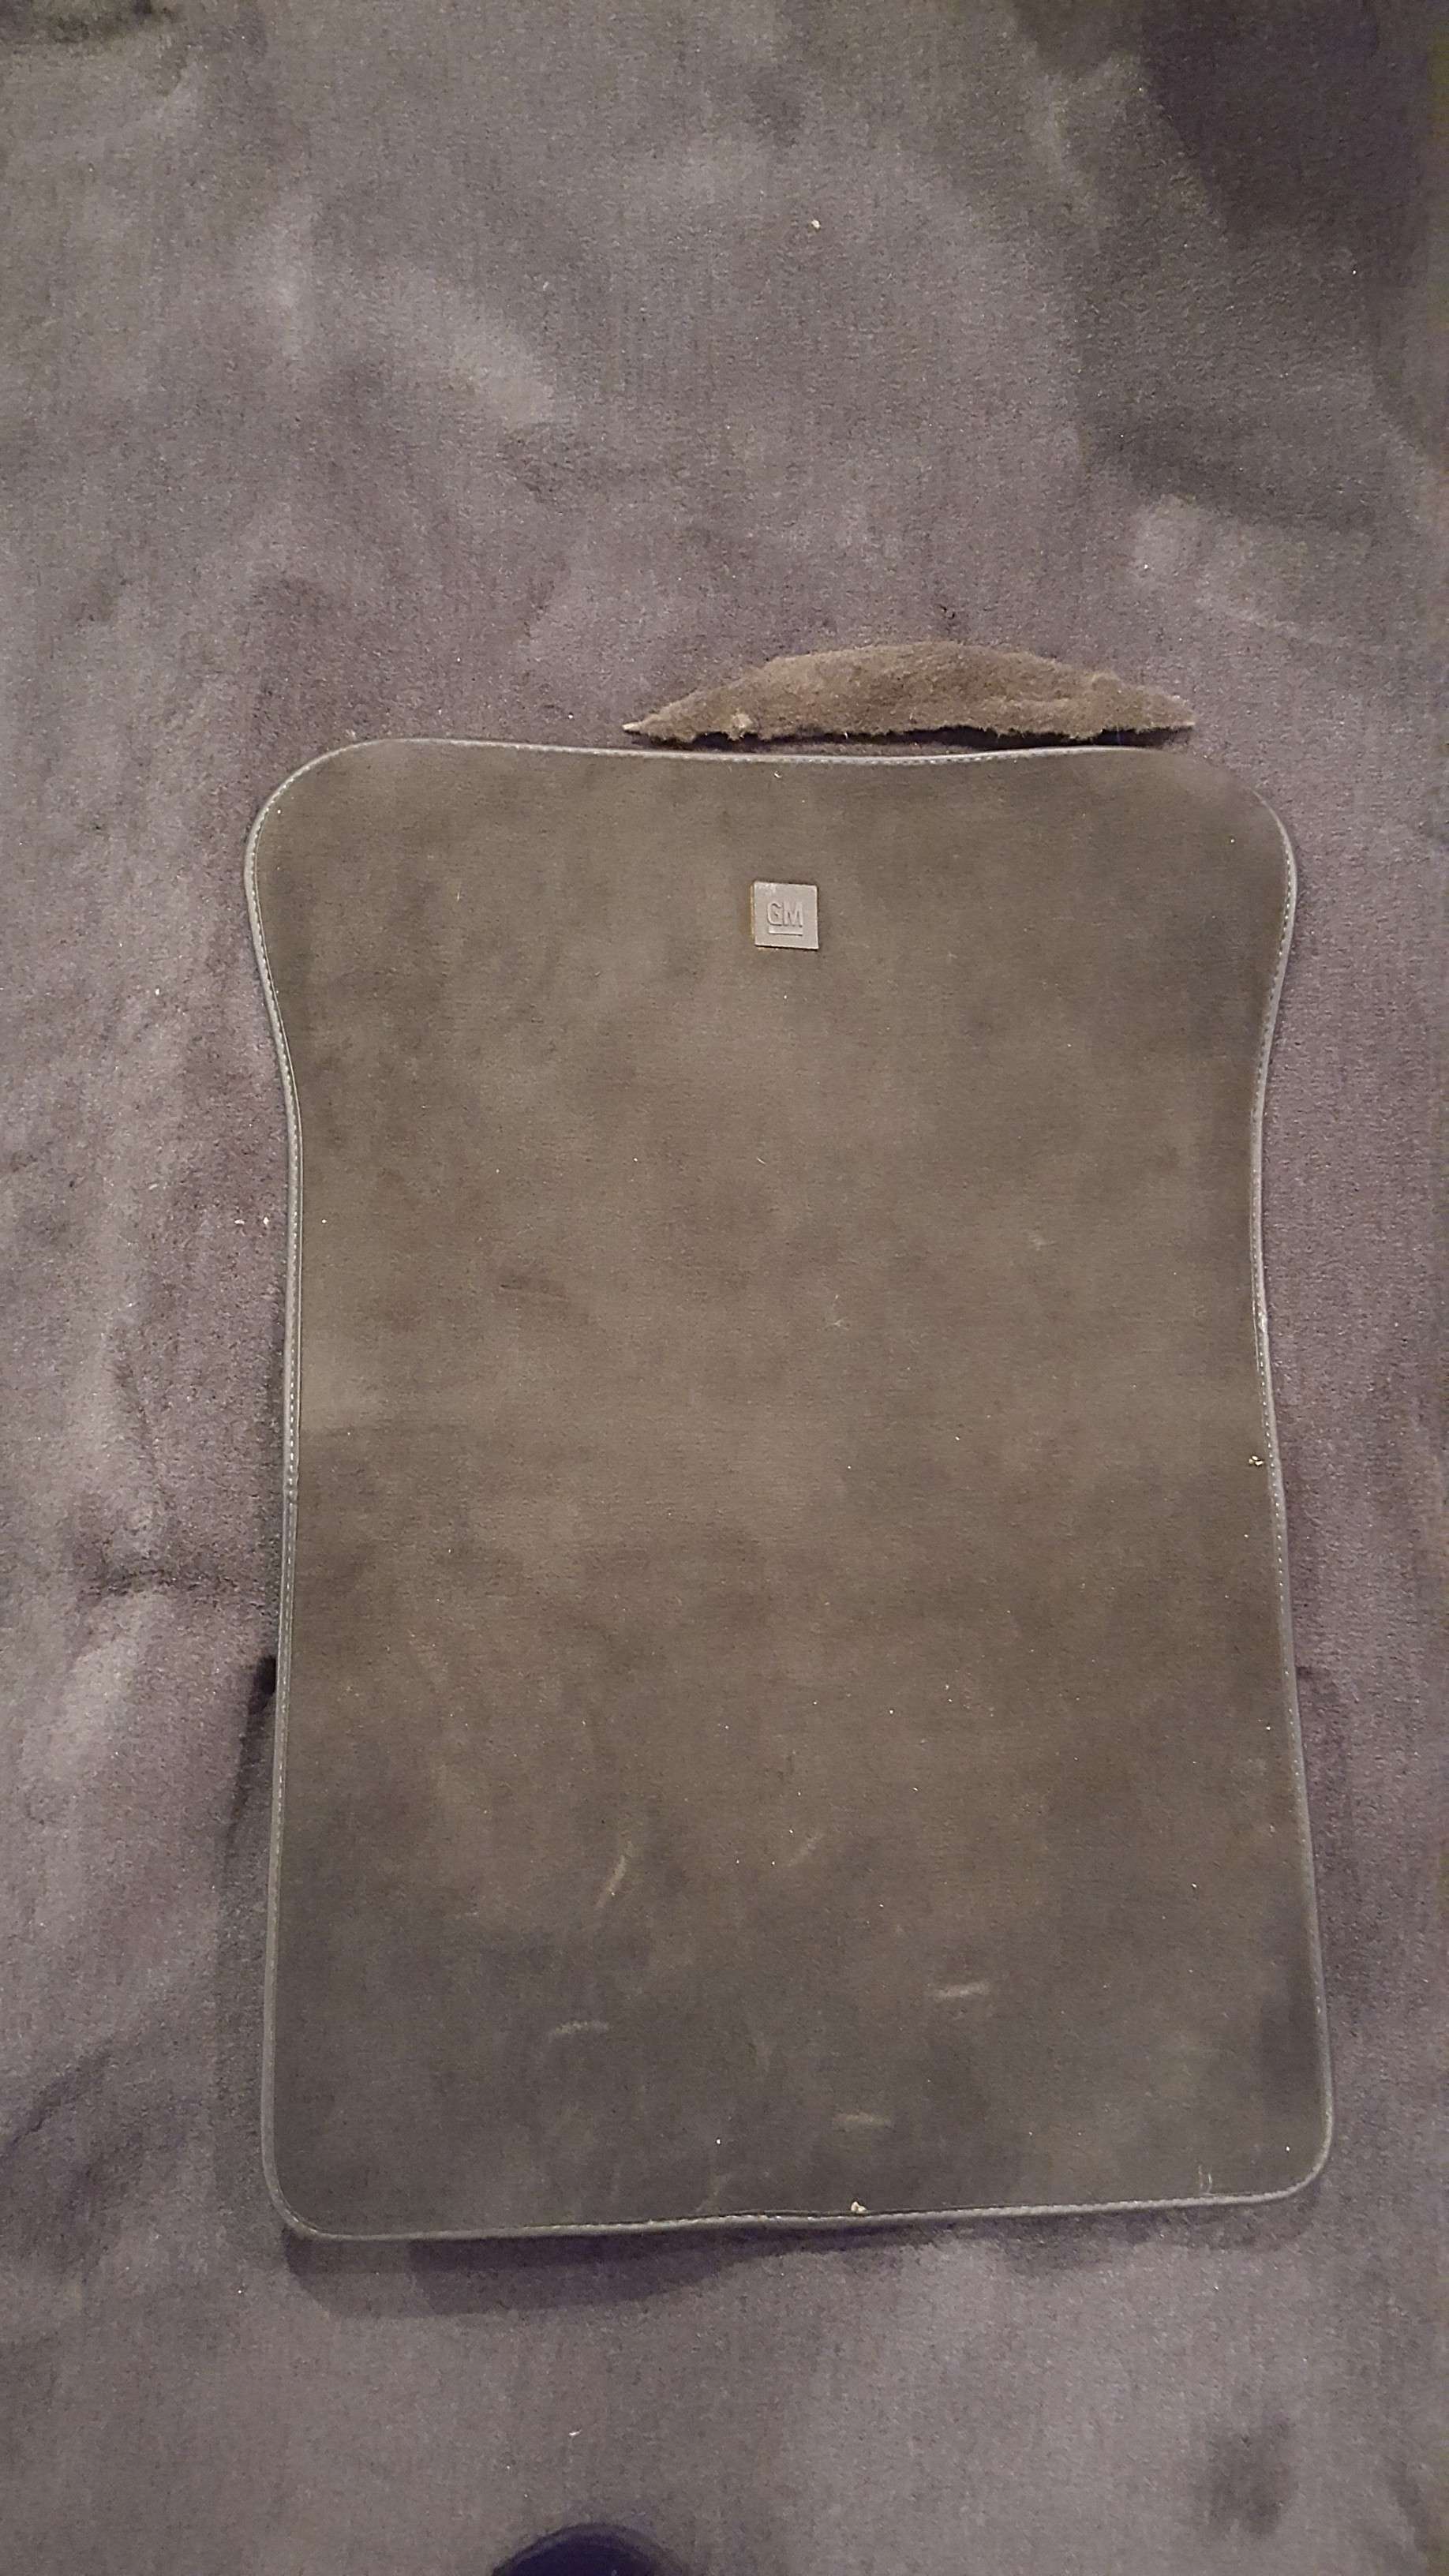
So I took my ACC Graphite carpet out and compared it to an OEM floor mat and I'm not sure if I'm 100% satisfied with the match.
The small fabric scrap above the mat is the color of my previous ACC carpet (charcoal).
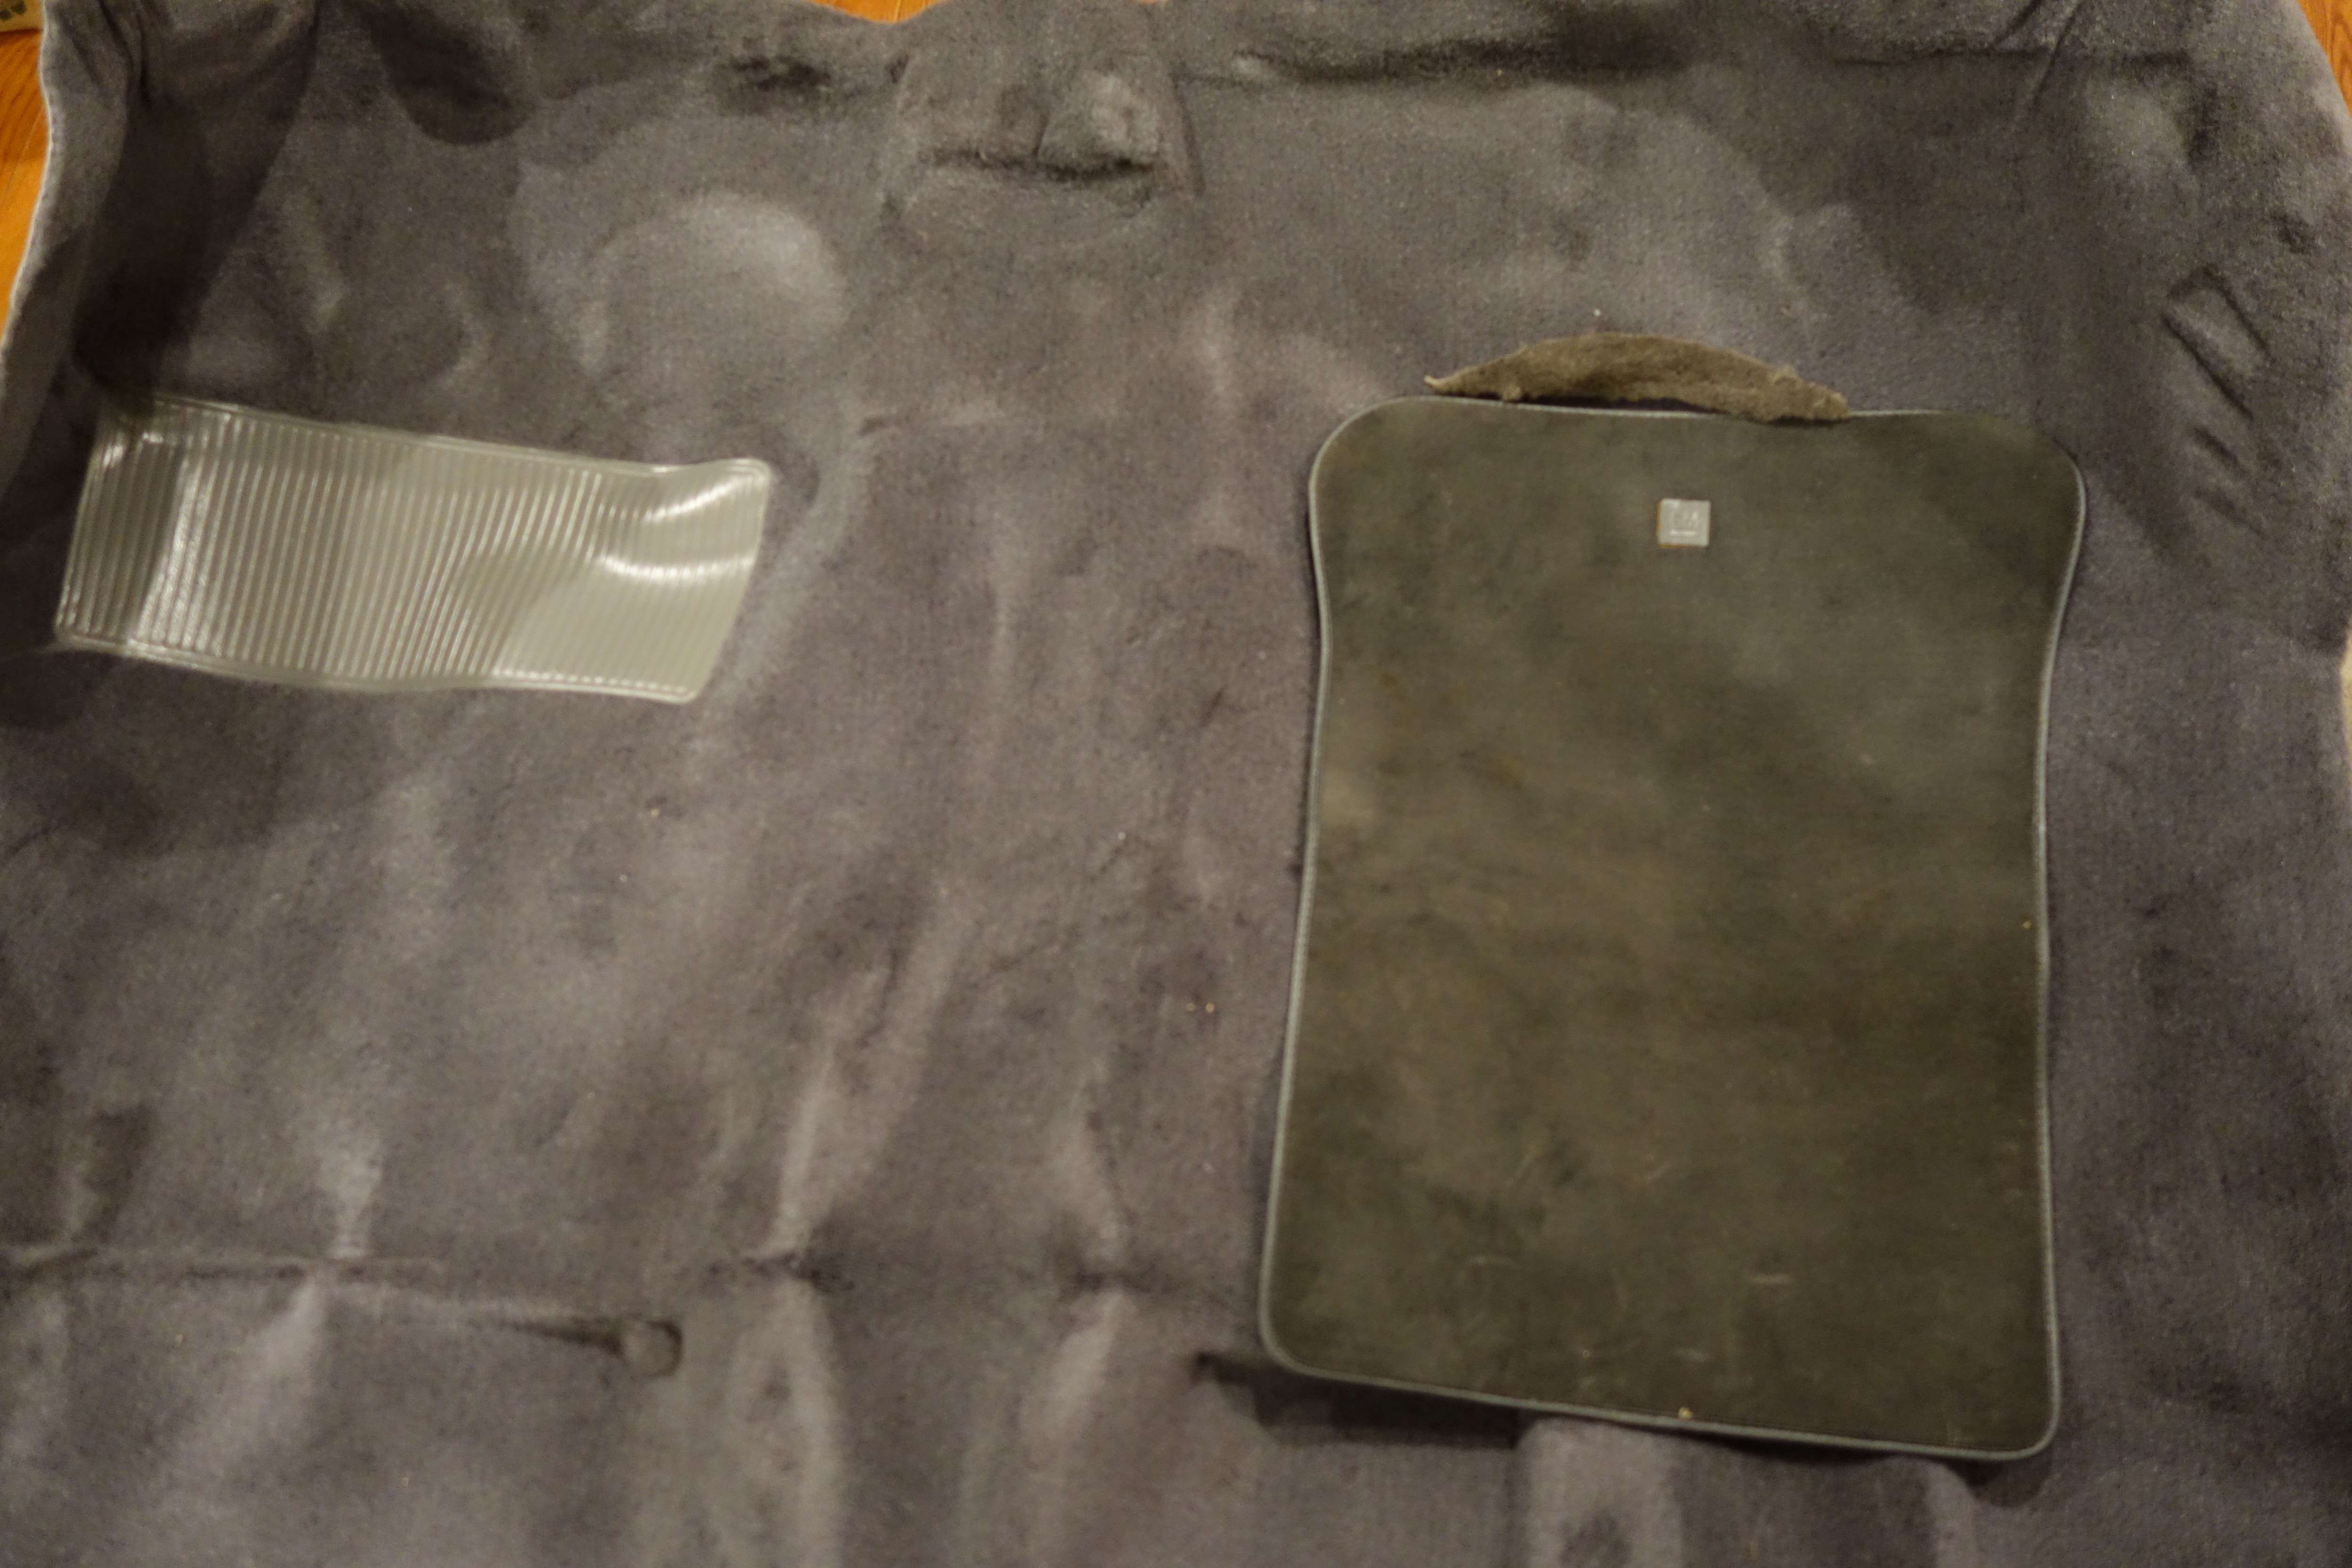
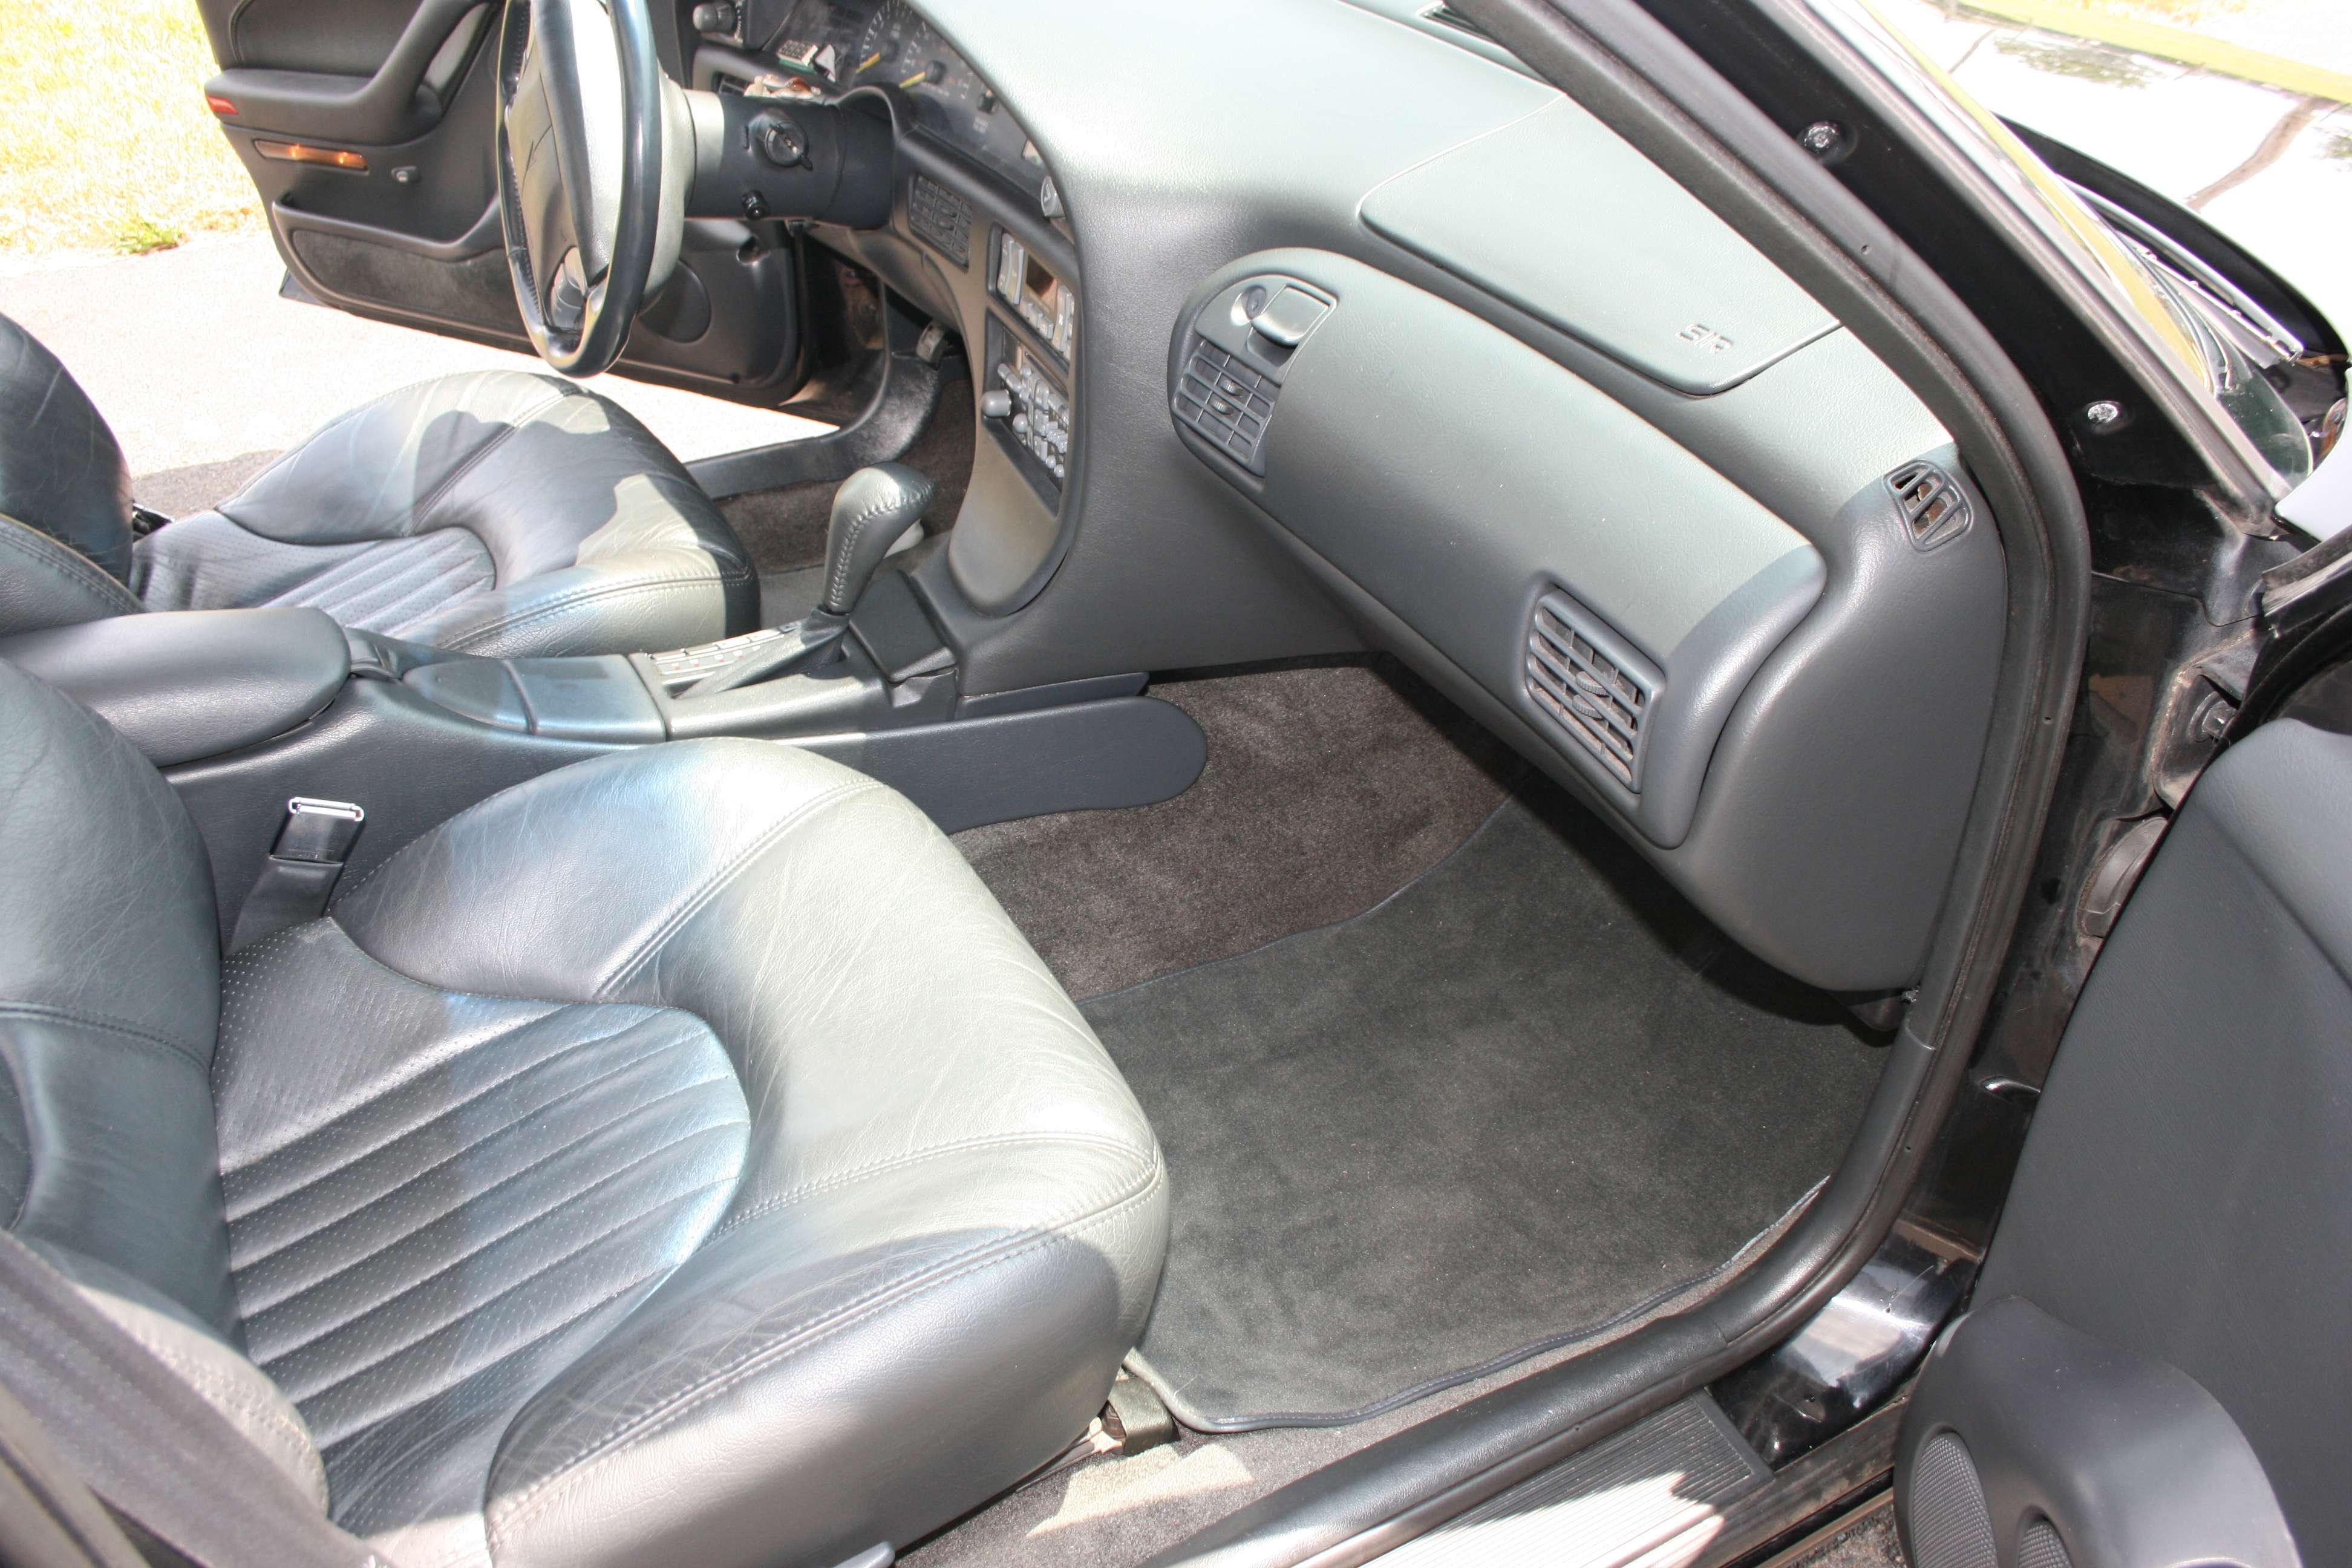
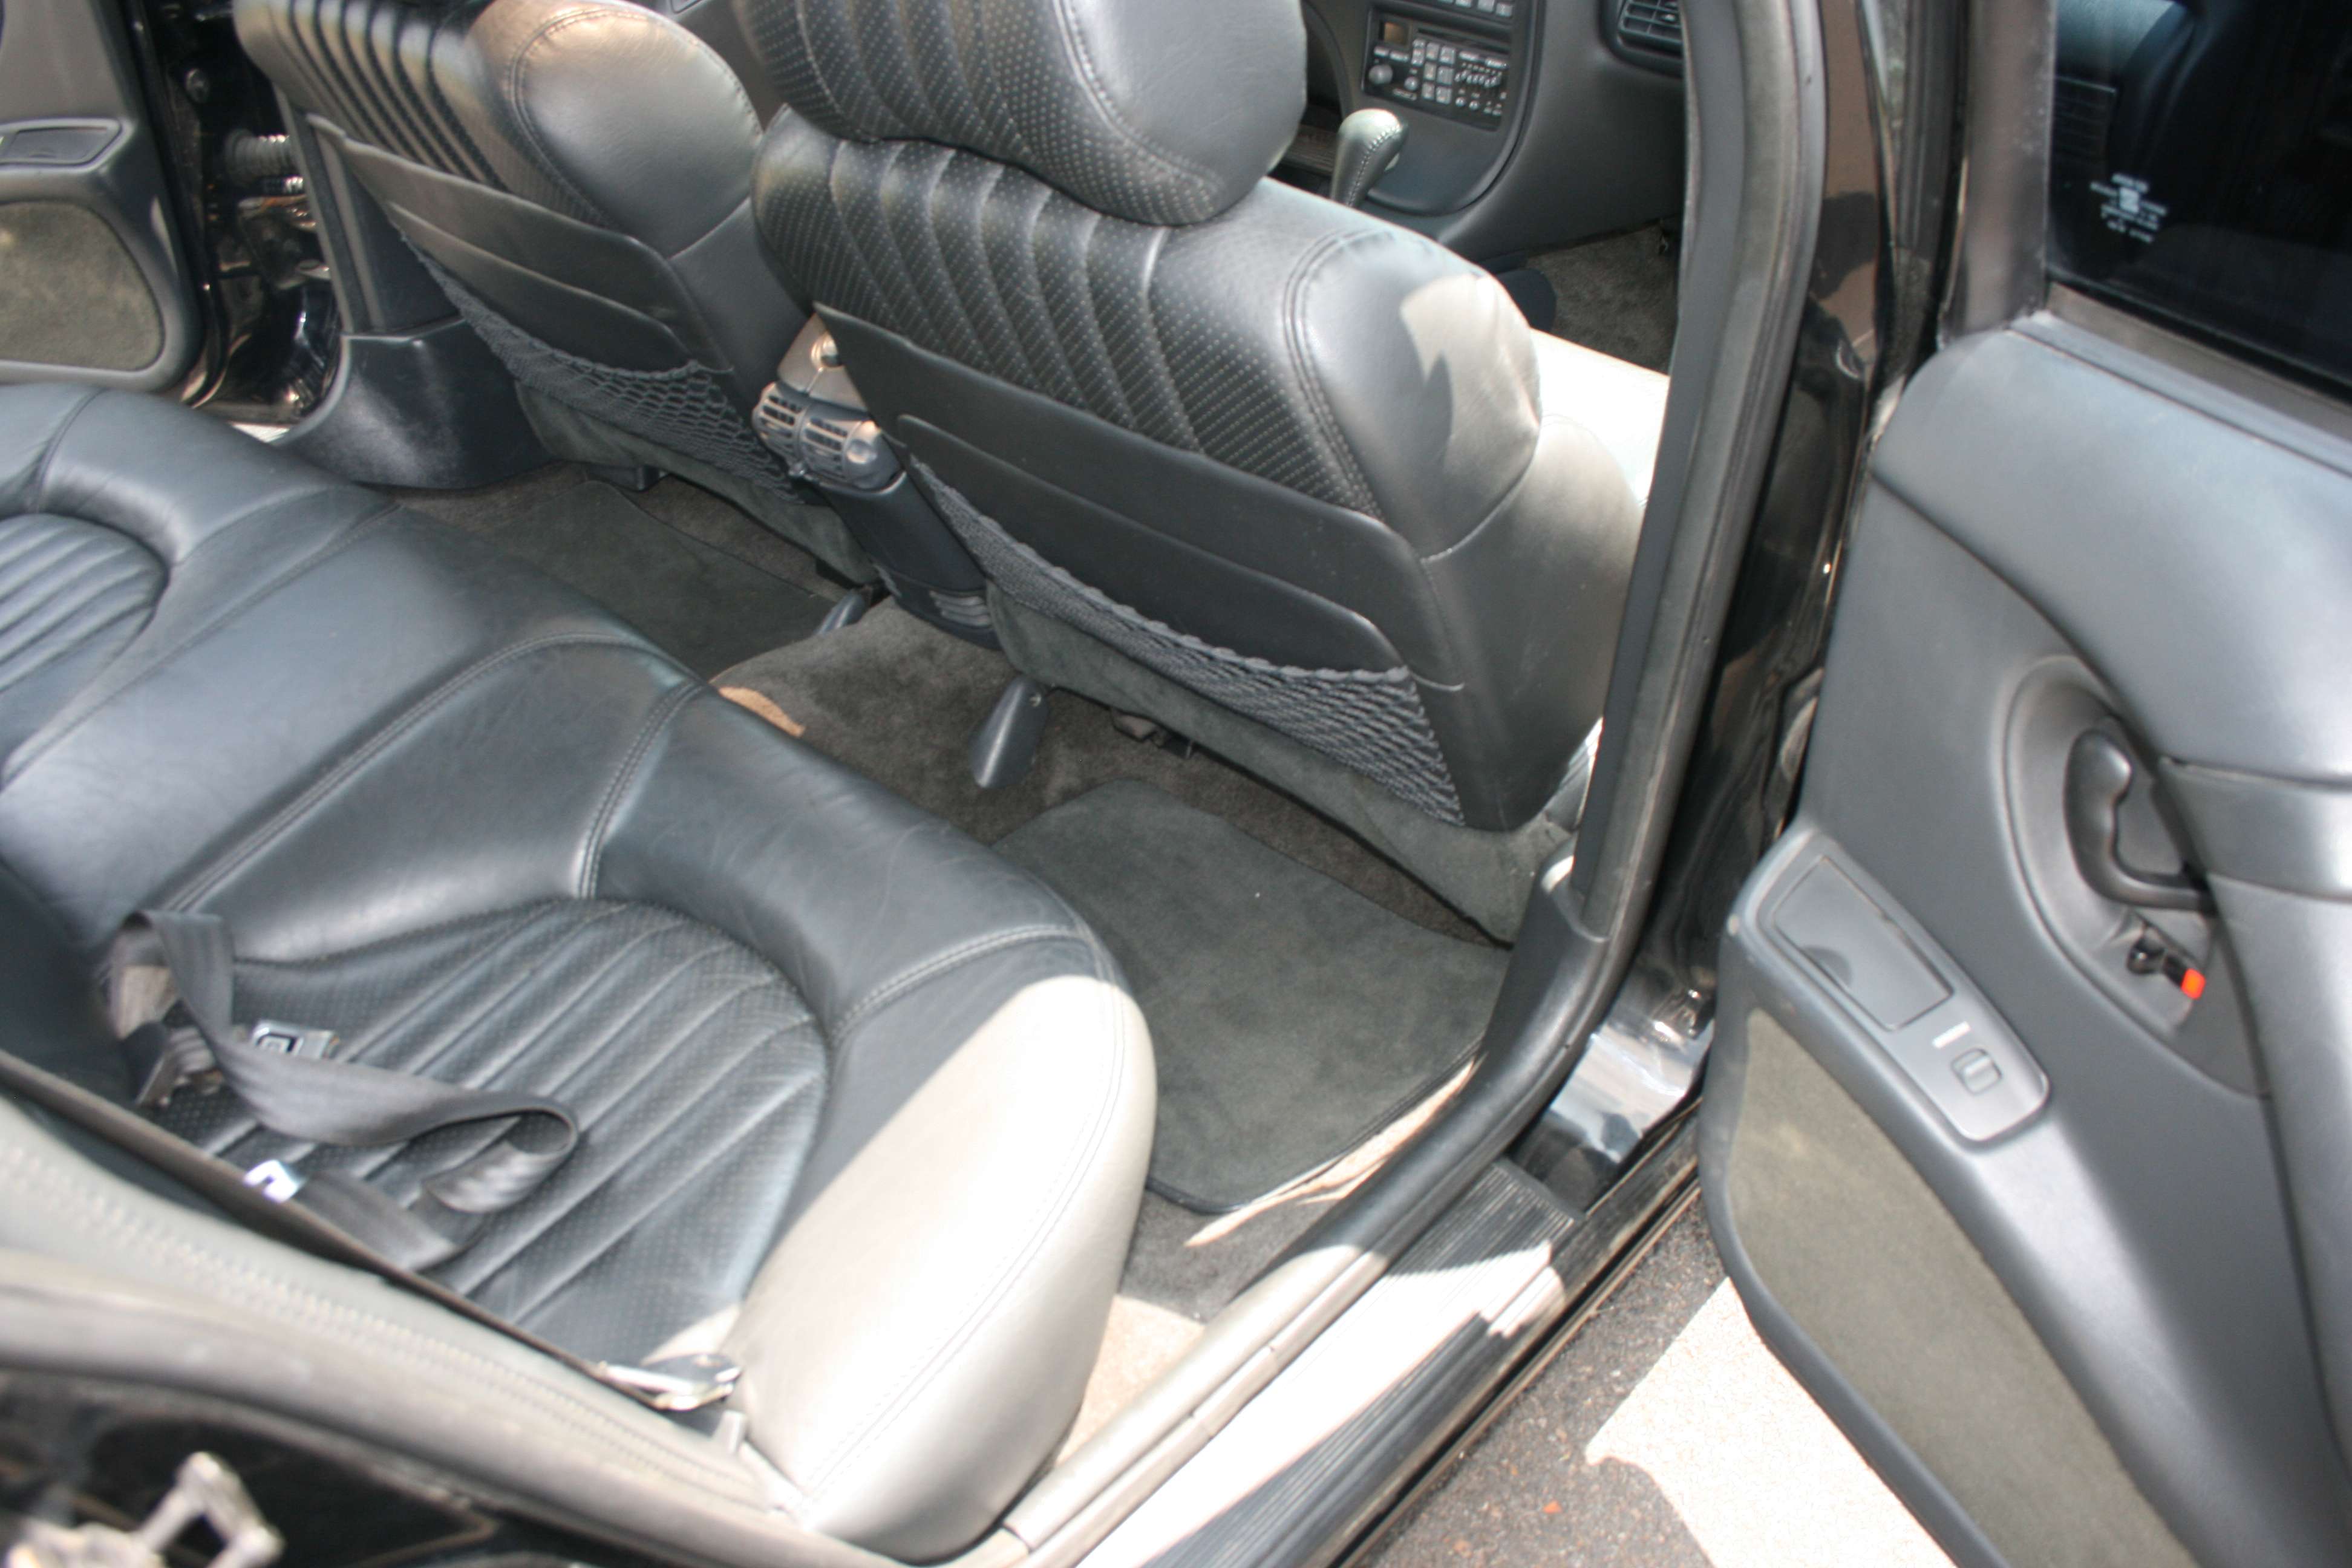
Previous carpet with OEM mats:
Thoughts?
I also requested samples from stockinteriors.com to see if I can get any closer.
Re: Some pics of my 95 SLE (1/15 Update)
Posted: Mon Jan 16, 2017 11:22 pm
by harofreak00
I doubt you'll get much closer. I even seen variances between stock carpets of the same color. Sometimes a front section gray doesn't match a rear section gray. Luckily you don't ever see them together.
On the headliner, I'm curious how that was shipped. I often get requests to ship headliners, but according to UPS the size of the box that I need exceeds their maximum shipping dimensions, meaning it would have to go freight.
Also what were the costs of the new headliner and new carpet?
Re: Some pics of my 95 SLE (1/15 Update)
Posted: Tue Jan 17, 2017 9:59 am
by 95naSTA
The headliner was definitely shipped freight. It came on an 18 wheeler to a buddy's shop. The shipping method says 'Fed-Ex Freight' and it was about $200 for shipping. The actual part was $300 from chevypartsprime.com. Steep, but time is money.
The carpet was $170 shipped from Rock Auto.