Aeroforce scan guage install
Posted: Wed May 21, 2008 8:55 am
This is my install write up for http://www.aeroforcetech.com OBD2 scan guage with record. 8)
This was the first unit ever installed in a Bonneville and since then they now have even more features like case learn, dual guages, fuel pressure etc. I have now had the guage installed and in service for 3 years with only good things to report back, this is a very valuable tool and I find myself playing with it every time I drive.
I had looked a few months back at installing it in the left hand vent and removed the unit this morning. Back then I thought I could mount with out cutting anything but a dry fit showed me wrong :?
Removing the vent unit is easy I didn't get a pic, just start with a flat screw driver in the bottom left corner, pops right out.
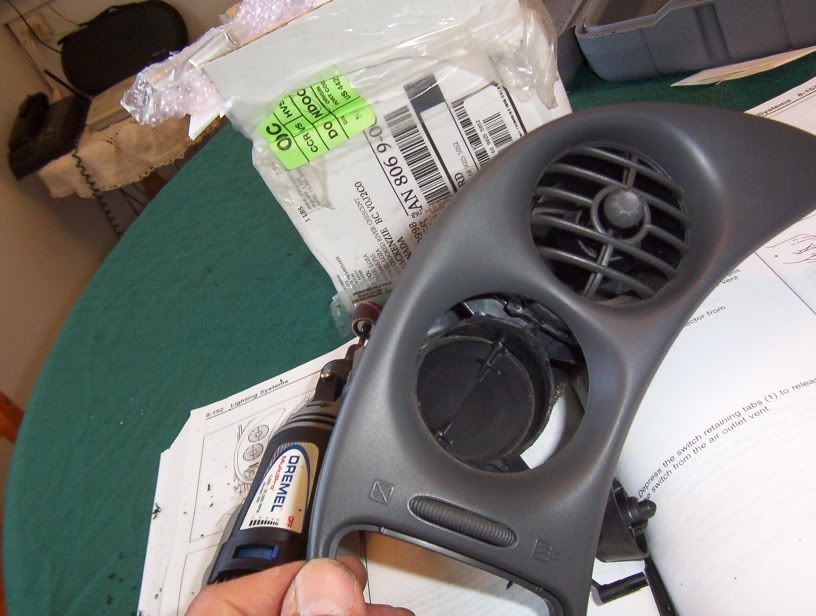
Removing the trim is easy enough too, insert flat screw driver into relief cuts and twist, pop right off.
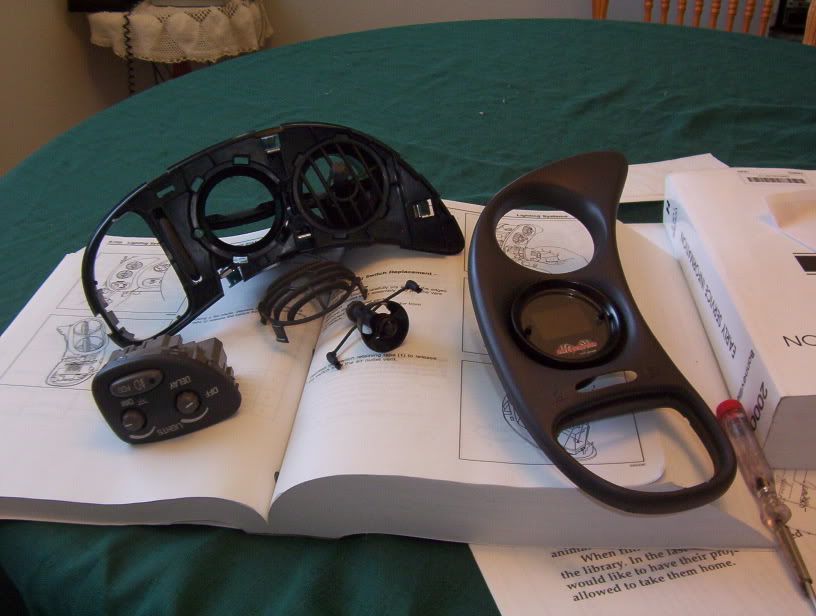
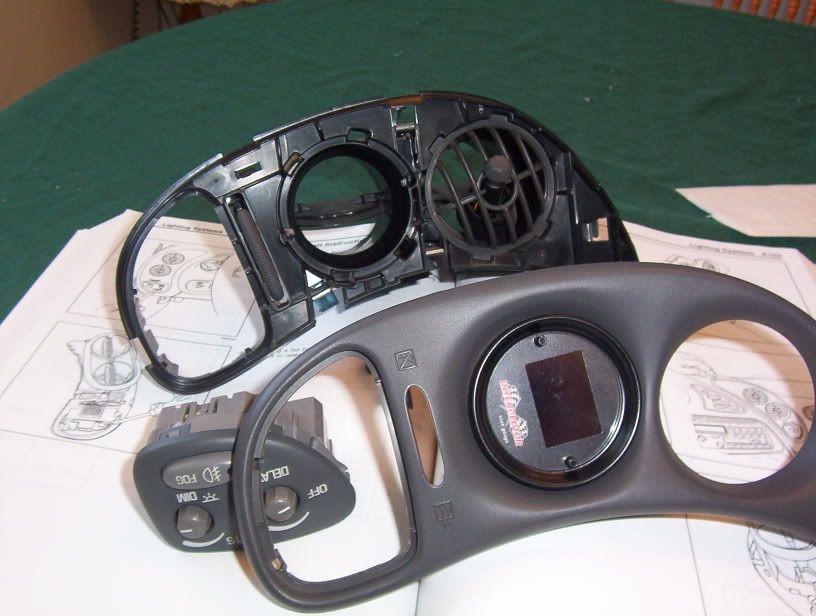
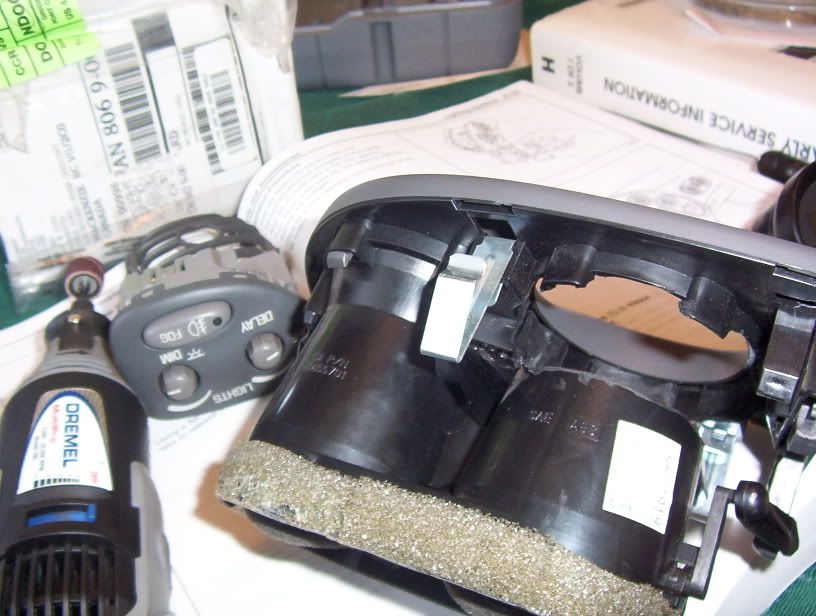
With the trim removed you can pop the grill off, there are 4 push tabs. You will have to 'nip' the ends of air deflector to remove it, tough bar but easy to remove.
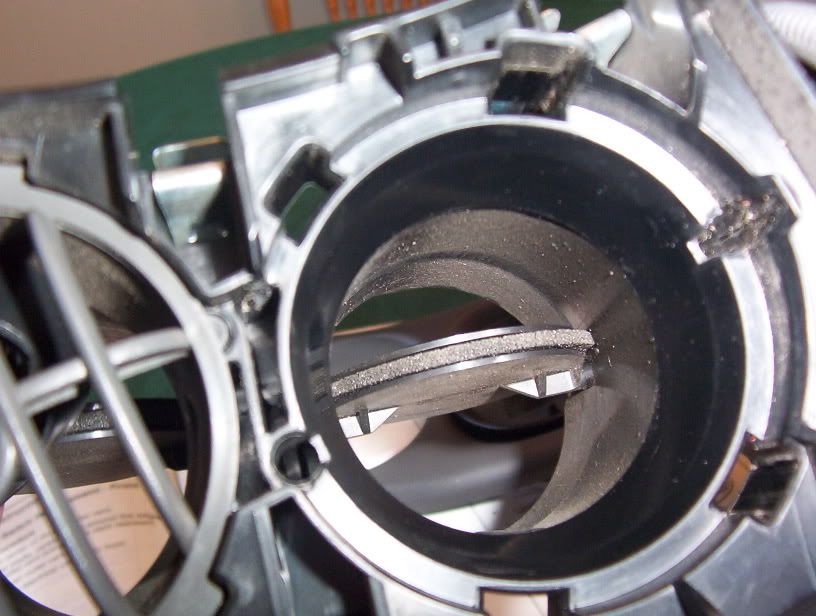
You see its close with the frame, it will need to be hogged out.

Better view of the hole with grill and deflector out of the way.
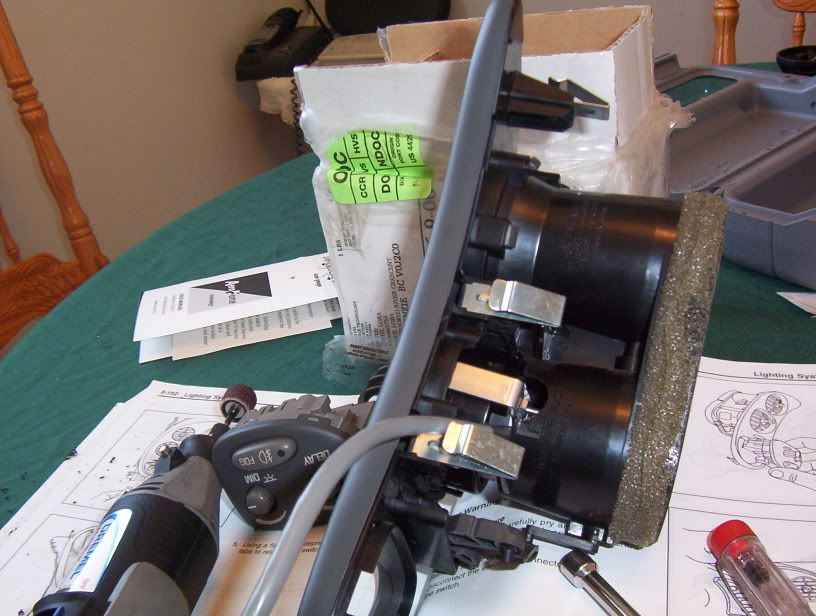
I used the course sanding drum to hone it out
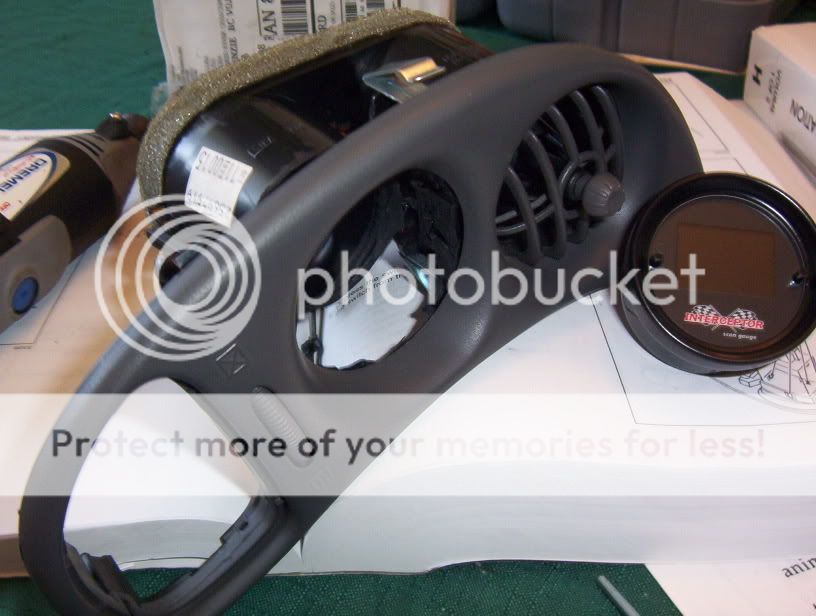
Starting to get there
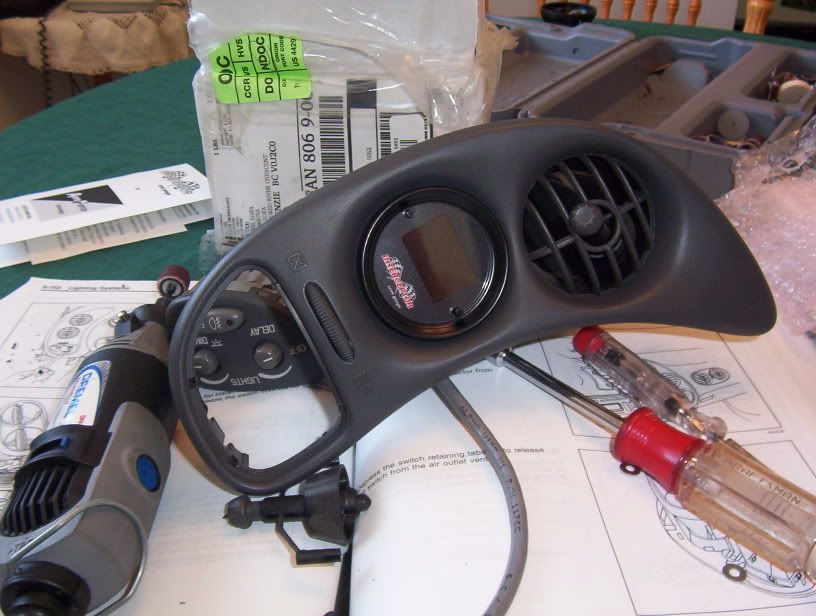
Bowled out and trim back on. You will need to test fit several times in and out before you have enough clearance.
You can tweak it up and down left and right before snugging down the supplied bracket.
Side shot with cable attached. Be sure to attach the cable before mounting in the hole, this will make it easier than trying to fish it back through.
Rear view of supplied bracket, I cut the butterfly axle so the bottom vent stays shut. Didn't want any extra heat from the hvac system blowing on the guage.

Ready to go back into the car, well almost.

Usually to wire this guage all you need to do is plug in the obd2 port, but because Pontiac has a touchy security system you have to wire the guages 12v+ to a switched source other than the obd2 connector.
Easy for us 2k+ guys with HUD, the brown wire going into the hud switch is a switched source. First thing your going to notice is there's 2 brown wires, you want the one beside the yellow wire
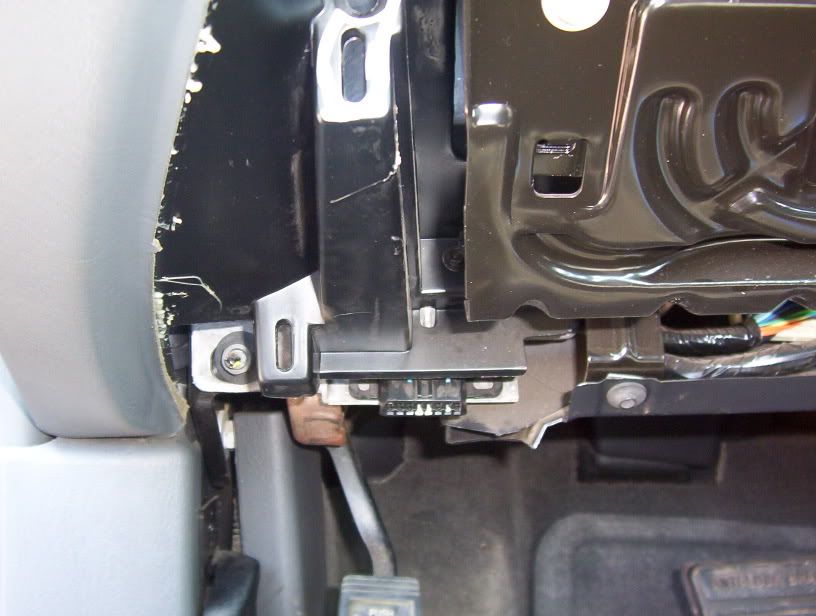
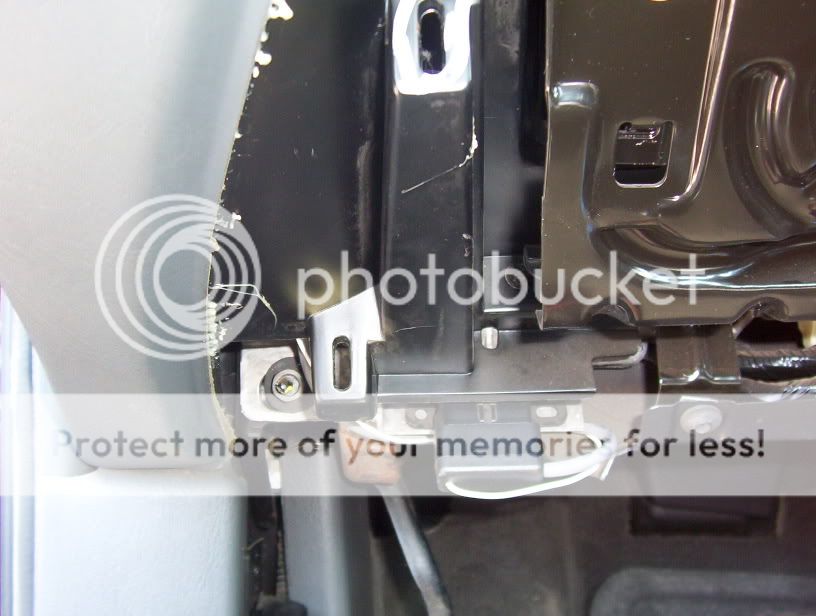
Vent hole and Hud switches.

Hush panel removes by pulling straight out, OBD2 connector lower left.
I fished the supplied harness down below the hush panel and removed the hud switch, this easier to do with the hush panel removed. Notice that brown wire?

I soldered and used heat shrink tubing to secure the connection. Hud switch pops back in.

With everything secure and all wires neatly ty-wrapped you can replace the hush panel. The harness plugs directly into the obd2 port.
When you first turn on the ignition the scanner goes through its learn procedure and displays the pontiac logo 8)

Not a bad install, took about 2 hours total.

Even in direct sunlight

This unit works great and easy to use, I like that it goes kinda polar in the sunlight and its actually easy to see. Cant wait for tonight for a bright view 8)
And now I'm done, sticker in place

This was the first unit ever installed in a Bonneville and since then they now have even more features like case learn, dual guages, fuel pressure etc. I have now had the guage installed and in service for 3 years with only good things to report back, this is a very valuable tool and I find myself playing with it every time I drive.
I had looked a few months back at installing it in the left hand vent and removed the unit this morning. Back then I thought I could mount with out cutting anything but a dry fit showed me wrong :?
Removing the vent unit is easy I didn't get a pic, just start with a flat screw driver in the bottom left corner, pops right out.
Removing the trim is easy enough too, insert flat screw driver into relief cuts and twist, pop right off.
With the trim removed you can pop the grill off, there are 4 push tabs. You will have to 'nip' the ends of air deflector to remove it, tough bar but easy to remove.
You see its close with the frame, it will need to be hogged out.
Better view of the hole with grill and deflector out of the way.
I used the course sanding drum to hone it out
Starting to get there
Bowled out and trim back on. You will need to test fit several times in and out before you have enough clearance.
You can tweak it up and down left and right before snugging down the supplied bracket.
Side shot with cable attached. Be sure to attach the cable before mounting in the hole, this will make it easier than trying to fish it back through.
Rear view of supplied bracket, I cut the butterfly axle so the bottom vent stays shut. Didn't want any extra heat from the hvac system blowing on the guage.
Ready to go back into the car, well almost.
Usually to wire this guage all you need to do is plug in the obd2 port, but because Pontiac has a touchy security system you have to wire the guages 12v+ to a switched source other than the obd2 connector.
Easy for us 2k+ guys with HUD, the brown wire going into the hud switch is a switched source. First thing your going to notice is there's 2 brown wires, you want the one beside the yellow wire
Vent hole and Hud switches.
Hush panel removes by pulling straight out, OBD2 connector lower left.
I fished the supplied harness down below the hush panel and removed the hud switch, this easier to do with the hush panel removed. Notice that brown wire?
I soldered and used heat shrink tubing to secure the connection. Hud switch pops back in.
With everything secure and all wires neatly ty-wrapped you can replace the hush panel. The harness plugs directly into the obd2 port.
When you first turn on the ignition the scanner goes through its learn procedure and displays the pontiac logo 8)
Not a bad install, took about 2 hours total.
Even in direct sunlight
This unit works great and easy to use, I like that it goes kinda polar in the sunlight and its actually easy to see. Cant wait for tonight for a bright view 8)
And now I'm done, sticker in place