Bose Luxury Sound System with Touchscreen Navigation (Cadillac Escalade Y91 Version)I posted a similar write-up on another forum many, many years ago when I first installed a navigation system in my Bonneville. Since then, I’ve changed it up a little and this reflects the most current information.
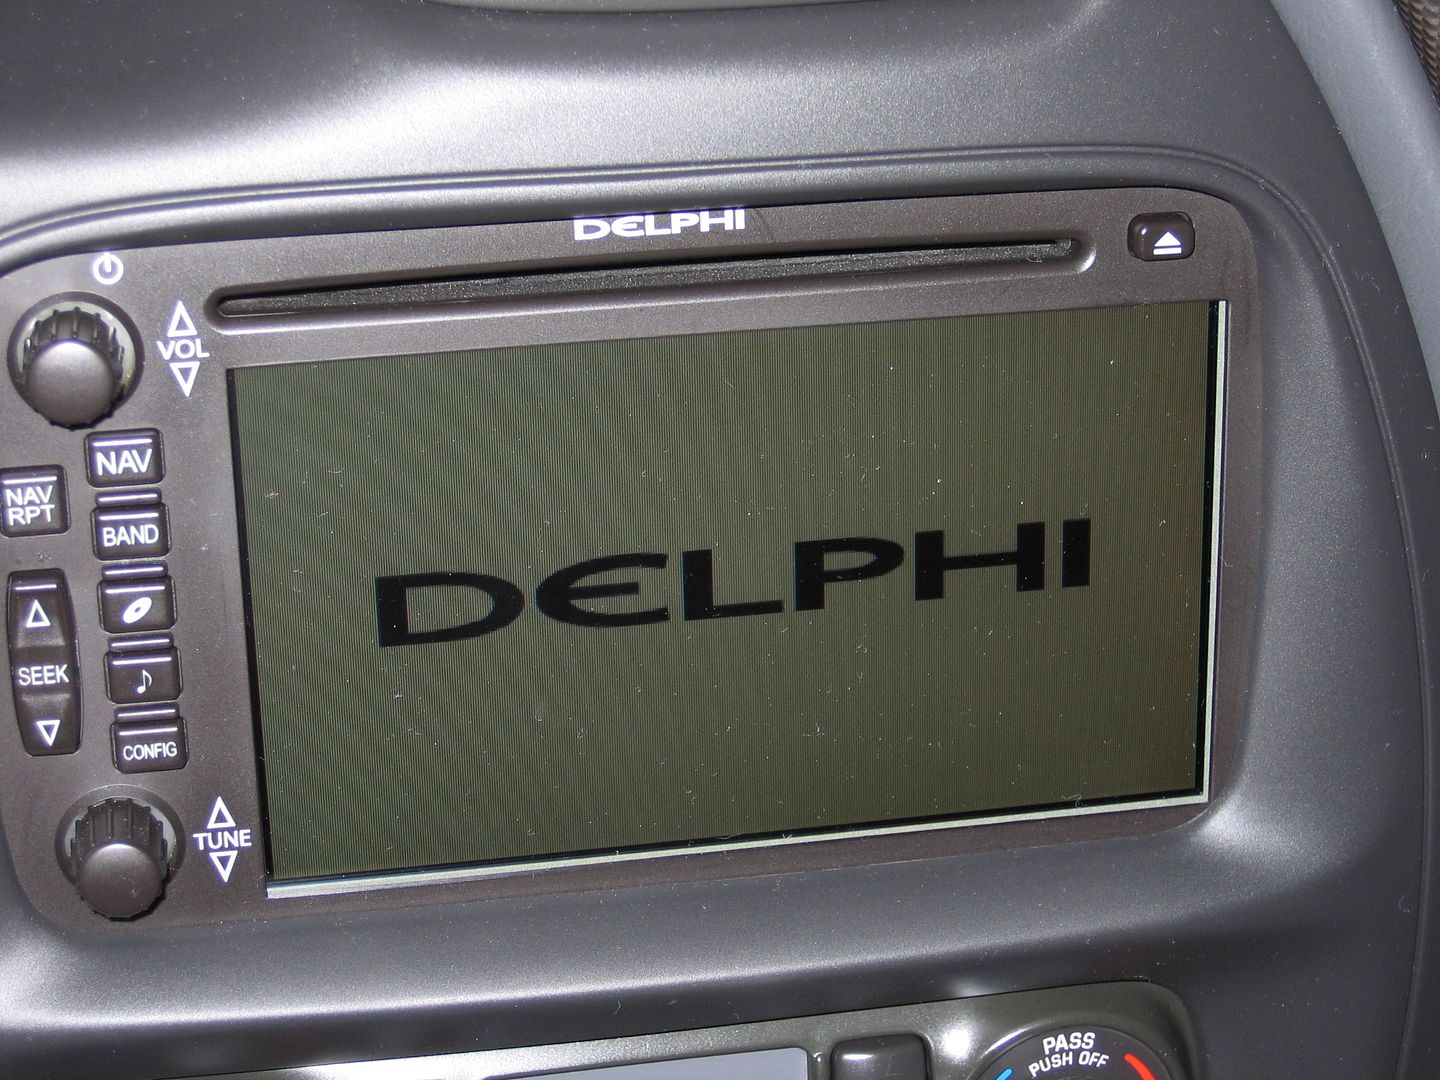
My first upgrade was the Delphi aftermarket version of the TNR800. The part number was NA40001-11B1 and was intended for the 2005-08 GMC Envoy and Chevrolet Trailblazer. I believe there were a couple of others this will also fit. The primary differences between this radio and the OEM version GM would have used are:
1. The splash screen on power-up shows the word “DELPHI” instead of the GM carline logo.
2. The word “DELPHI” is printed above the DVD slot.
3. The symbols for VOL Up/Down and TUNE Up/Down are different than the OEM radio.
4. This radio does not learn the VIN and can be moved between vehicles without a relearn to unlock it.
Otherwise it is a standard radio that can be used directly with the Monsoon (non-Class 2) amp factory installed in the 2002-03 SSEi or 2004-05 GXP.
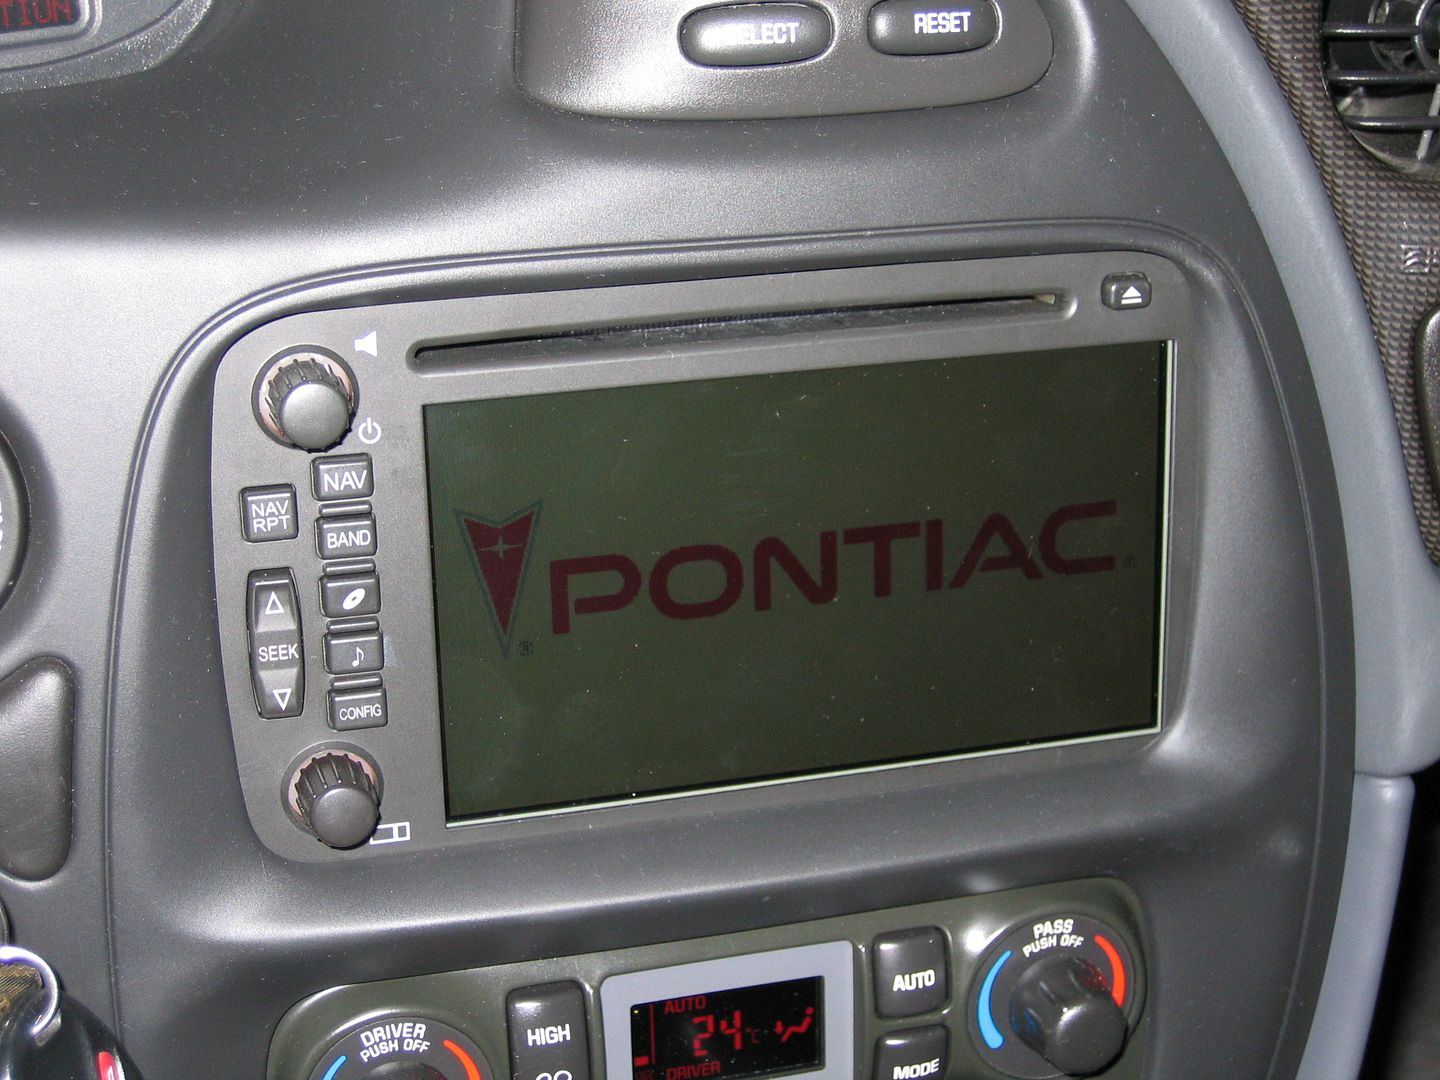
My “Second Gen” upgrade changes the radio up to the OEM version, also for use with a non-Class 2 amplifier. In this version, a pre-owned radio will need to be unlocked with a Tech2 as it does learn the vehicle VIN when installed for the first time. Of course, being this radio has standard audio output this will work with the Bonneville Monsoon amp. There are many different radio part numbers that can be used, but 15800000 is one of common OEM versions.
Before the VIN relearn:

To unlock this radio in the Bonneville, you must build the vehicle in the Tech2 as a 2006 Cadillac Escalade (or other vehicle that uses this navigation radio). Then, the VIN relearn function can be completed successfully by navigating through the appropriate menus. The VIN relearn function, if the vehicle is built as a Bonneville in the Tech2, WILL NOT WORK.
After the VIN relearn:
The “Third Gen” (and final) upgrade involved a Bose Luxury touchscreen navigation radio with the associated Class 2 amplifier. This by far offers the best audio quality of all three radios I’ve tried. The Bose Class 2 amp performs some degree of DSP (Digital Sound Processing). It’s possible to select audio preferences as “Normal” or to favour the driver, rear seat passengers or “Spacious”, which is the setting I prefer. This amplifier only requires front left and right audio signals and internally adjusts output for all channels from there. To adjust volume and other settings, the head unit will send a Class 2 serial data command to the amp and these functions are then completed by the amp itself. In the non-Class 2 systems, all these functions are performed by the head unit and output is sent to the LF, RF, LR and RR inputs of the amp. As with the other radios, several part numbers will work such as 15800001. The radio I installed is P/N: 10377531.
Physically, the OEM standard navigation head unit cannot be differentiated from the Class 2 (lux version) head unit. This is all determined by part number which defines the programming internal to the radio.
My Bonneville came factory equipped with Head-Up Display, Monsoon Amp and the 12-Disc CD Changer. XM was not a factory option in vehicles manufactured for the Canadian market until 2006 so I had to add this option myself. Here is a list of some compatibility items:
1. All radio versions work seamlessly with the steering wheel controls.
2. All radio versions properly control the 12-Disc changer.
3. None of these radios will broadcast information to be displayed by the HUD.
4. All radio versions work with OnStar with the exception that the Bonneville radio will display the phone number being called whereas these radios do not.
5. All radio versions correctly integrate with the Bonneville XM radio components.
Interestingly, it appears GM included the correct splash screen for all their brands. When the car is turned on, the radio will read the VIN from the data bus. This serves to comply with Theftlock functionality, but will also display the correct product brand. I was definitely surprised to see this considering these radios were never used in a Pontiac. The navigation screen in a Vibe is a newer generation product than this so I don’t believe it has anything to do with that.
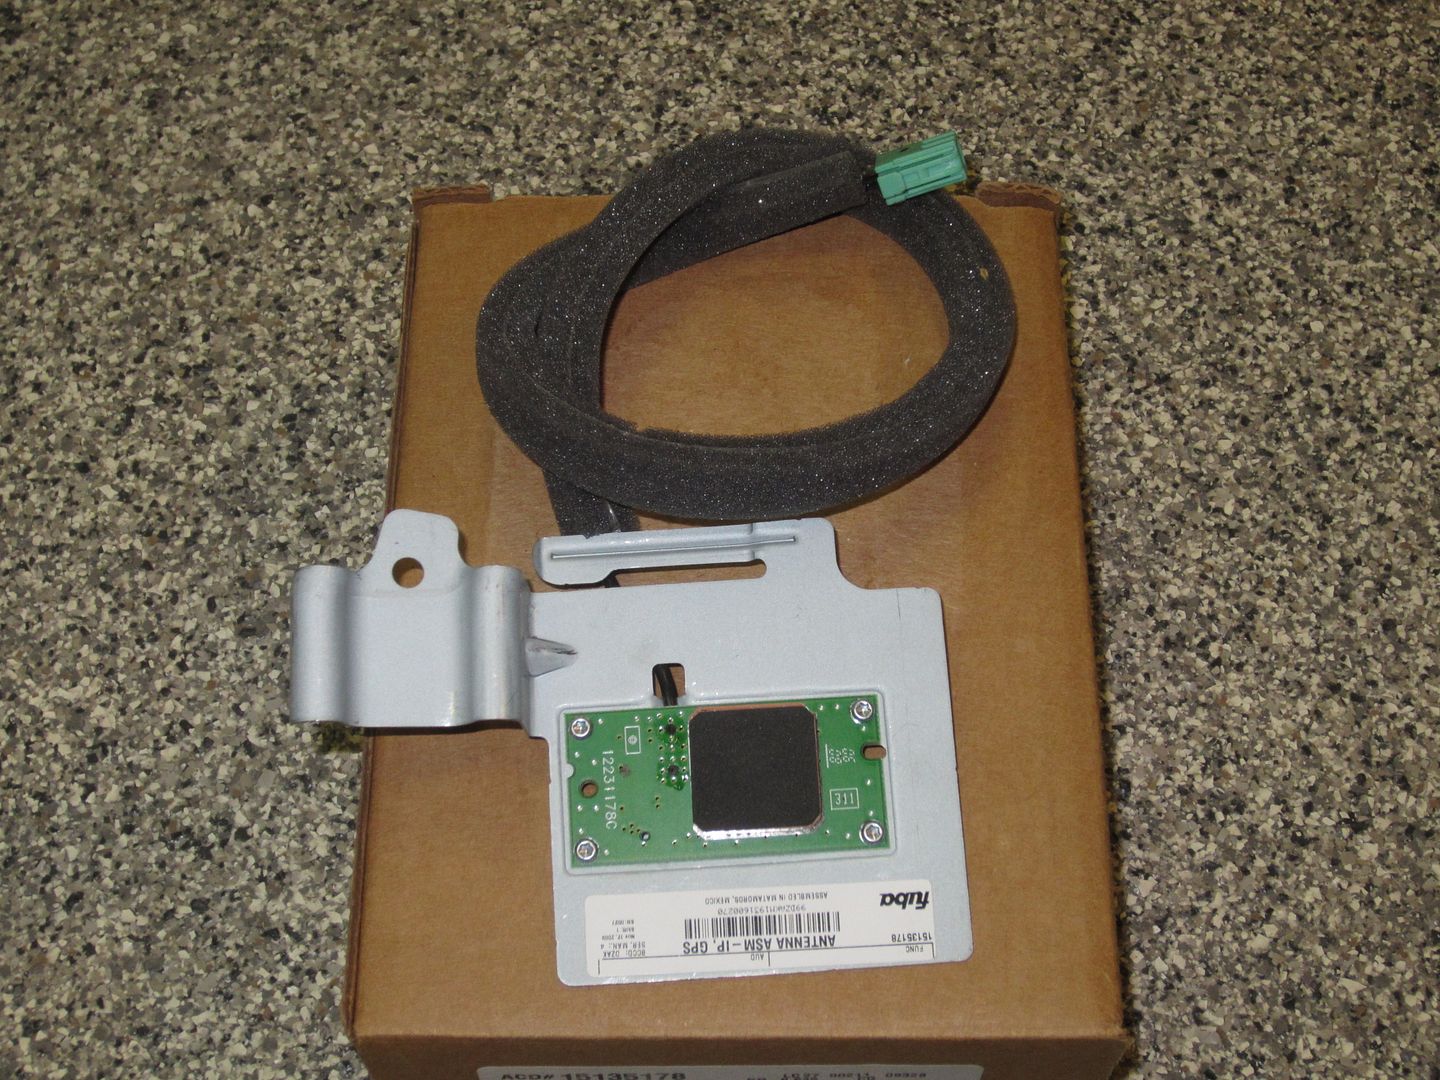
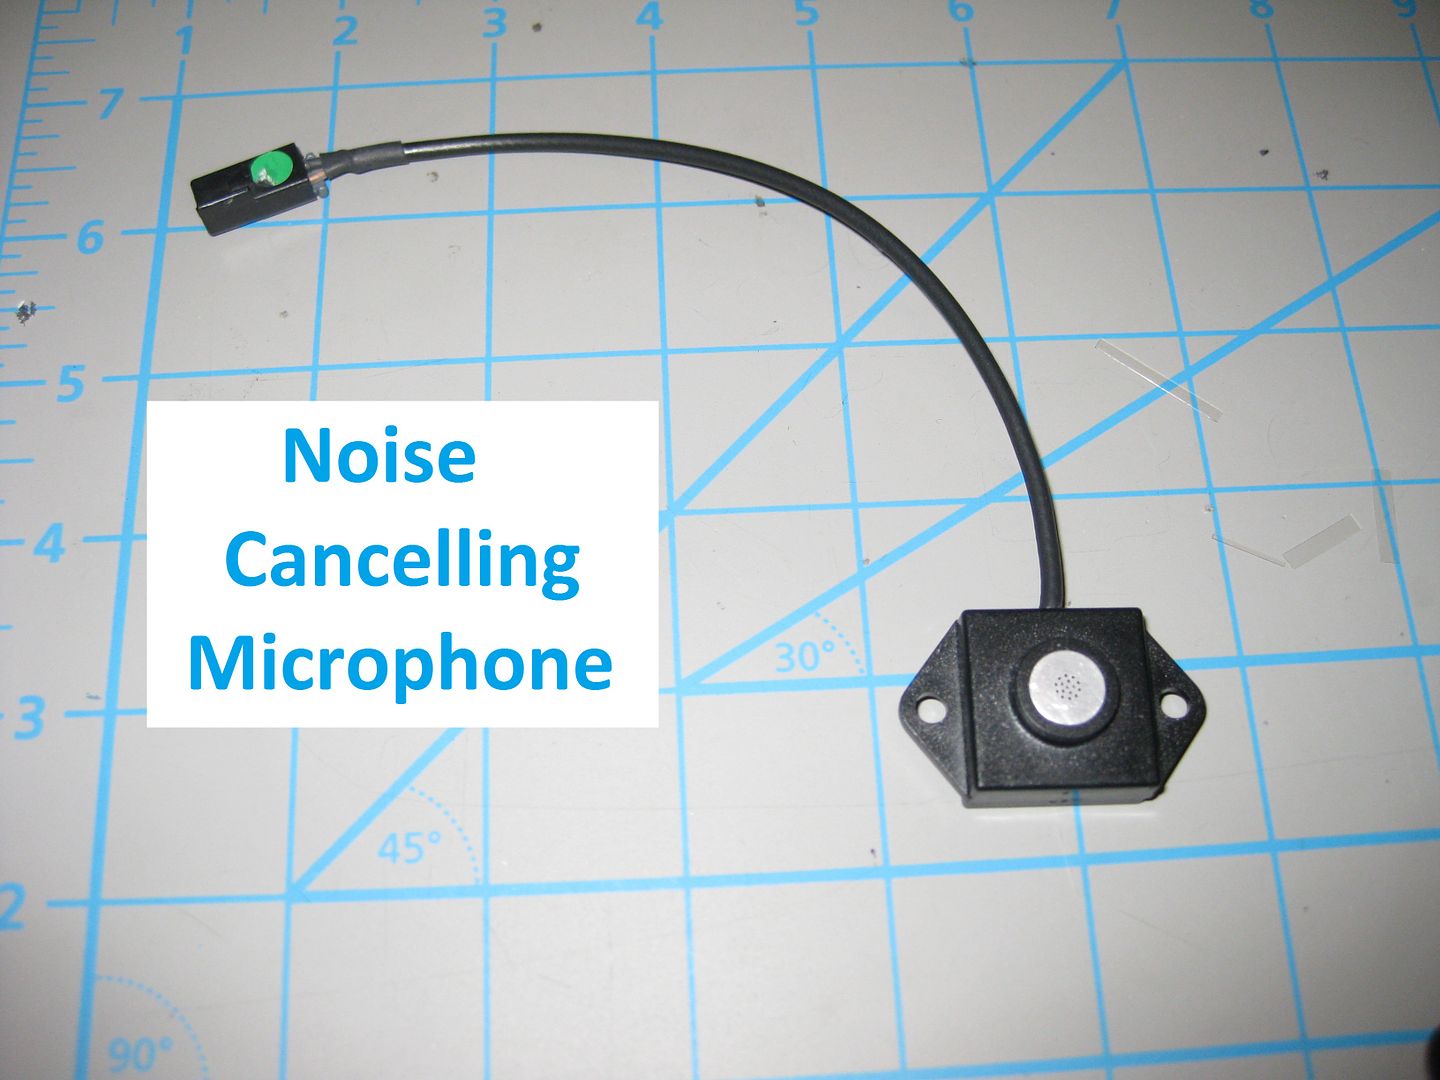
In addition to radio P/N 10377531, I used GPS antenna P/N 15135178, Bose amplifier P/N 15114454 and noise compensating microphone P/N 15240415.

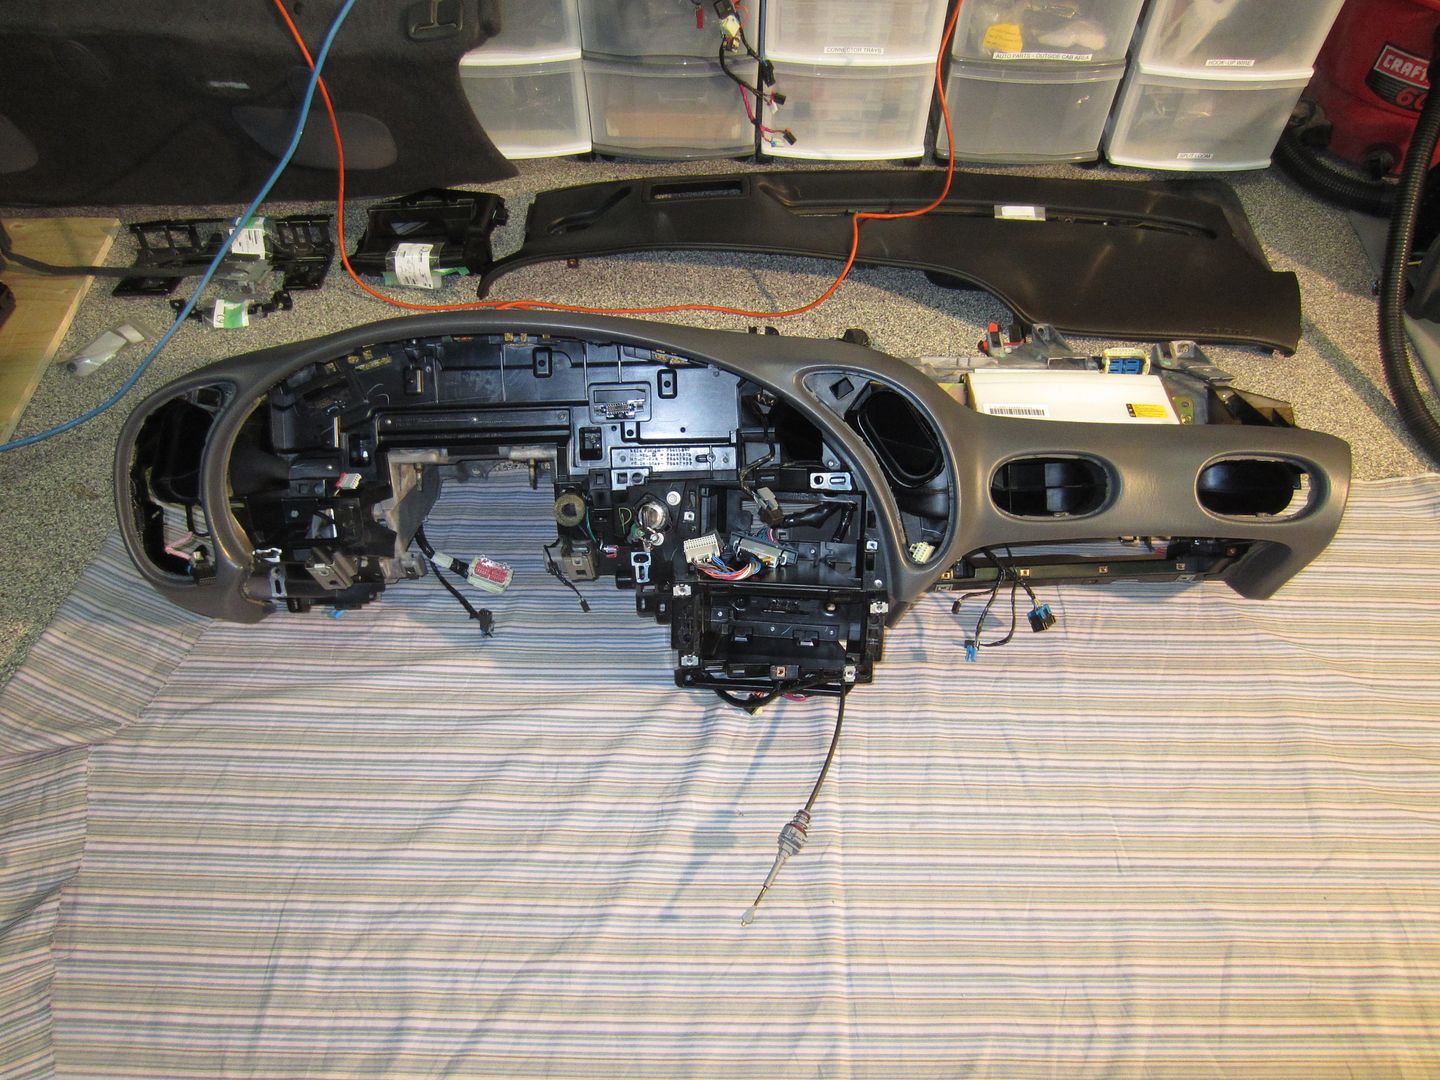
For this installation I removed the entire dash assembly. This allowed me to make some significant modifications to the instrument panel wiring harness for this, and some of my other modifications. The big part is how I altered the dash to accommodate the wiring behind the radio. I drilled out the rivets holding one of the dash structures in place. Next, I opened it up but cutting out a lot of the plastic and then riveted it back in place. For any of you who have been in there, you know exactly how tight it is.
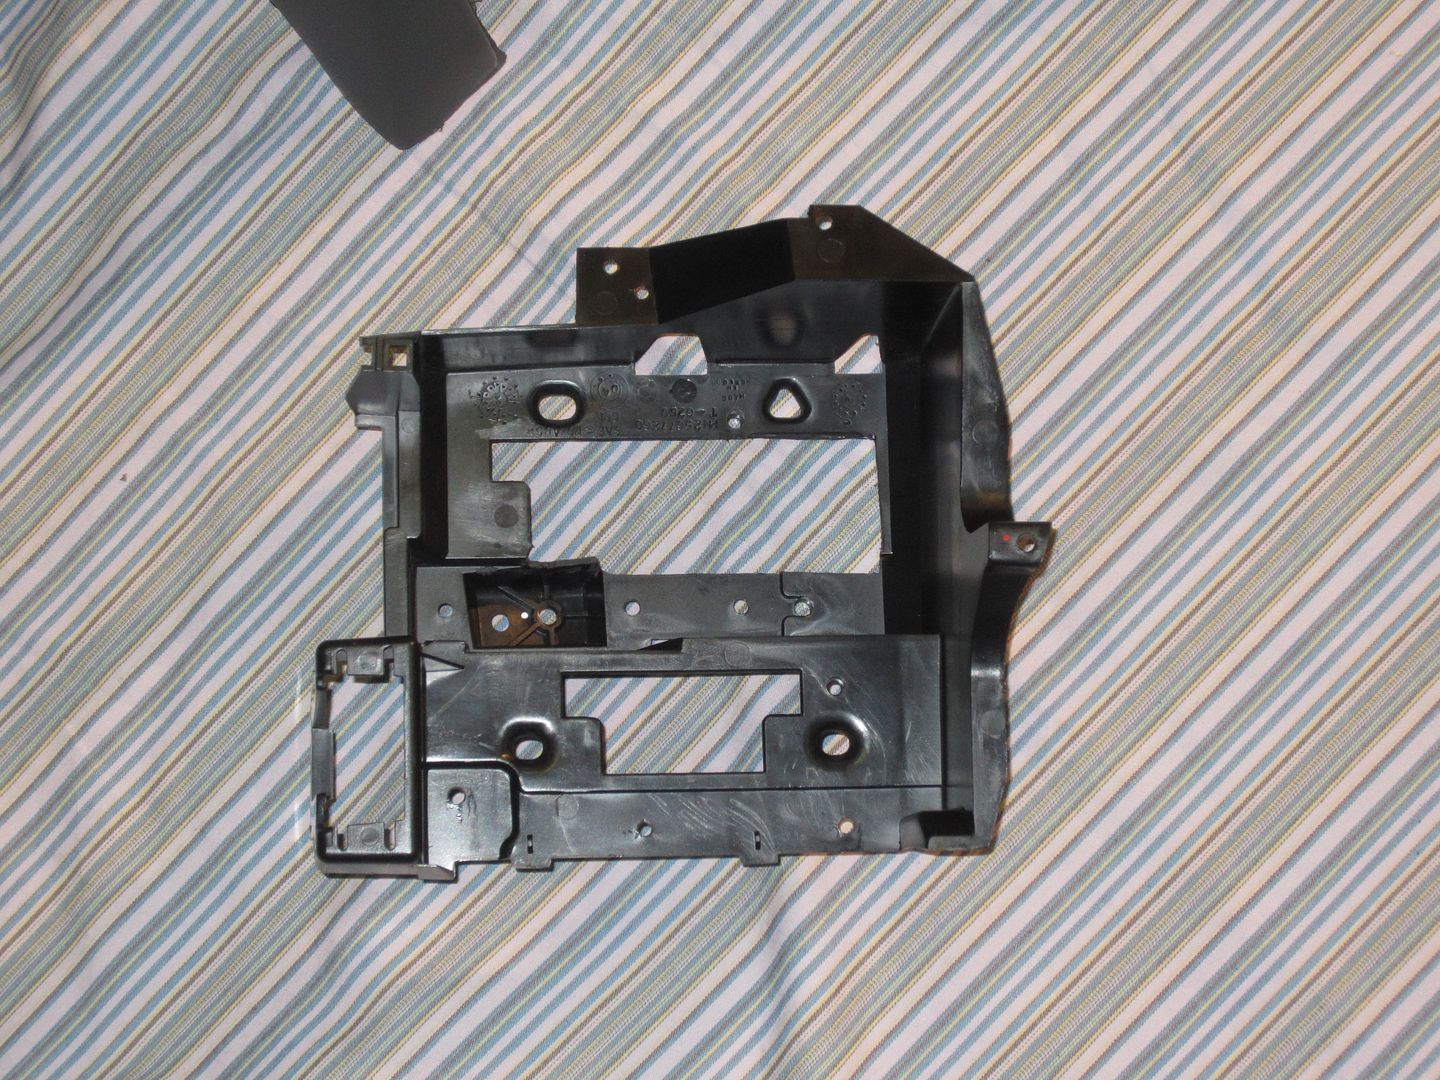
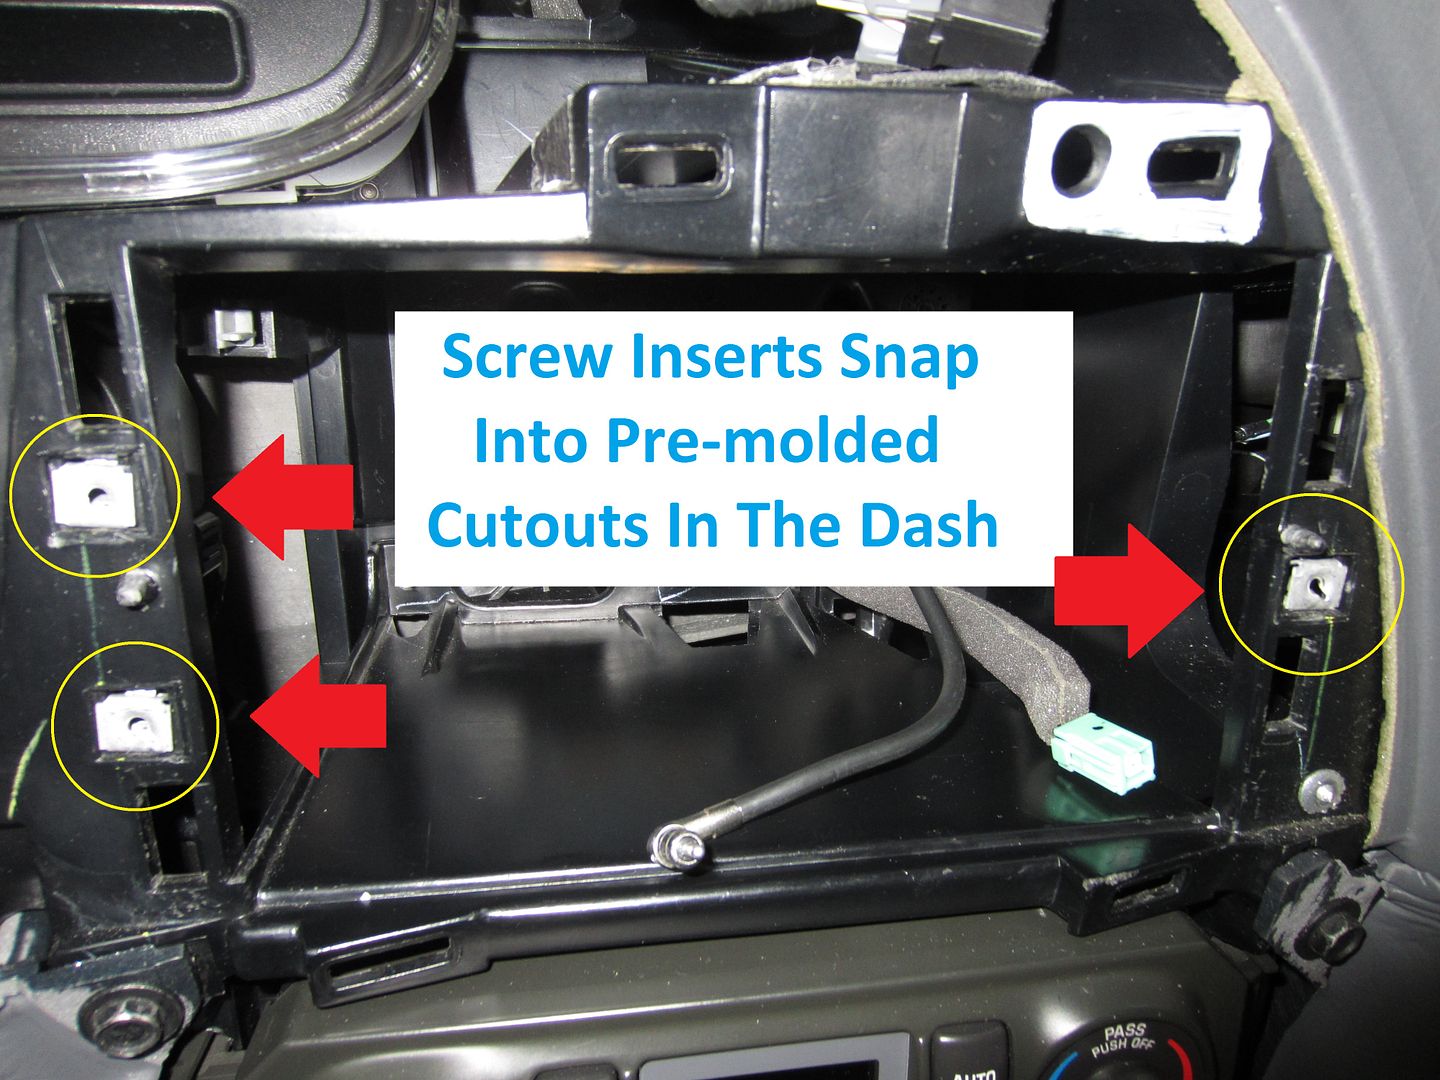
What I found interesting is how GM included square cutouts in the dash, two on the left side of the radio and one on the right. These accommodate snap-in inserts to accept threaded screws, coincidentally what the new navigation radio uses. It almost makes me wonder if GM had not planned something different for this car at one time.
In addition to the interface harness to adapt the Bonneville Dock-N-Lock connector with the Delphi MicroPack connectors on the navigation radio, I had to add the Vehicle Speed Signal (VSS) wiring. This is a single conductor that provides a 4,000 pulse per mile signal. Without it, the display tends to be very jerky. This is also how the radio knows the car is in motion and to block some functions.

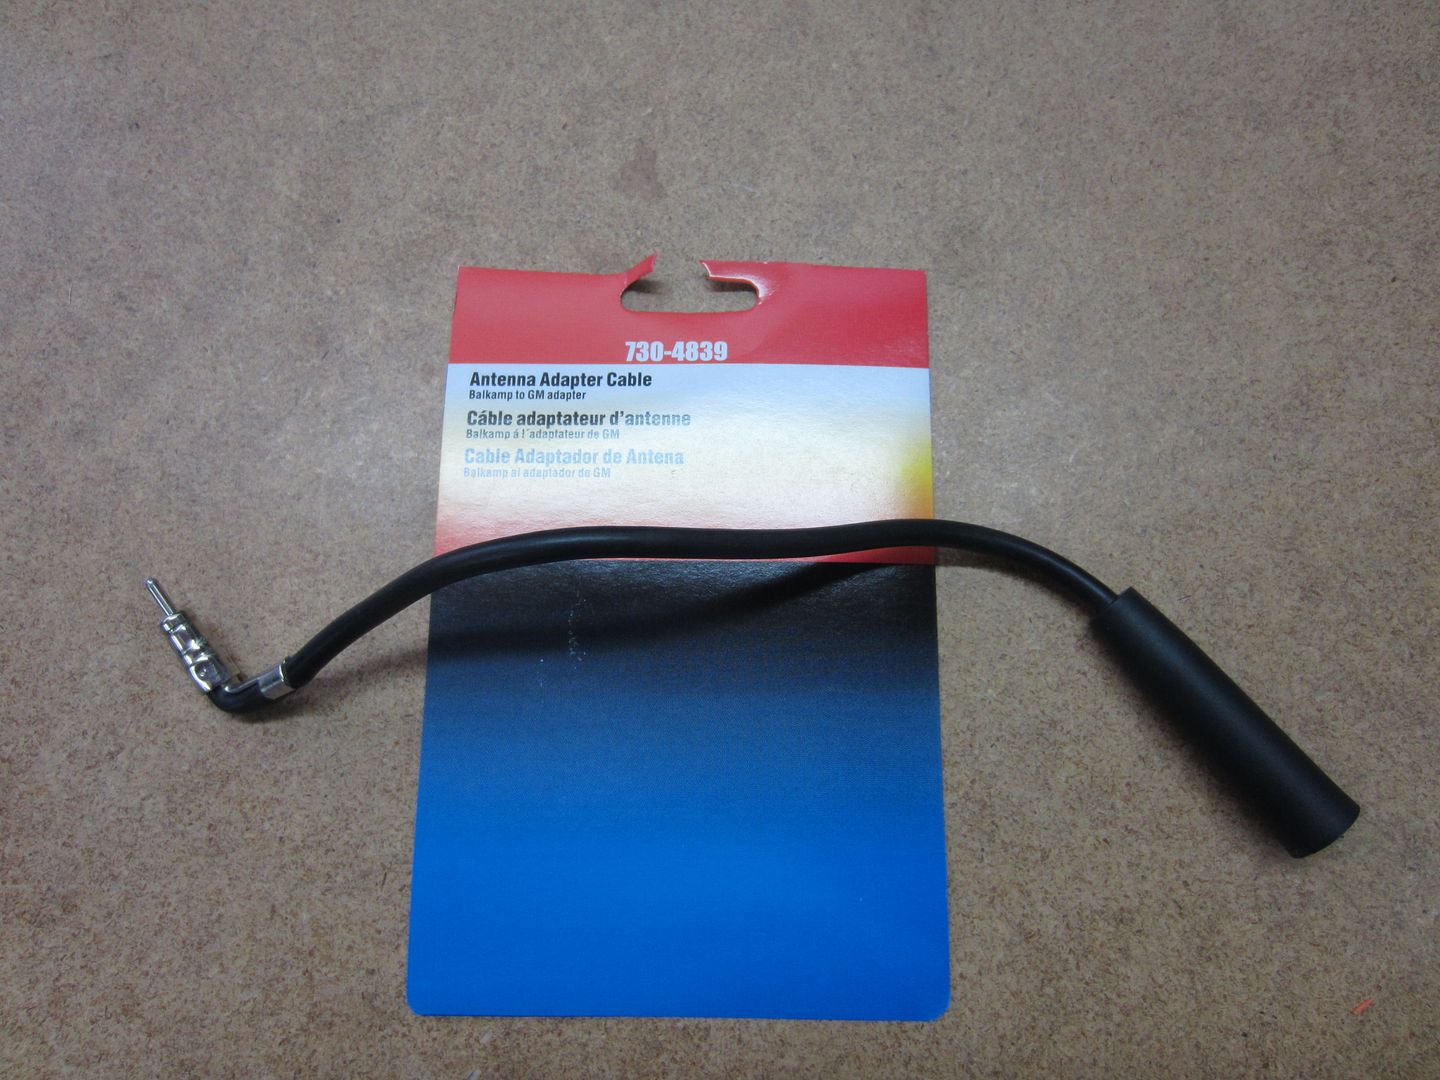
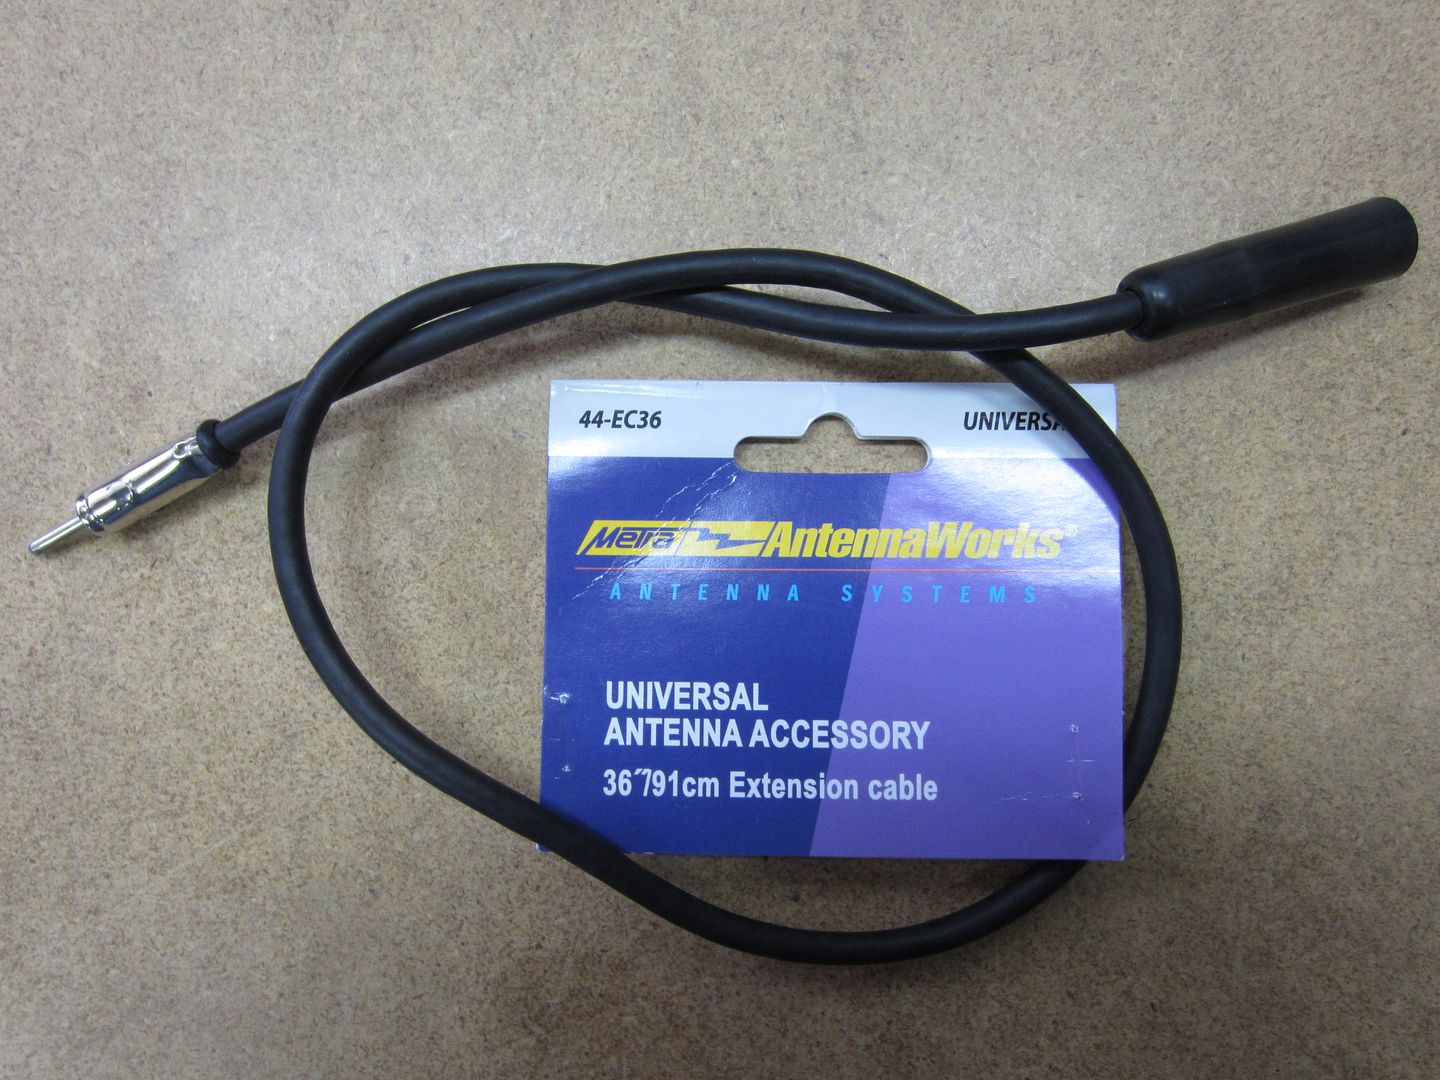
Because the antenna connection is also different, I removed a portion of the Bonneville coax at a connector location elsewhere in the dash. I needed two antenna cables in order to accomplish this, primarily because the one with the connector that plugs into the back of the radio isn’t available in the length, or with the other correct end to mate with the other (existing) Bonneville coax.
These diagrams can be used to interface the Bonneville Dock-N-Lock connector to the navigation radio. If I’m not mistaken, these should work on any of the radio versions I’ve mentioned in this thread.
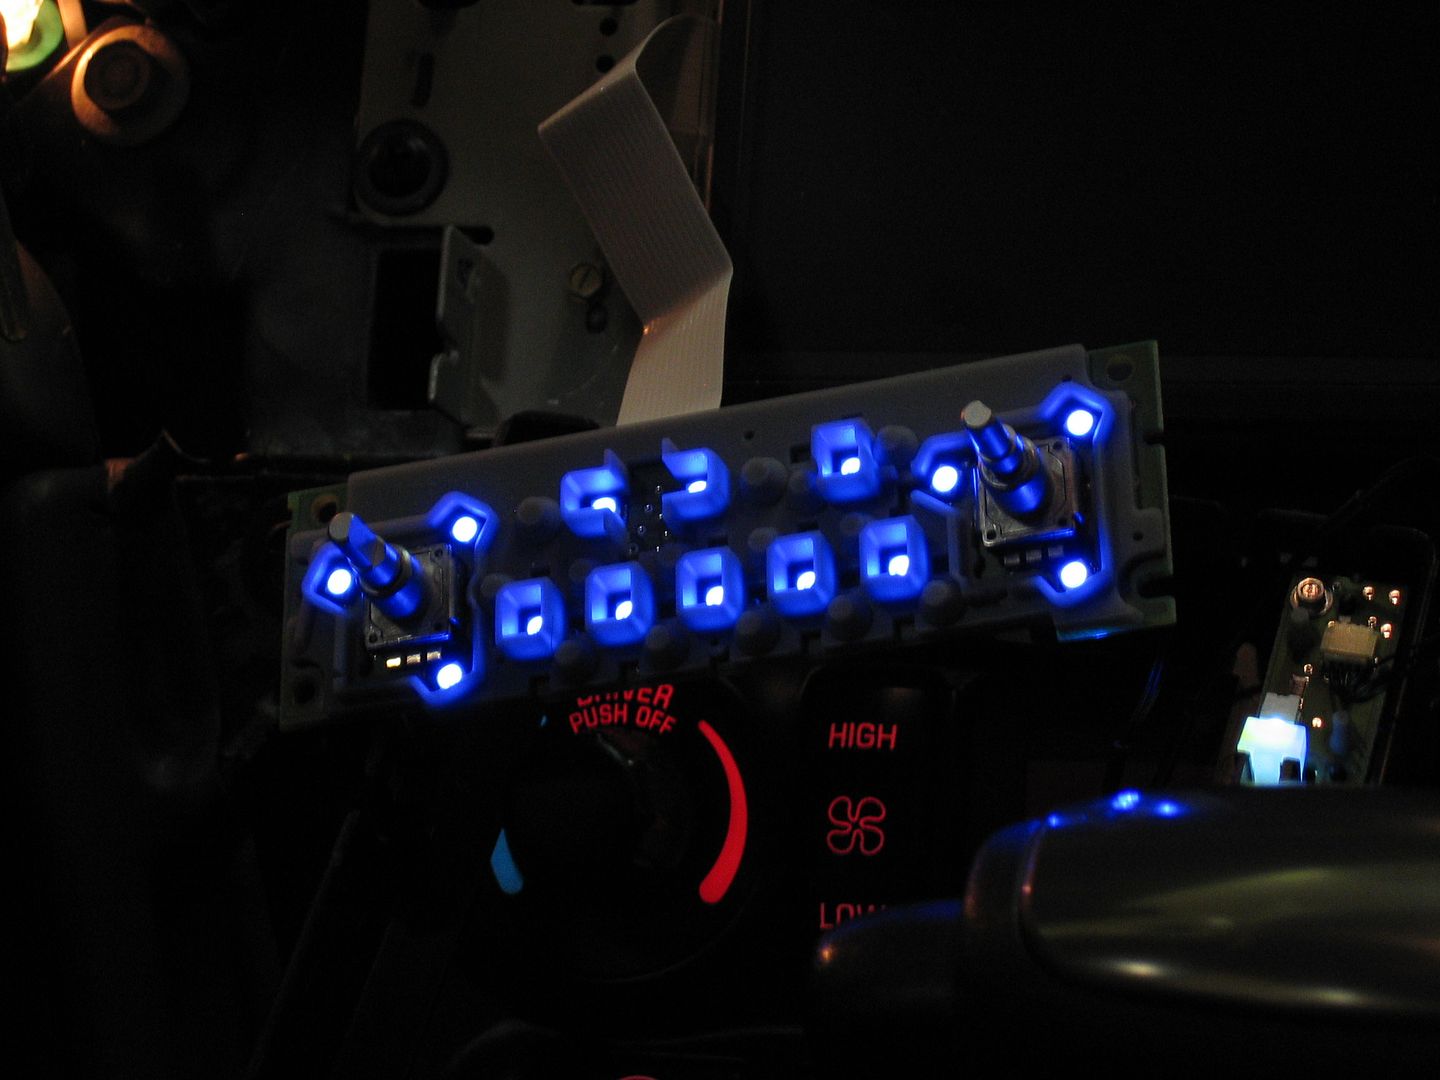
One of the most noticeable problems with any of these navigation radios is the button and CD slot lighting because it’s white, certainly not a fit for Pontiac. As a result, I sourced surface mount LED’s that very closely match the other Pontiac backlighting. At the time I changed these, I very carefully used a 25W soldering iron. A big problem with soldering SMT components is that often, their physical size doesn’t allow for much heat dissipation. This means they can easily be damaged if they get too hot. Since this mod, I’ve purchased a SMT rework station that uses hot air to melt paste solder. This is what I’d most certainly do if I ever had to do it again.
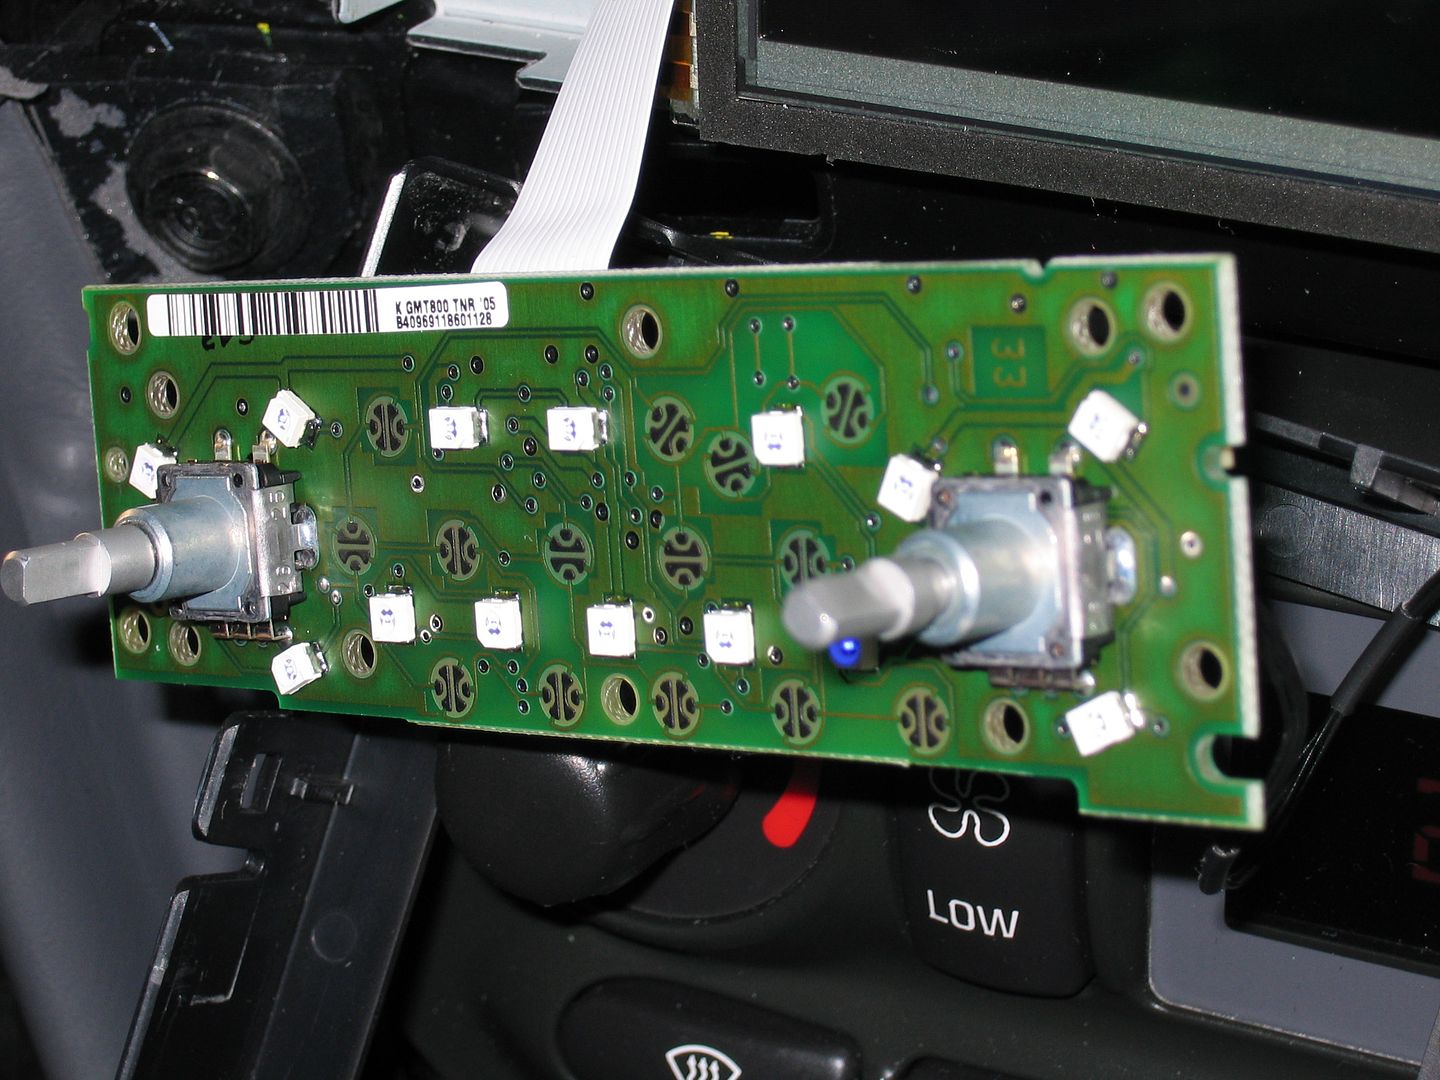

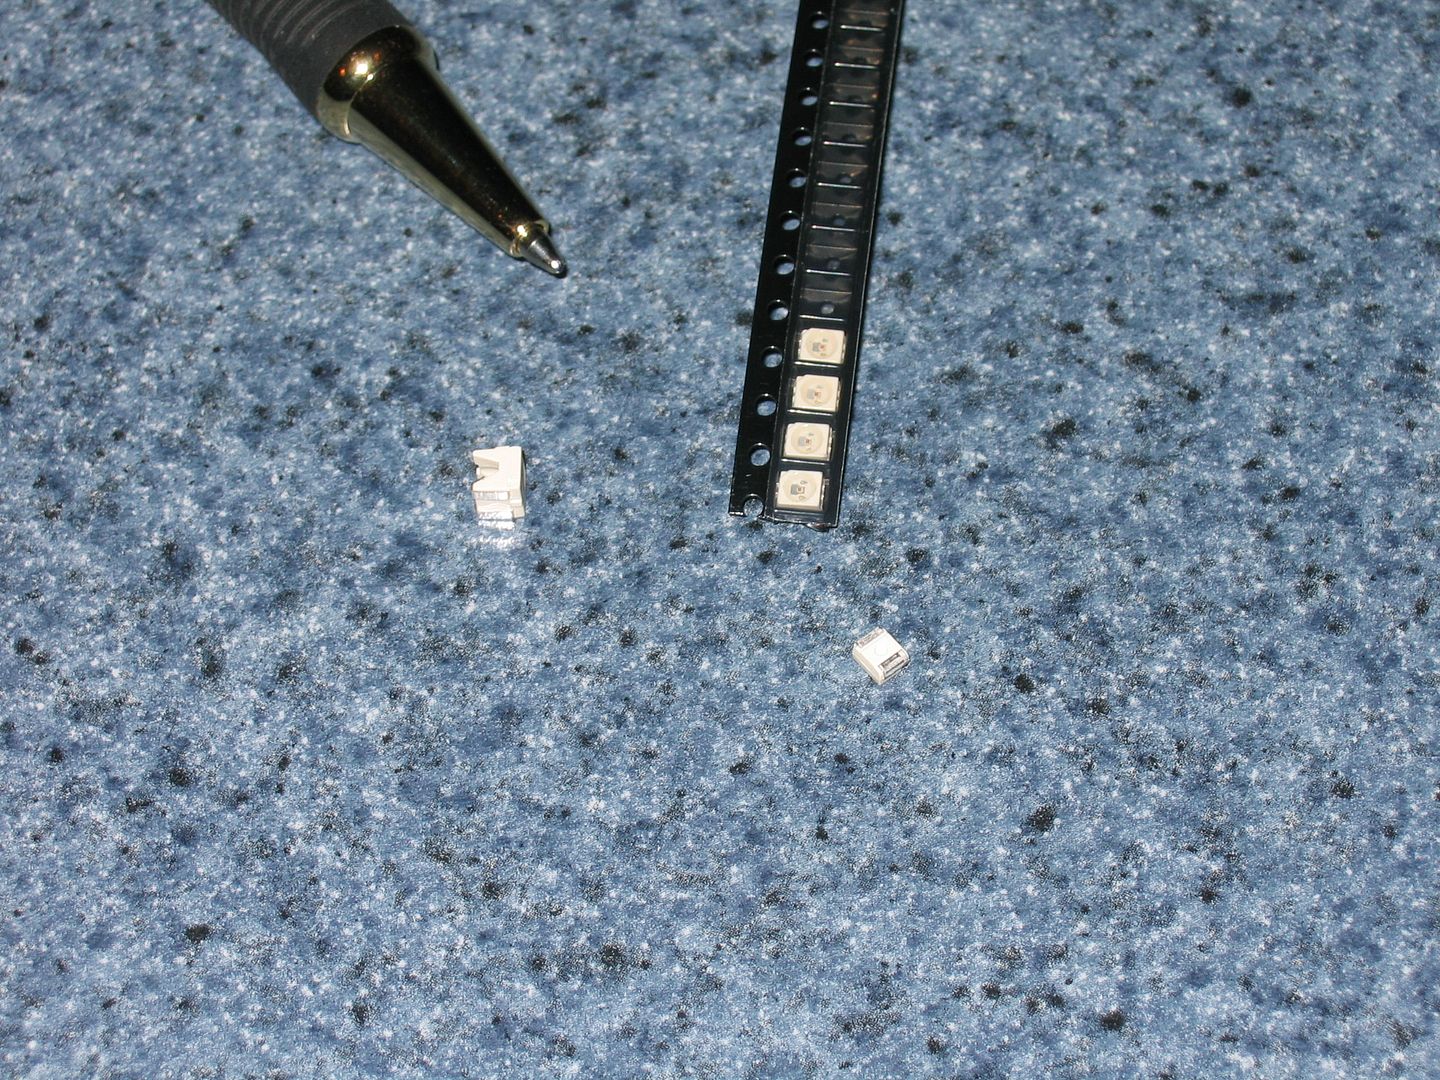
In this picture, both styles of LED are shown. The smaller, flat ones are for the control panel and the larger version is for either side of the DVD slot.
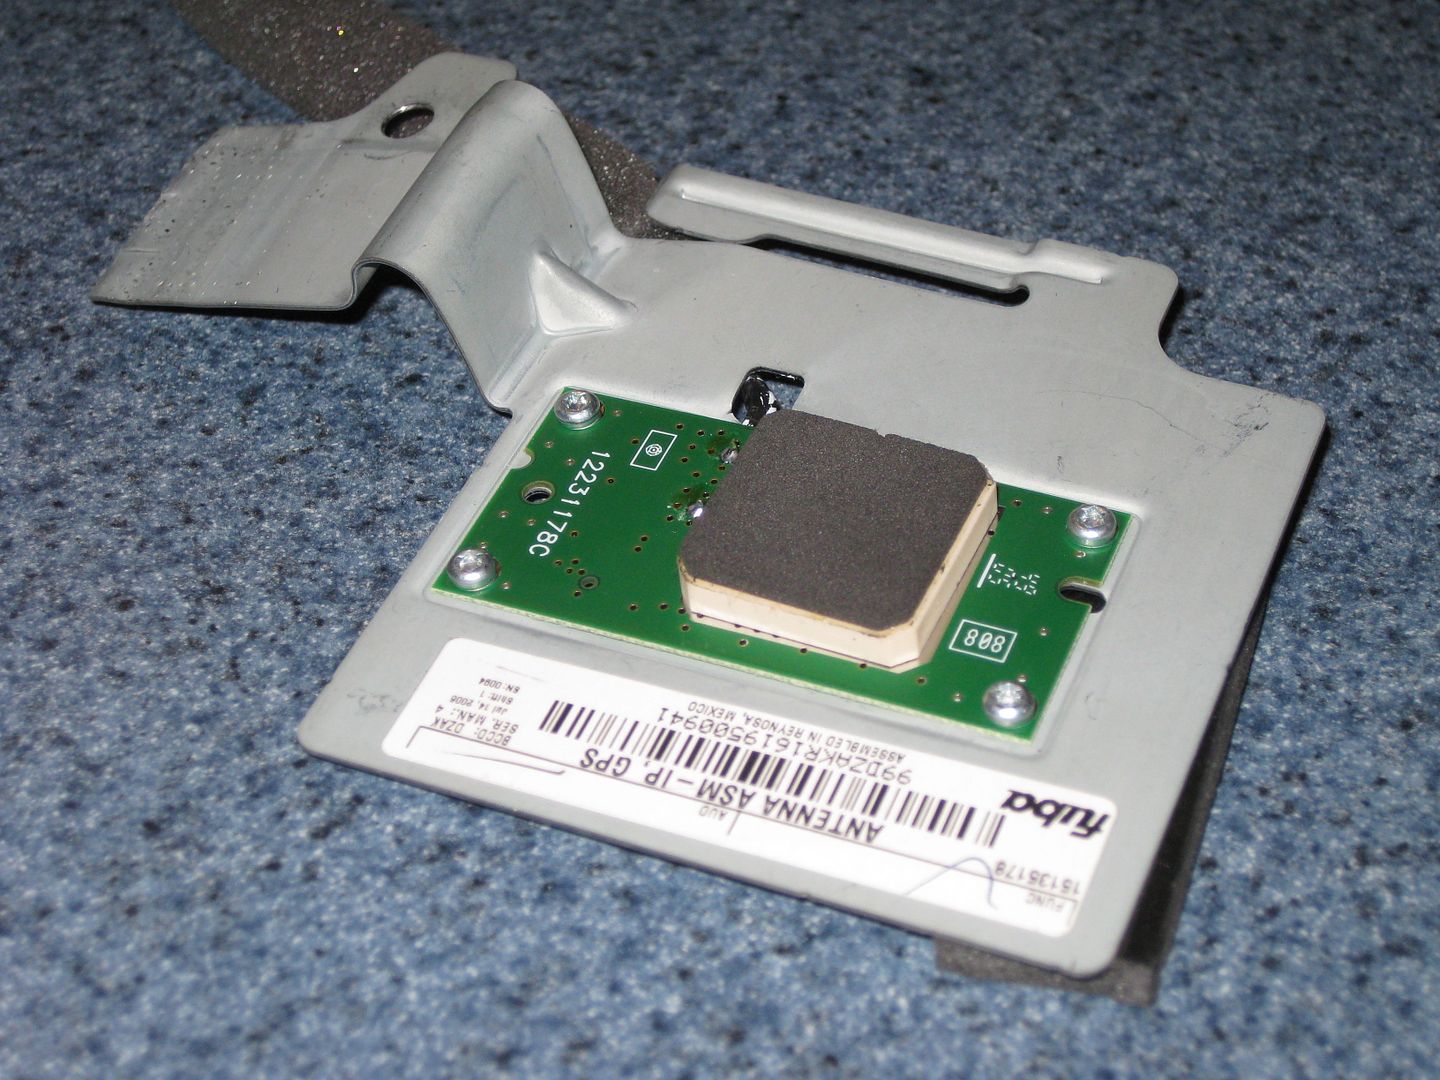
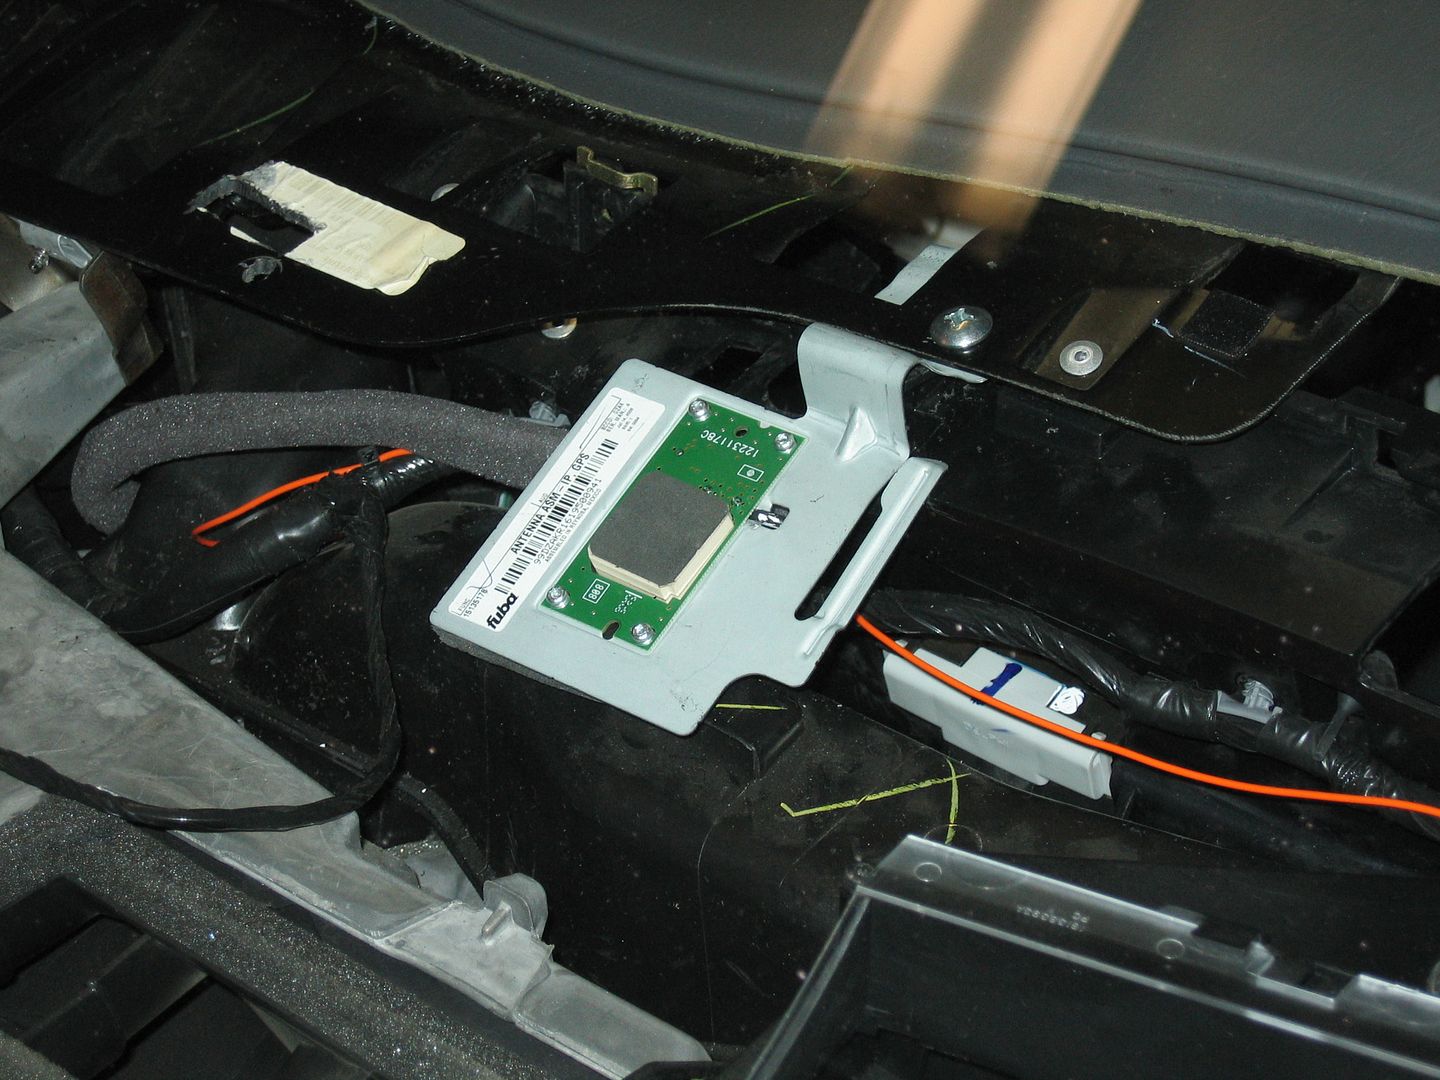
The only other piece to this involving the instrument panel is the GPS antenna. The bracket is contoured to fit the structure in the C/K body vehicles It’s intended for. I flattened a section to allow for solid mounting to the Bonneville dash under the dash pad. Placement is important because if it’s not positioned correctly, it will interfere with protrusions on the bottom of the dash pad.
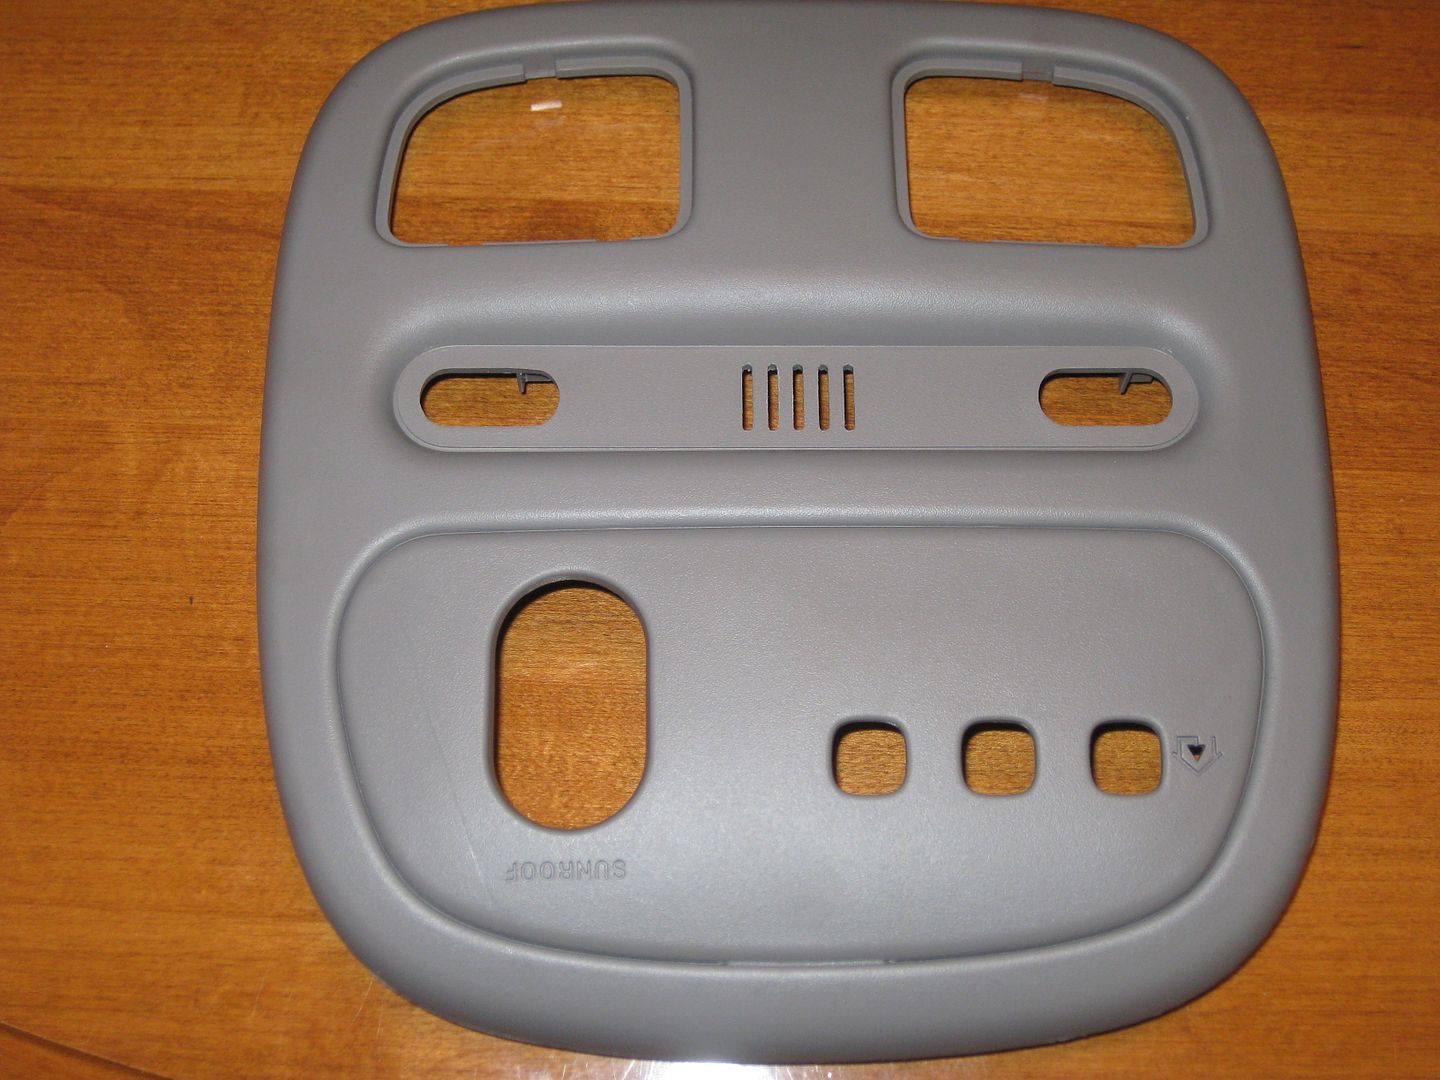
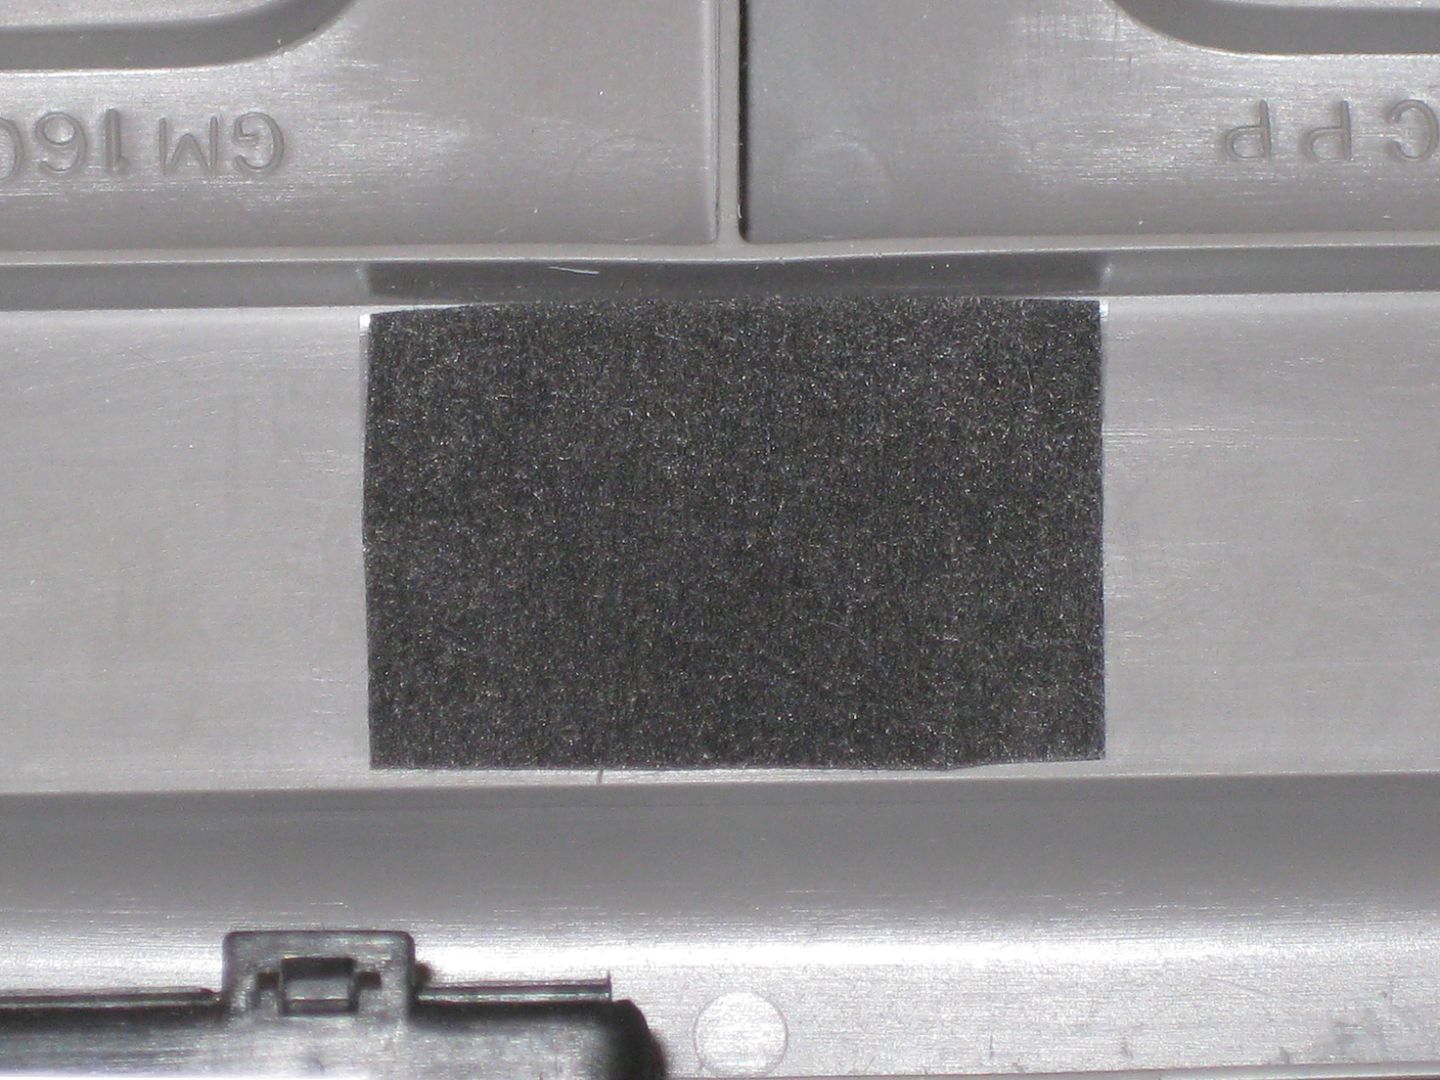
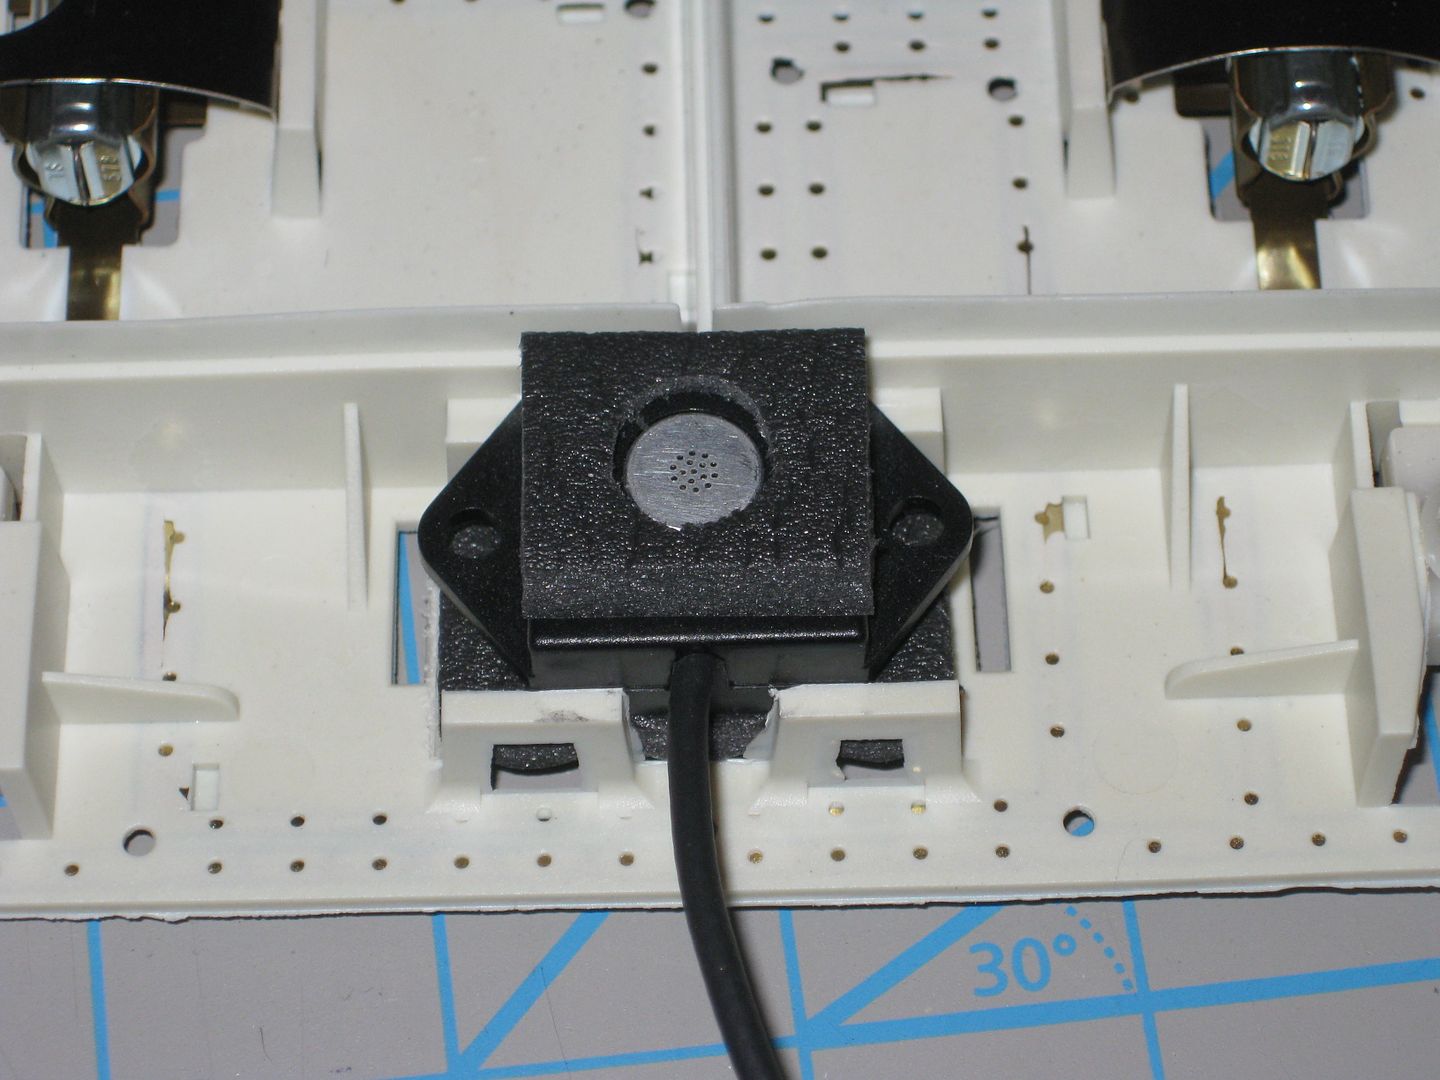
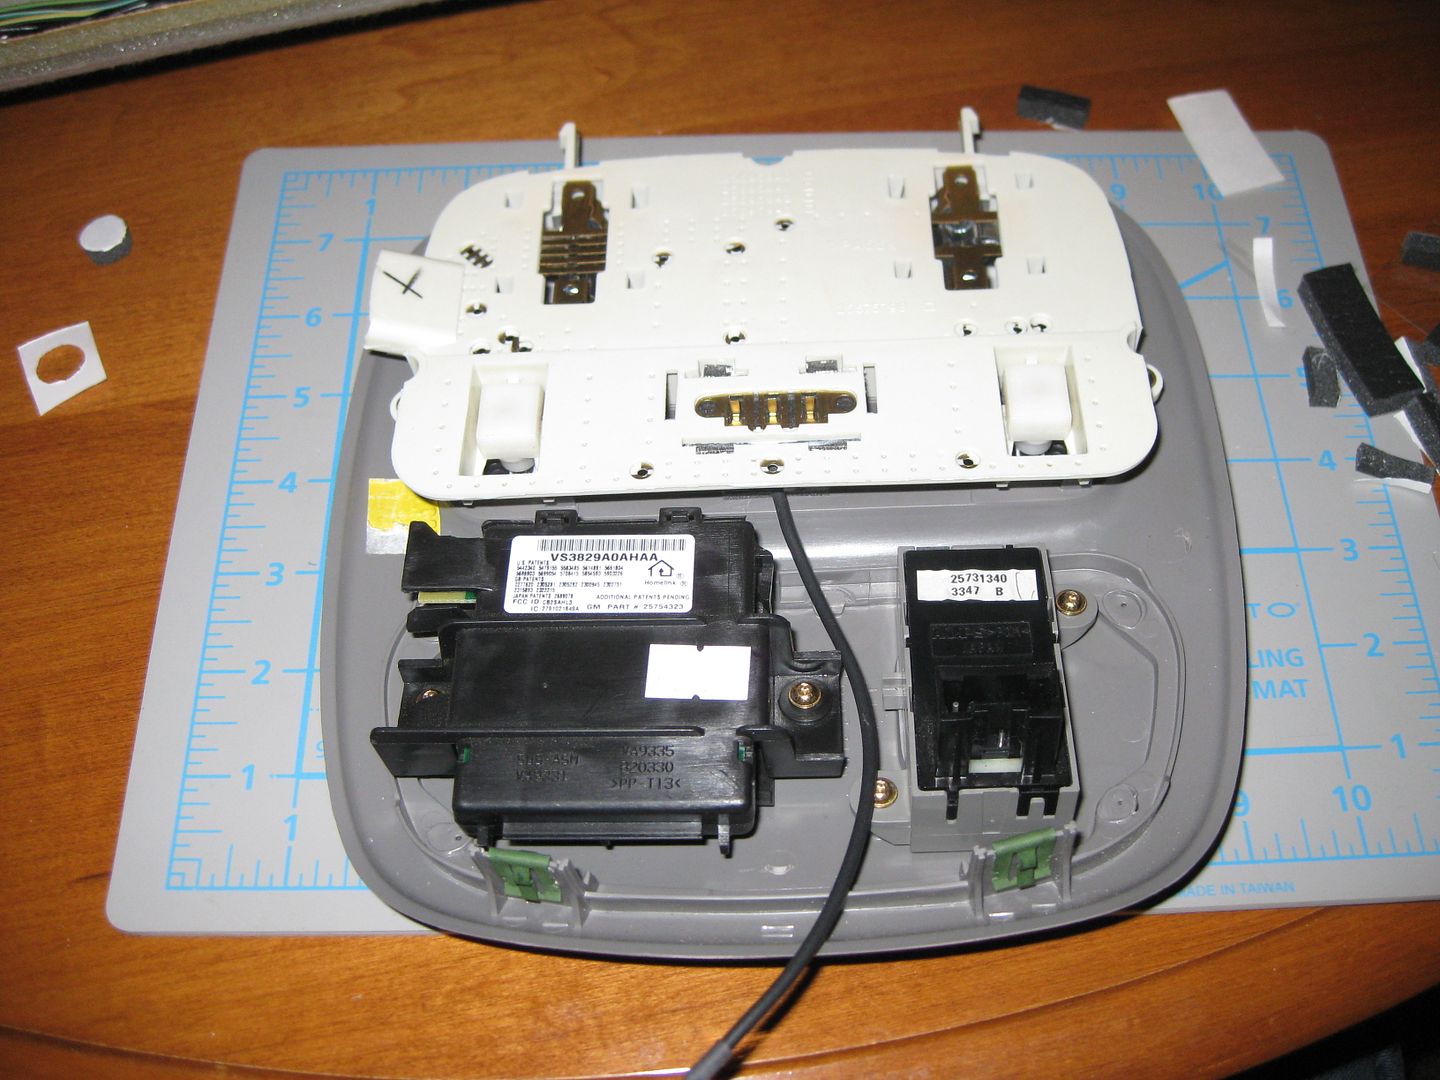
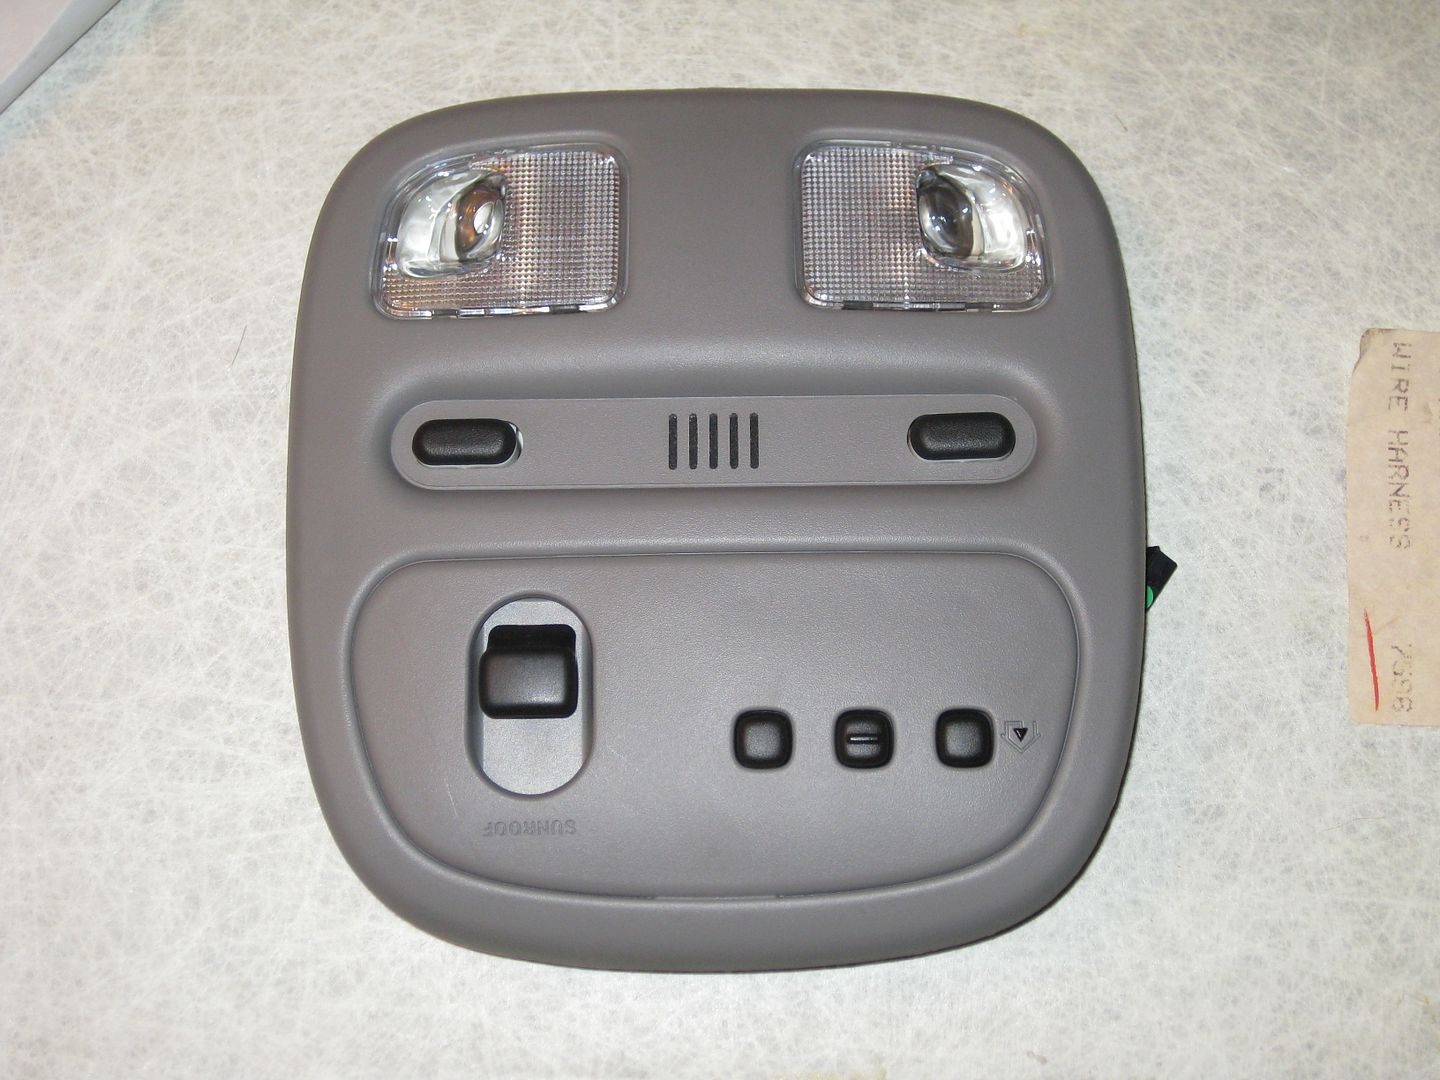
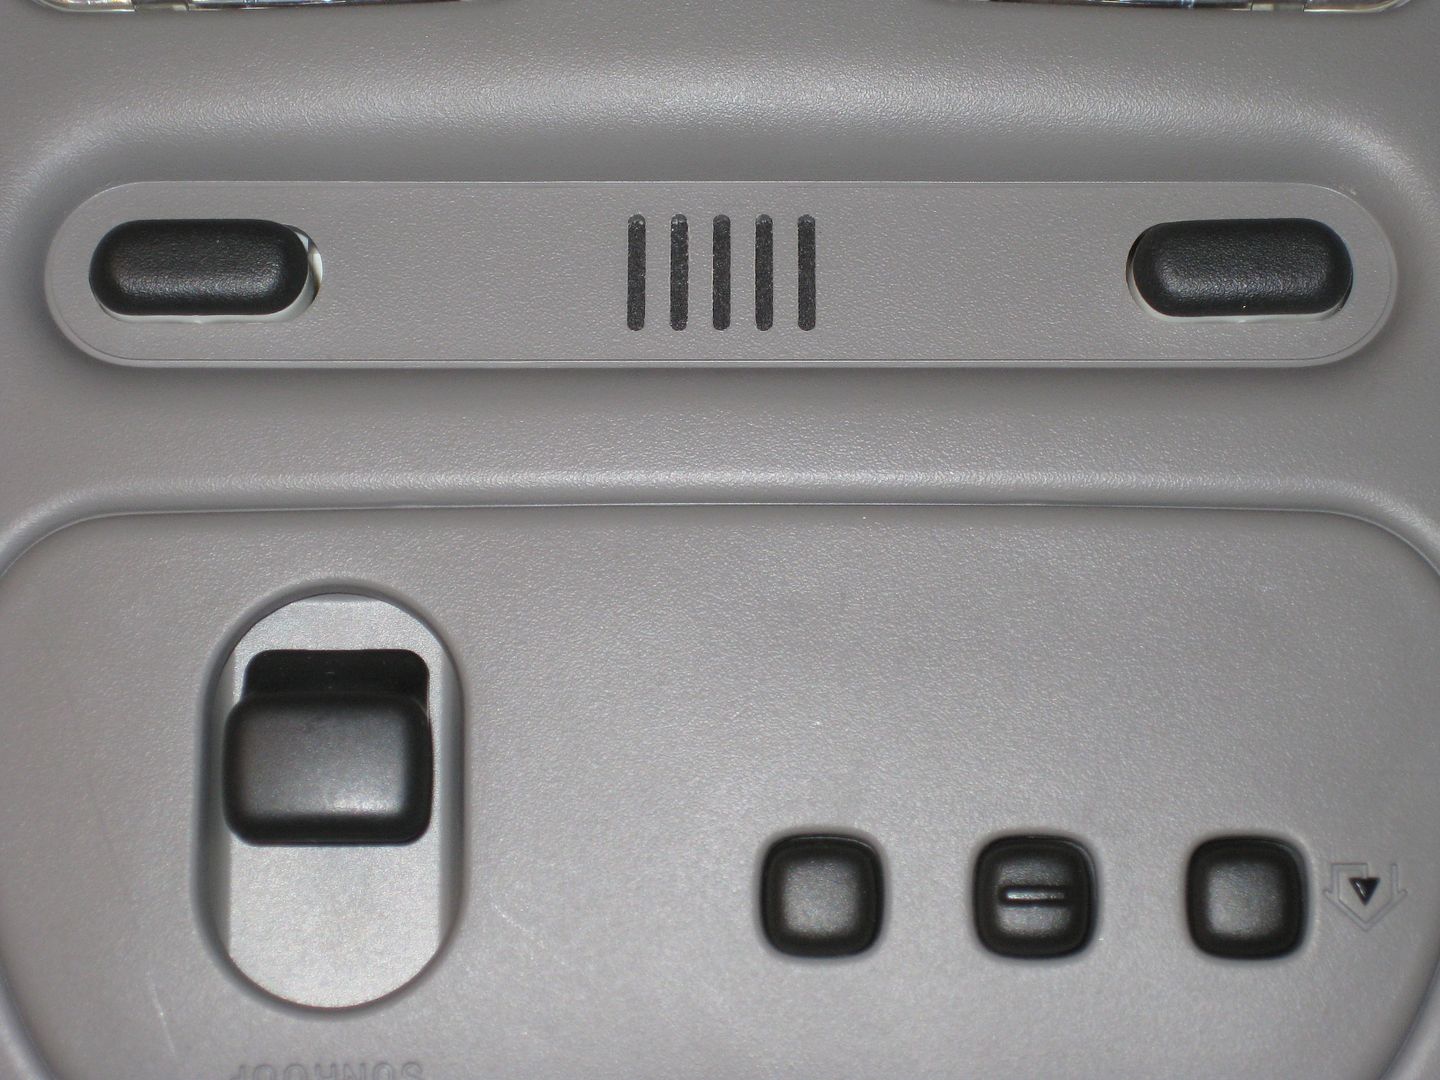
With everything in the instrument panel basically wrapped up, I had to find a way of mounting and wiring the noise compensating microphone. The best place seemed to be in the roof console. I took the outer plastic shell to shop capable of machining openings for sound to pass. Next, I had to modify the structure behind to accommodate the microphone. To ensure the best possible esthetics, I used the lightweight black fabric from an old speaker and bonded it across the five slots cut for the microphone opening. I was very pleased with how a small amount of modification yielded a secure and professional result. I would challenge anyone to look at it and suggest it isn’t “factory”.
Along with this, I had to add shielded wiring to the headliner harness and run this to the trunk where it ultimately connects to the amplifier. This was a bit of work since I had to remove the headliner, detach the wiring harness, unwrap it, add the new wiring, re-tape the harness and reattach it to the headliner.
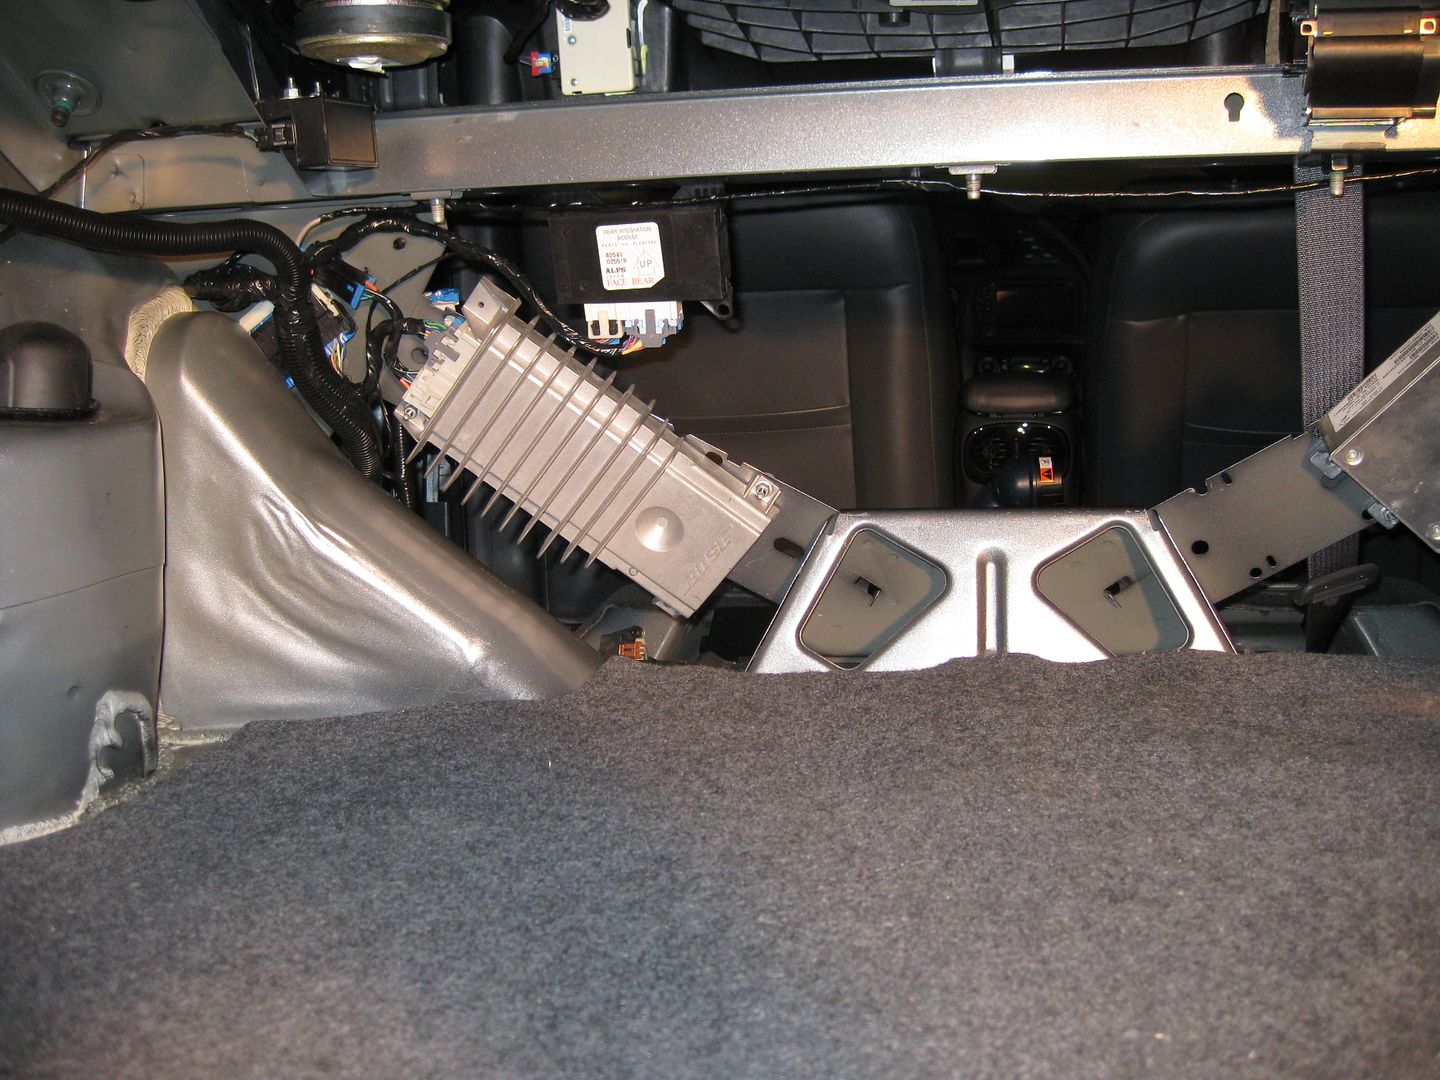
Next up is installation of the Bose Luxury Class 2 amplifier. This is a key component of the Y91 option package (audio portion) that was installed in the Escalade and other C/K body trucks with this RPO. This is the up-level amplifier and as mentioned earlier, offers Digital Sound Processing, not something available in the base C/K truck amp.
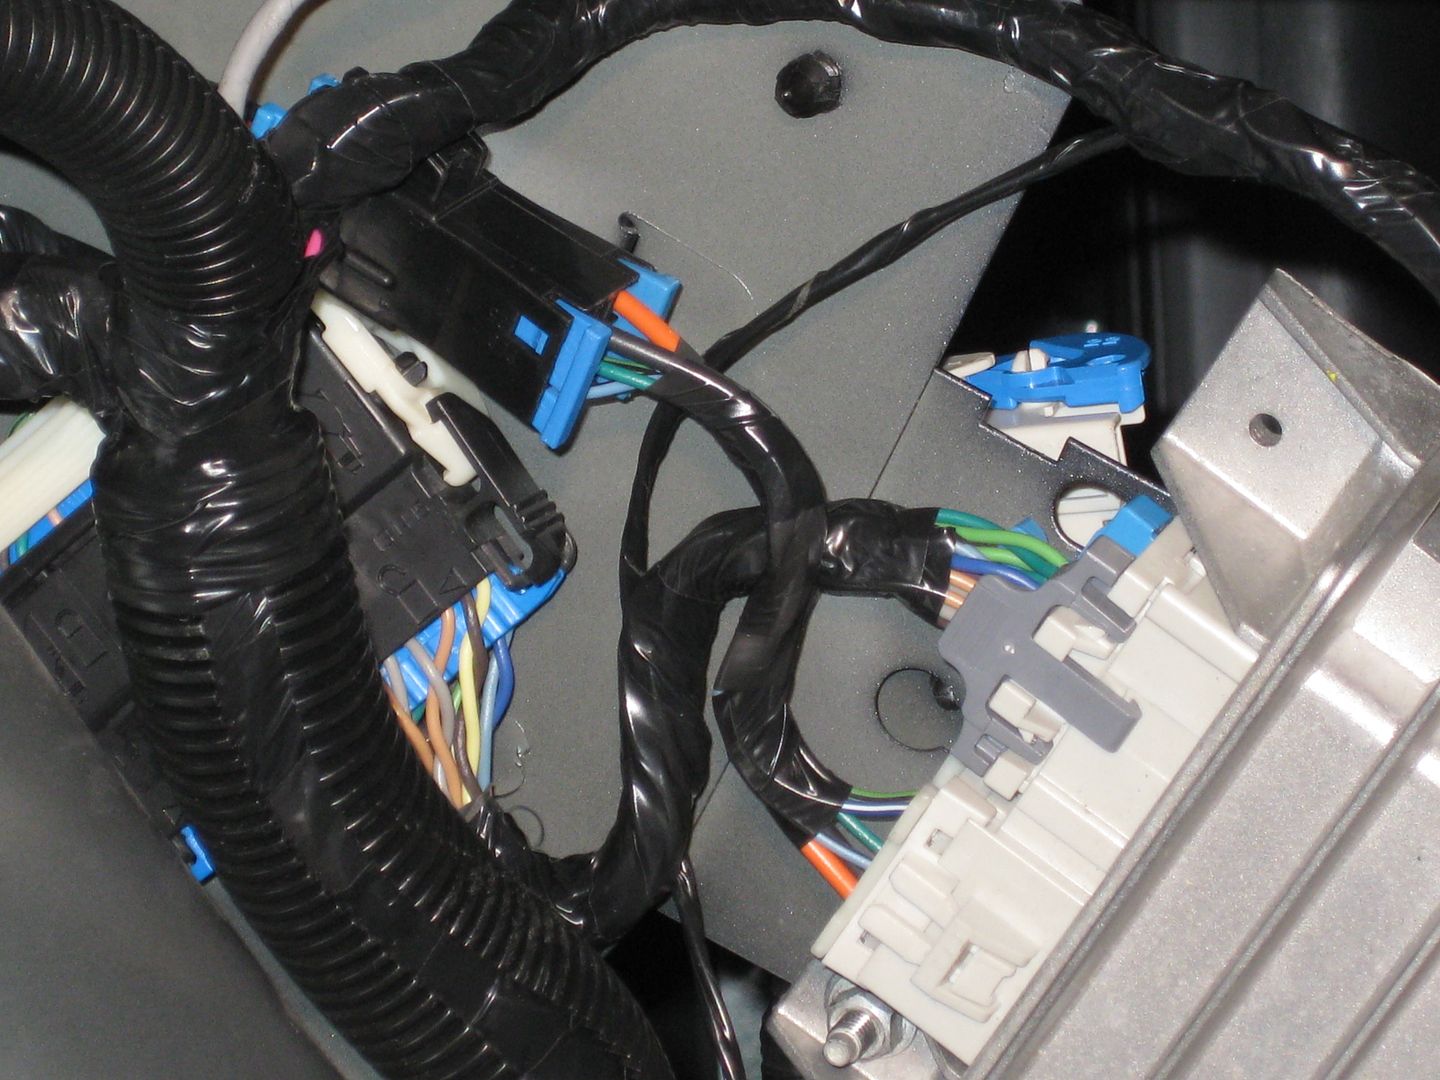
One of my other major projects involved replacing the entire main body wiring harness. I did this to incorporate the wiring from all my modifications into a single, clean-wrapped harness the way it would have left the factory if all my options had been installed during production. As part of this, I installed two connectors behind the left rear passenger seat. Whereas the main body wiring harness originally plugged directly into the Monsoon amp, this allowed me the flexibility to change amplifier options in the event a better option comes along later, or I want to revert to the original sound system. The smaller of the two connectors has six cavities and is for wiring to both rear shelf speakers along with power and ground. The power and ground wires were also replaced with a heavier gauge conductor because the Bose Luxury amp is fused at 10A higher than the original Monsoon amp.
The second connector is a large GT-Series LeverLock connector. The most important additions here include a tie into the Class 2 serial data bus, since this is how the head unit communicates for volume, bass, midrange, treble and other settings along with the addition of wiring to the noise compensating microphone in the roof console.
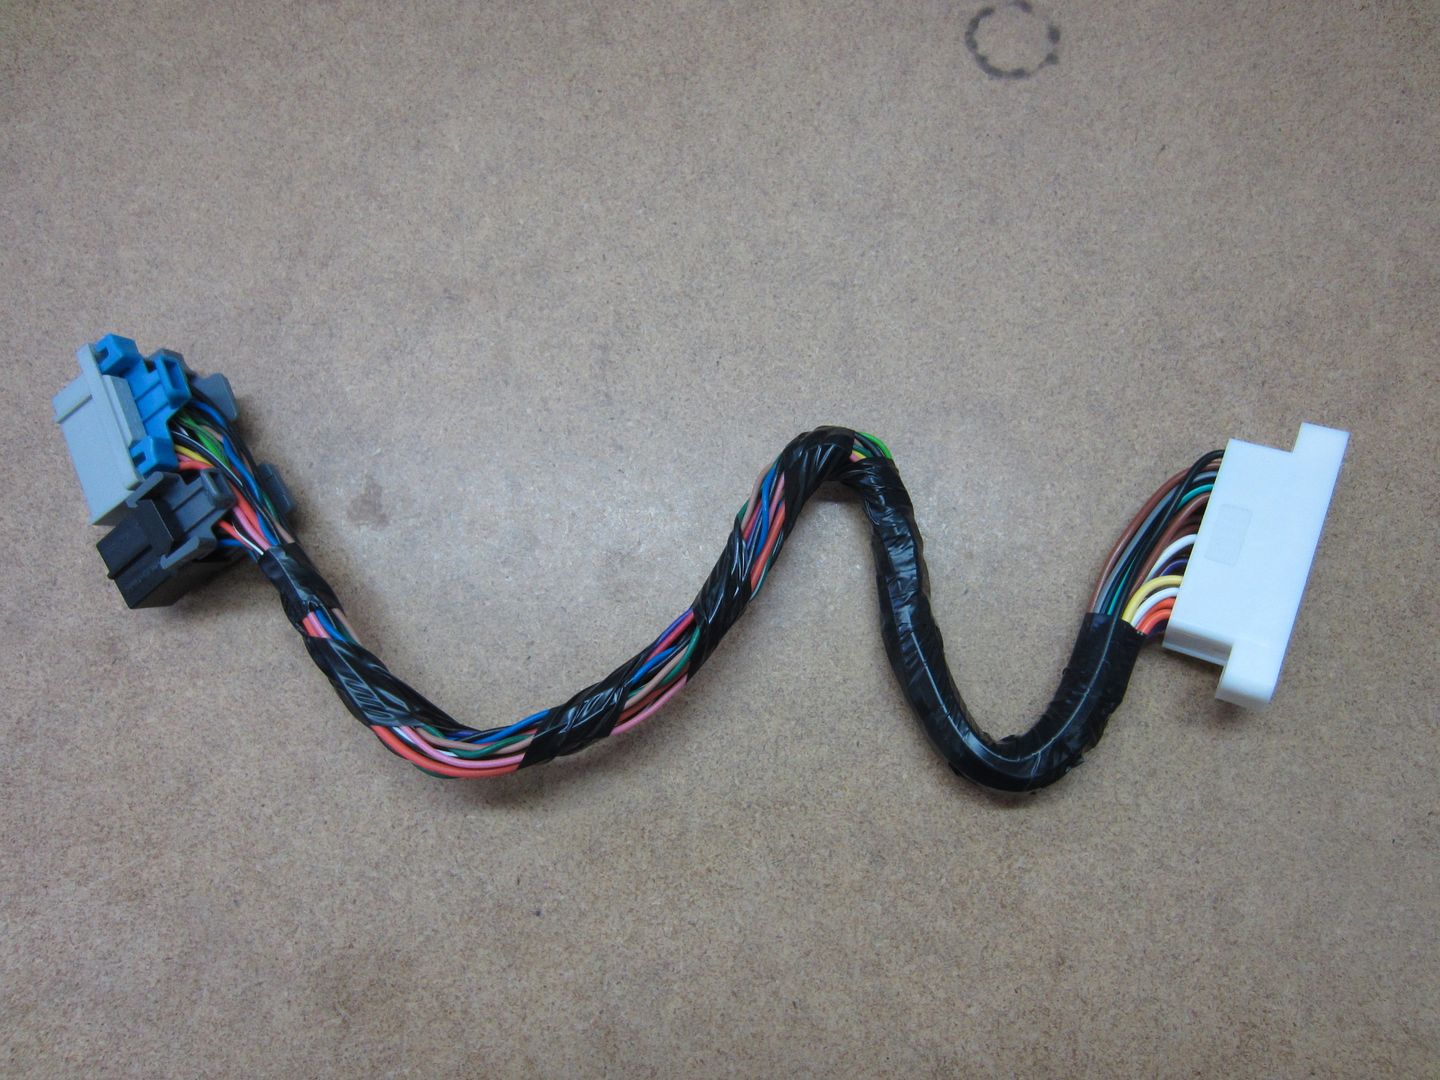
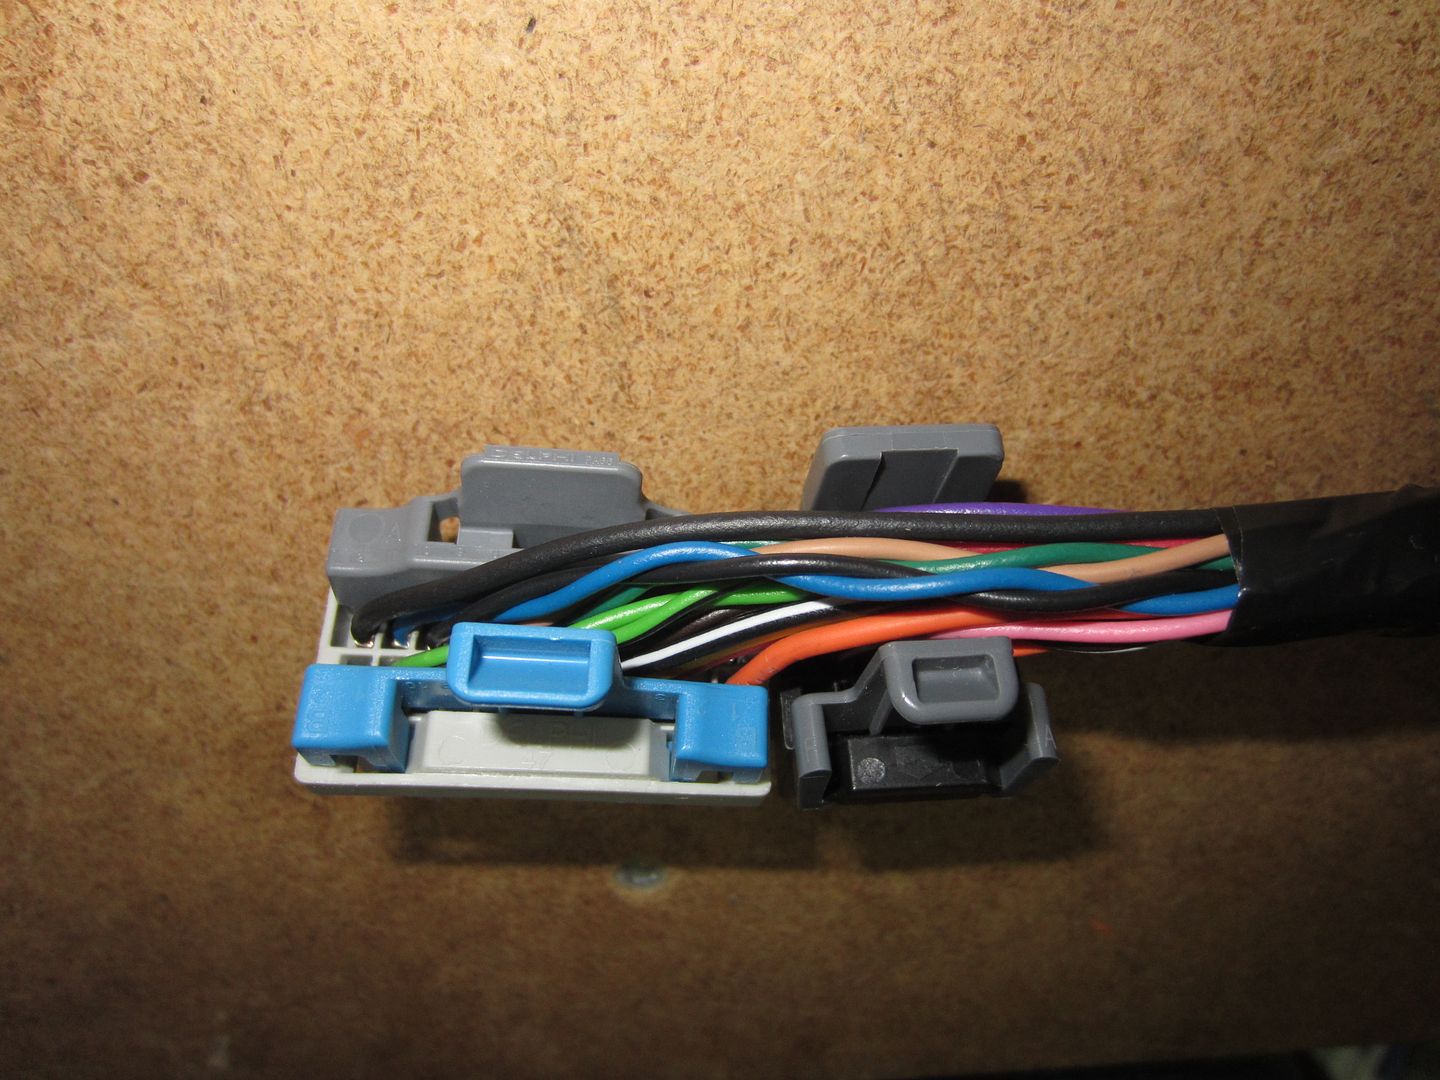
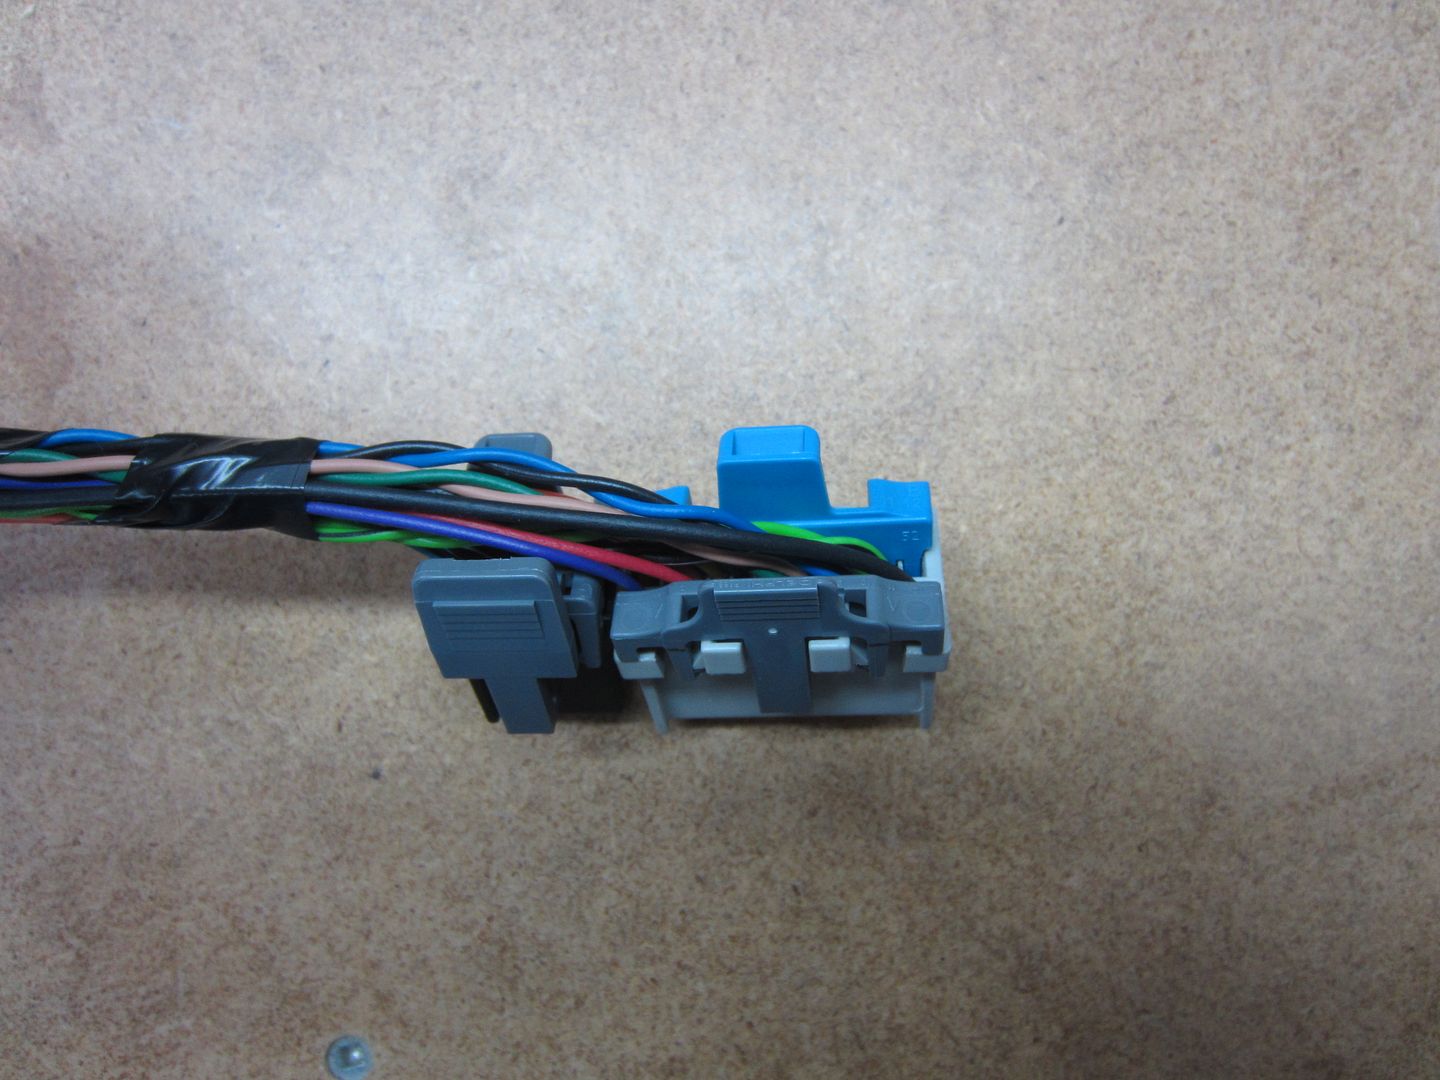
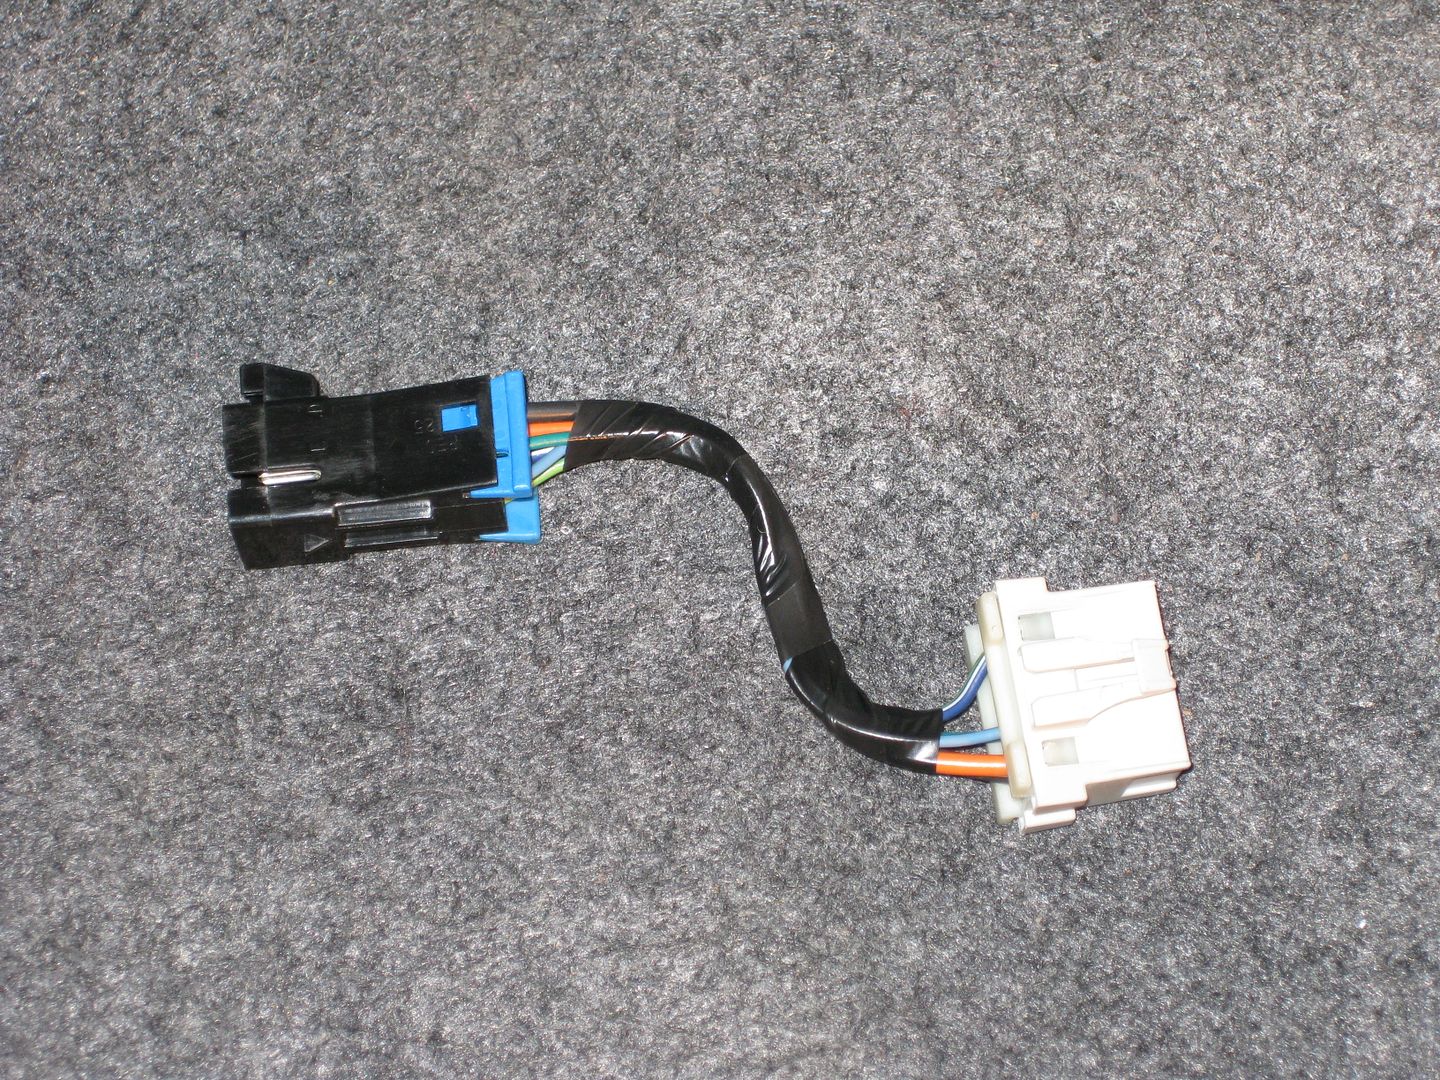
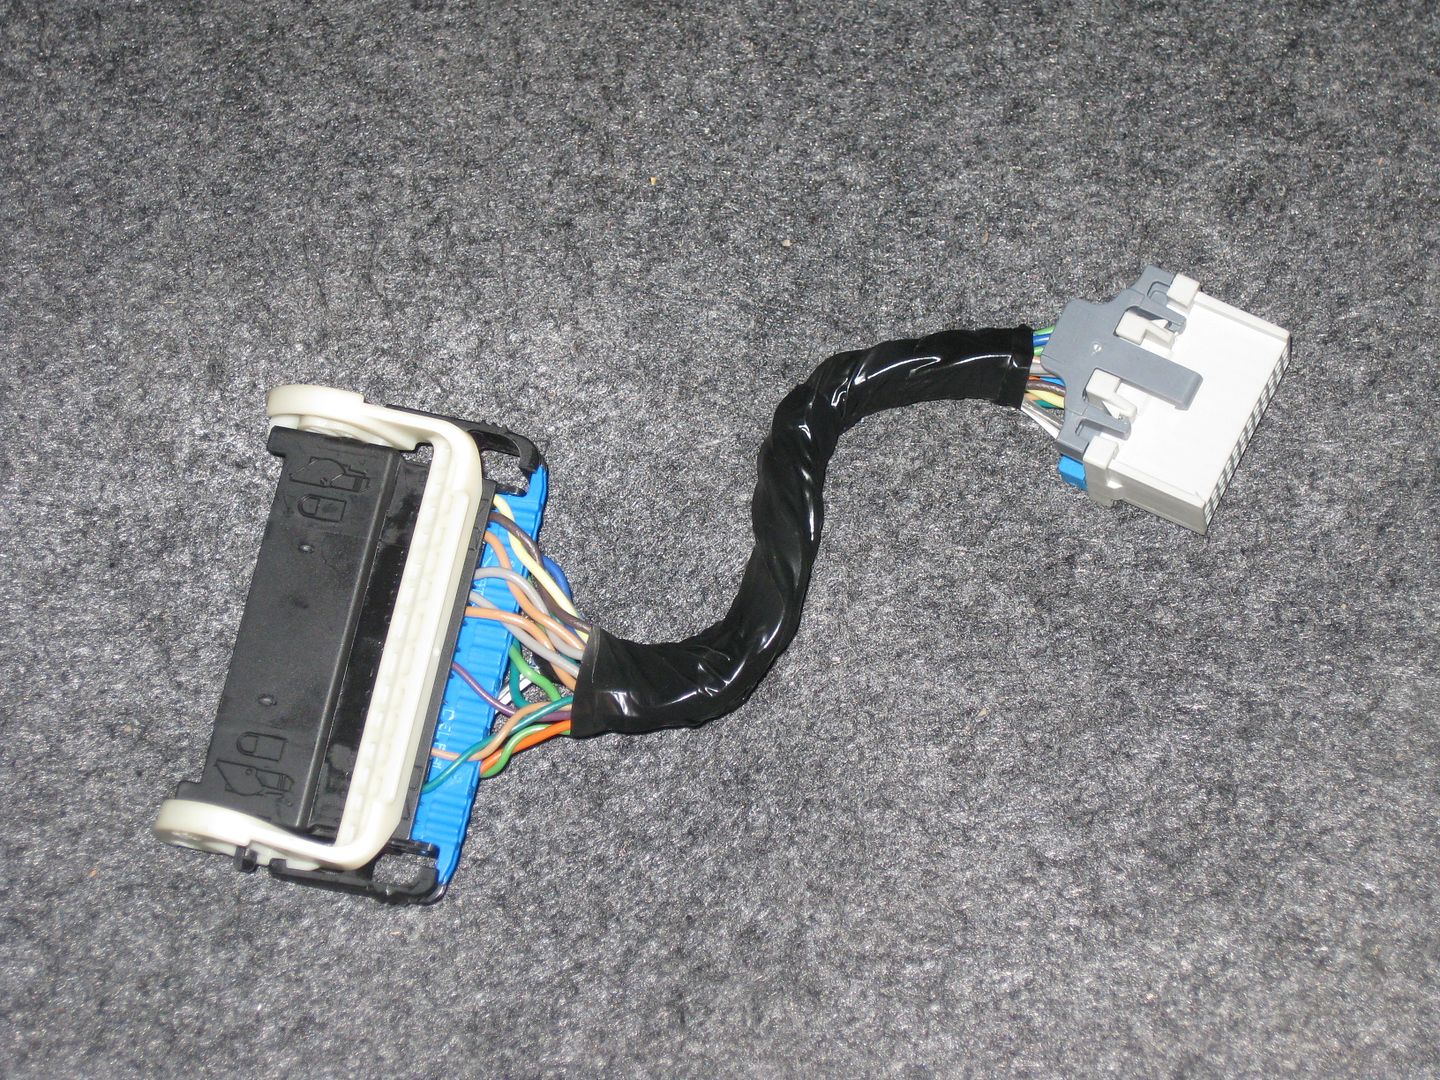
Here are the two interface cables I built that are amplifier specific. To revert back to a Monsoon amp (in addition to some changes in the dash), all I would need to do is build new interface cables specific to what’s necessary for that amp.
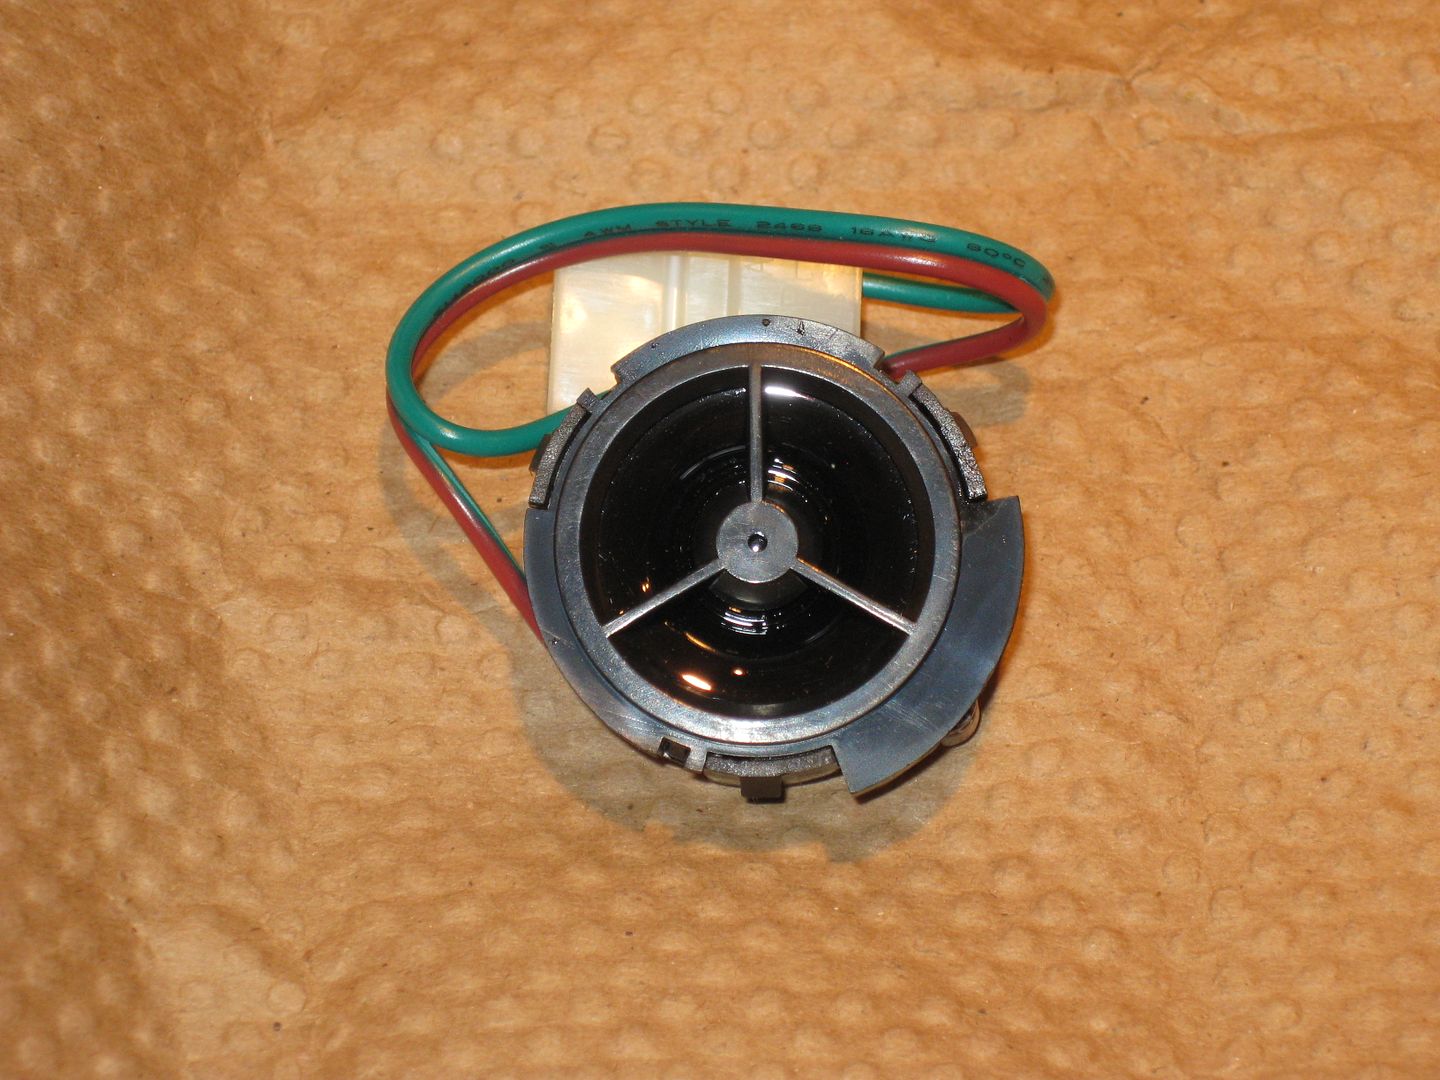
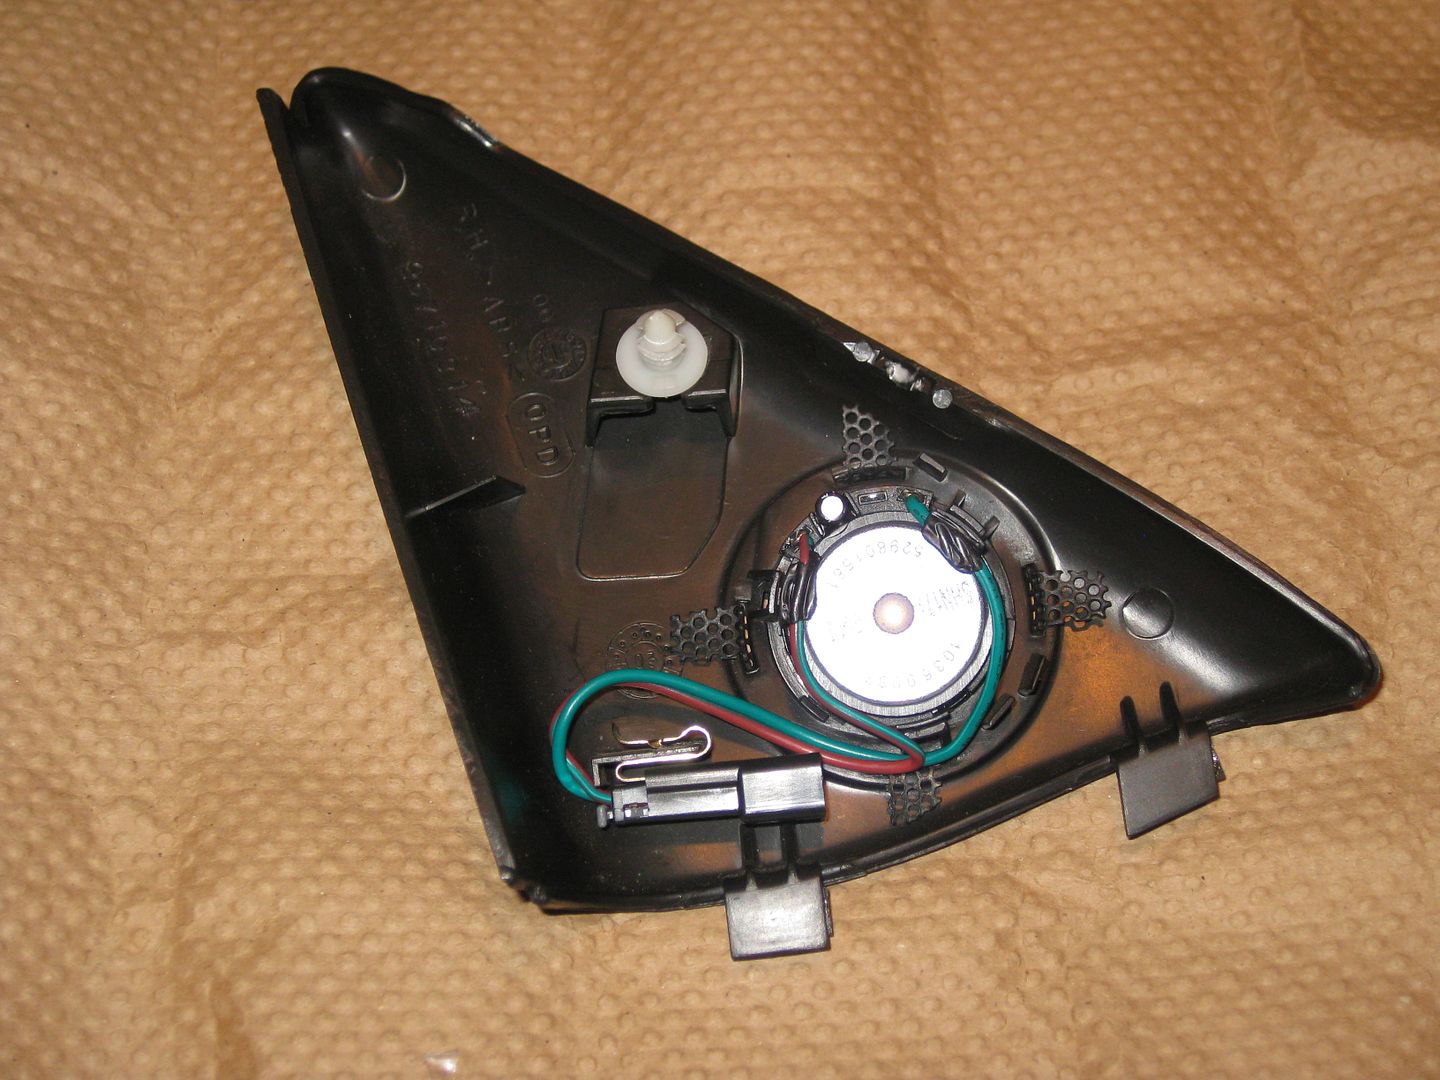
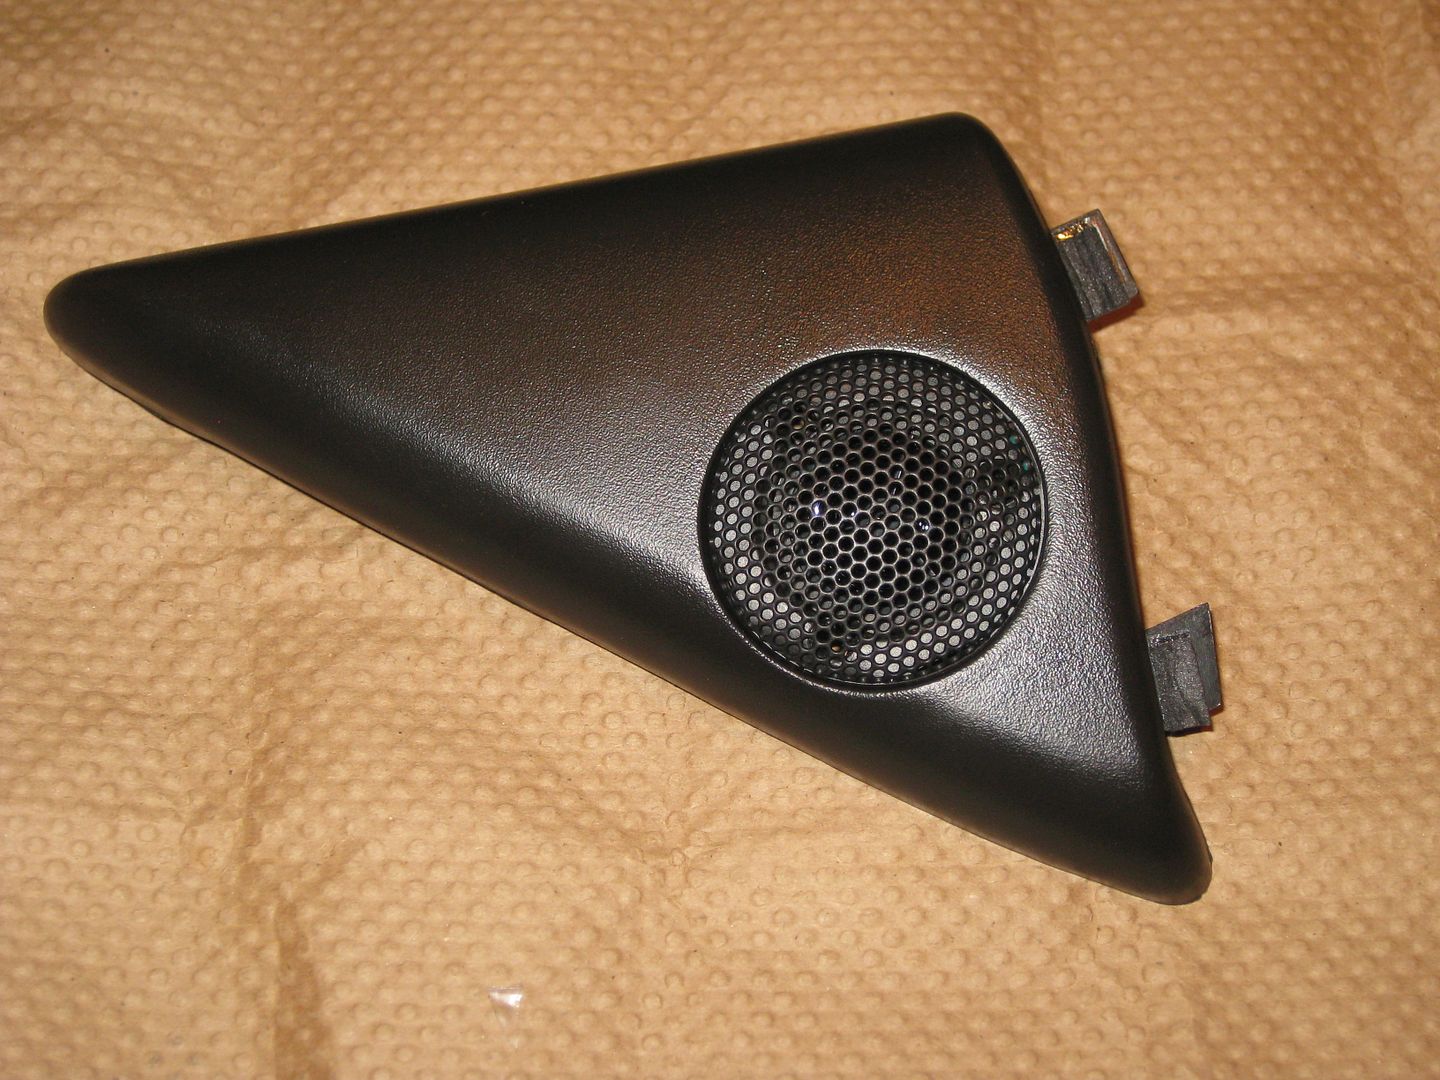
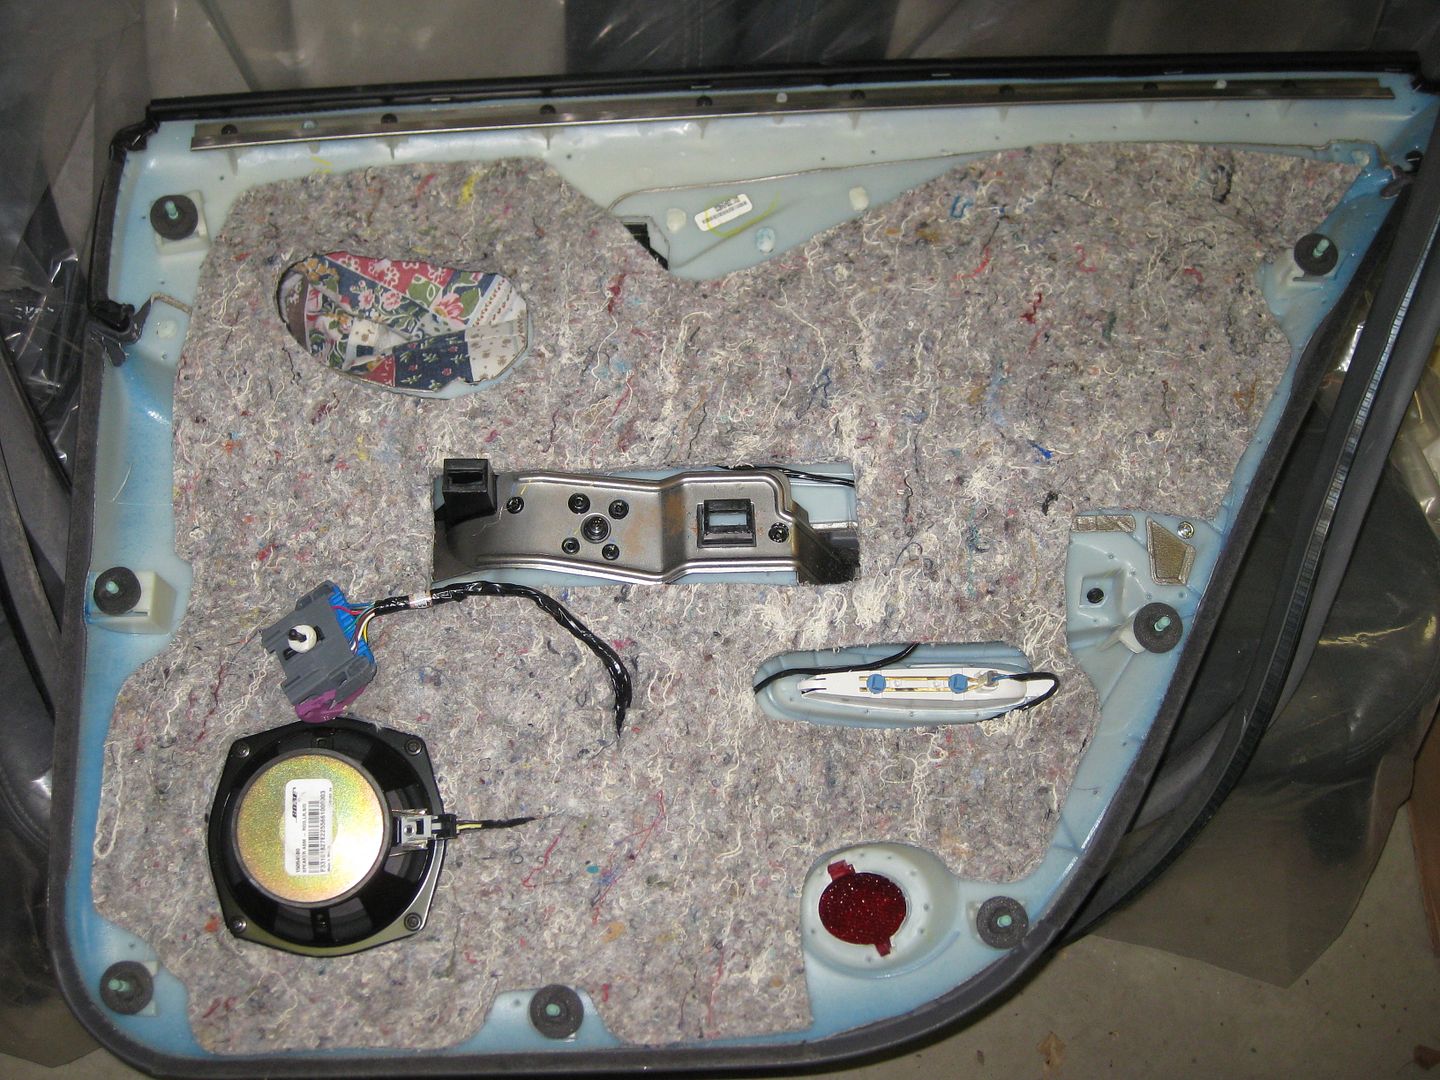
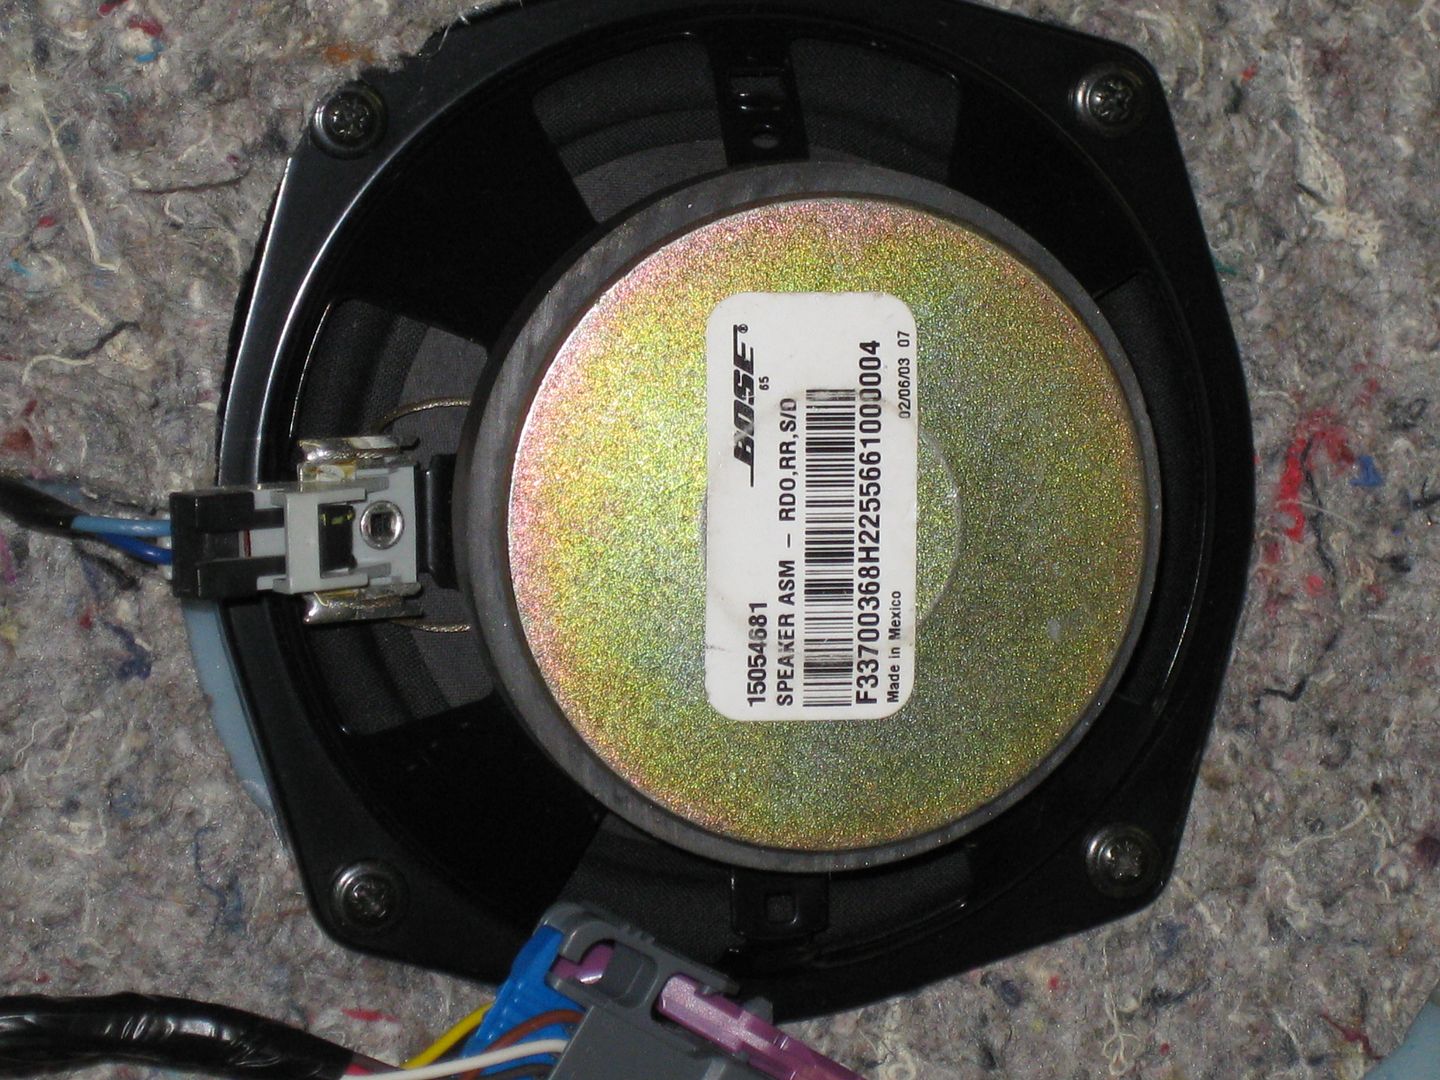
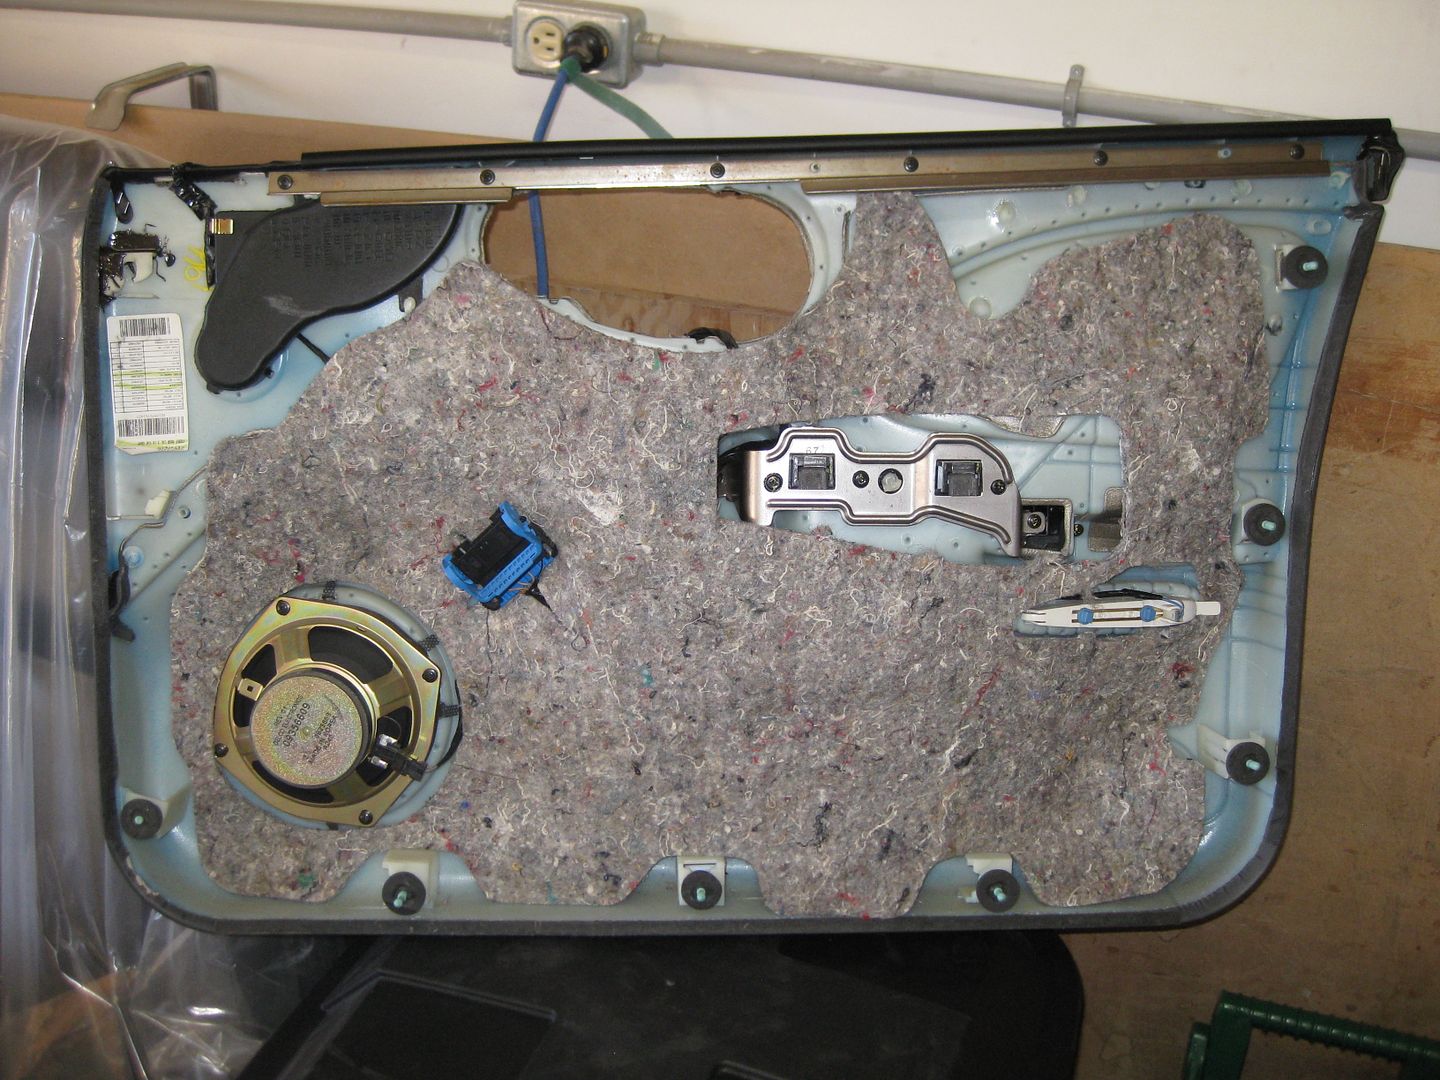
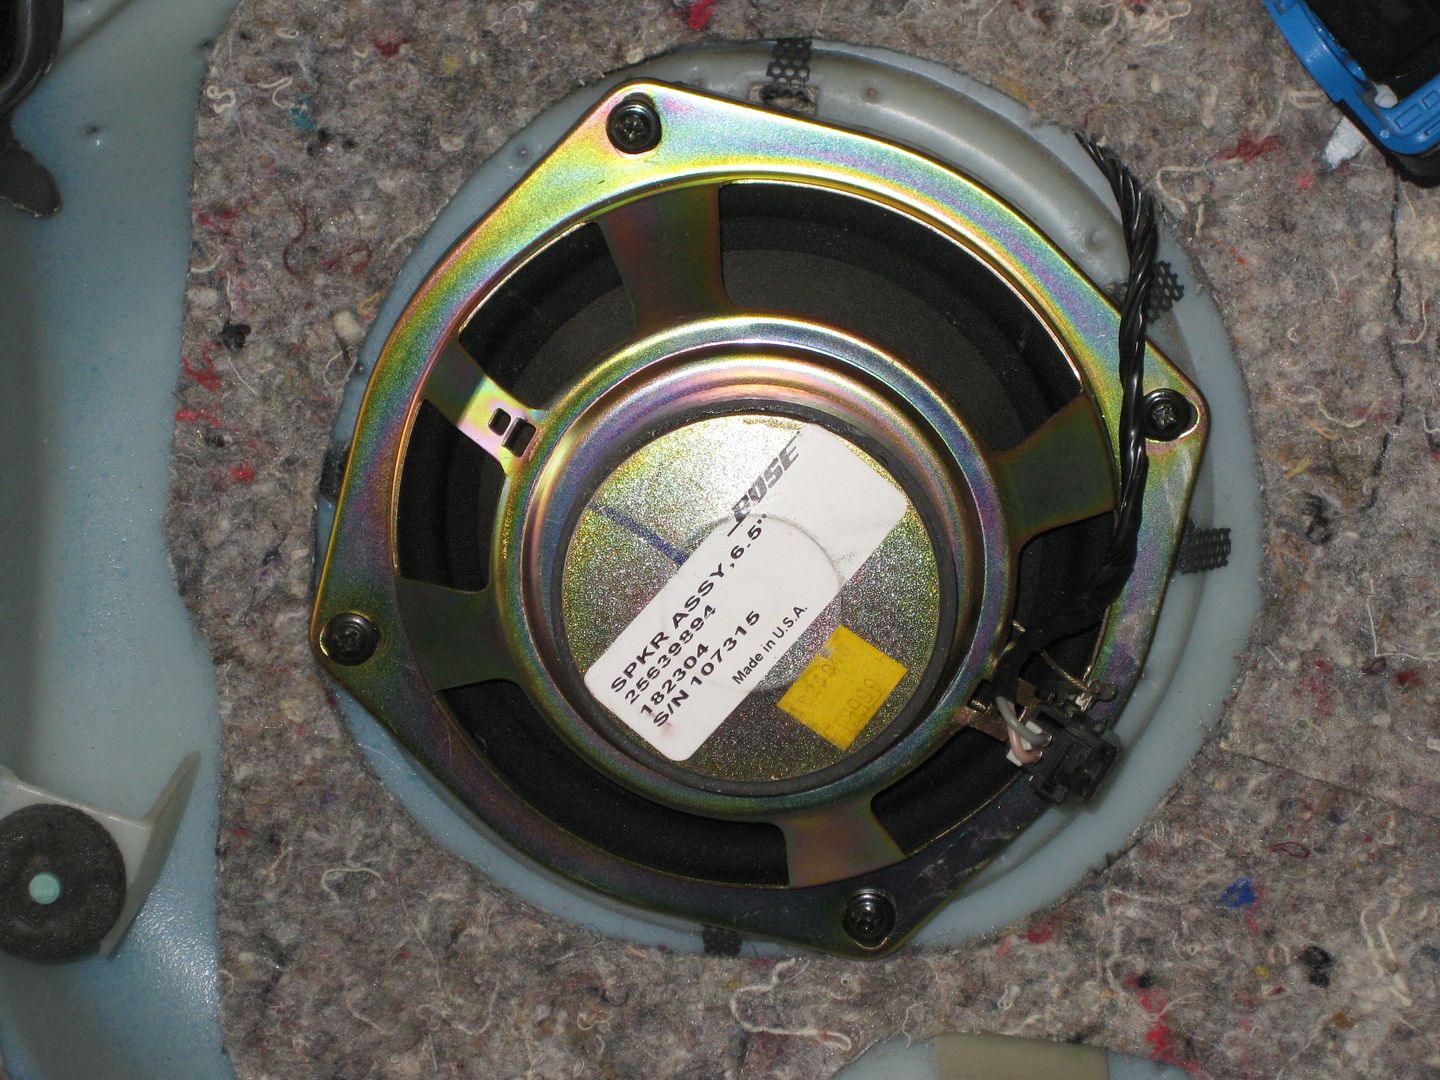
The final part of this whole adventure was to replace my Bonneville speakers with the Bose speakers used in the Escalade. To date (12/2018) I have not changed my rear shelf speakers and I don’t know if I will. Part of the issue is finding a Bose replacement of the same physical size. This is necessary to maintain the OEM factor which is prevalent in all my mods. I don’t want to get into cutting sheet metal. I’ve considered using adapter plates but haven’t made a final decision on this yet.
In order to accommodate the speaker upgrades, I had to change connectors for many of them. Instead of trying to modify the speaker itself, I (generally) just changed the connector on the wiring harness to mate correctly.
To wrap up the post, I’m very happy with the end result. This mod was done several years ago now, but I wanted to (at last) put forward the project summary. Now that it’s 2018, updated navigation discs are no longer available which is very disappointing. Despite this, it has still been an interesting and educational adventure. The sound quality is also far better than what the Monsoon system offered. This alone is a plus. I know people will argue back and forth all day long about installing an aftermarket system for “better sound quality”, but honestly, that’s not what my mods are exclusively about. Everything I’ve done is all about putting together the car I wish GM would have released. I can only image what the sticker price would have been with all my upgrades!!!