I wholeheartedly agree on every point. I was actually thinking about your road trips when I was planning mine.nos4blood70 wrote:Looks like some fantastic adventures.. I don't envy you being up fro 36 hours, as I've been there, but the road trips that come from that kind of thing are always memorable.
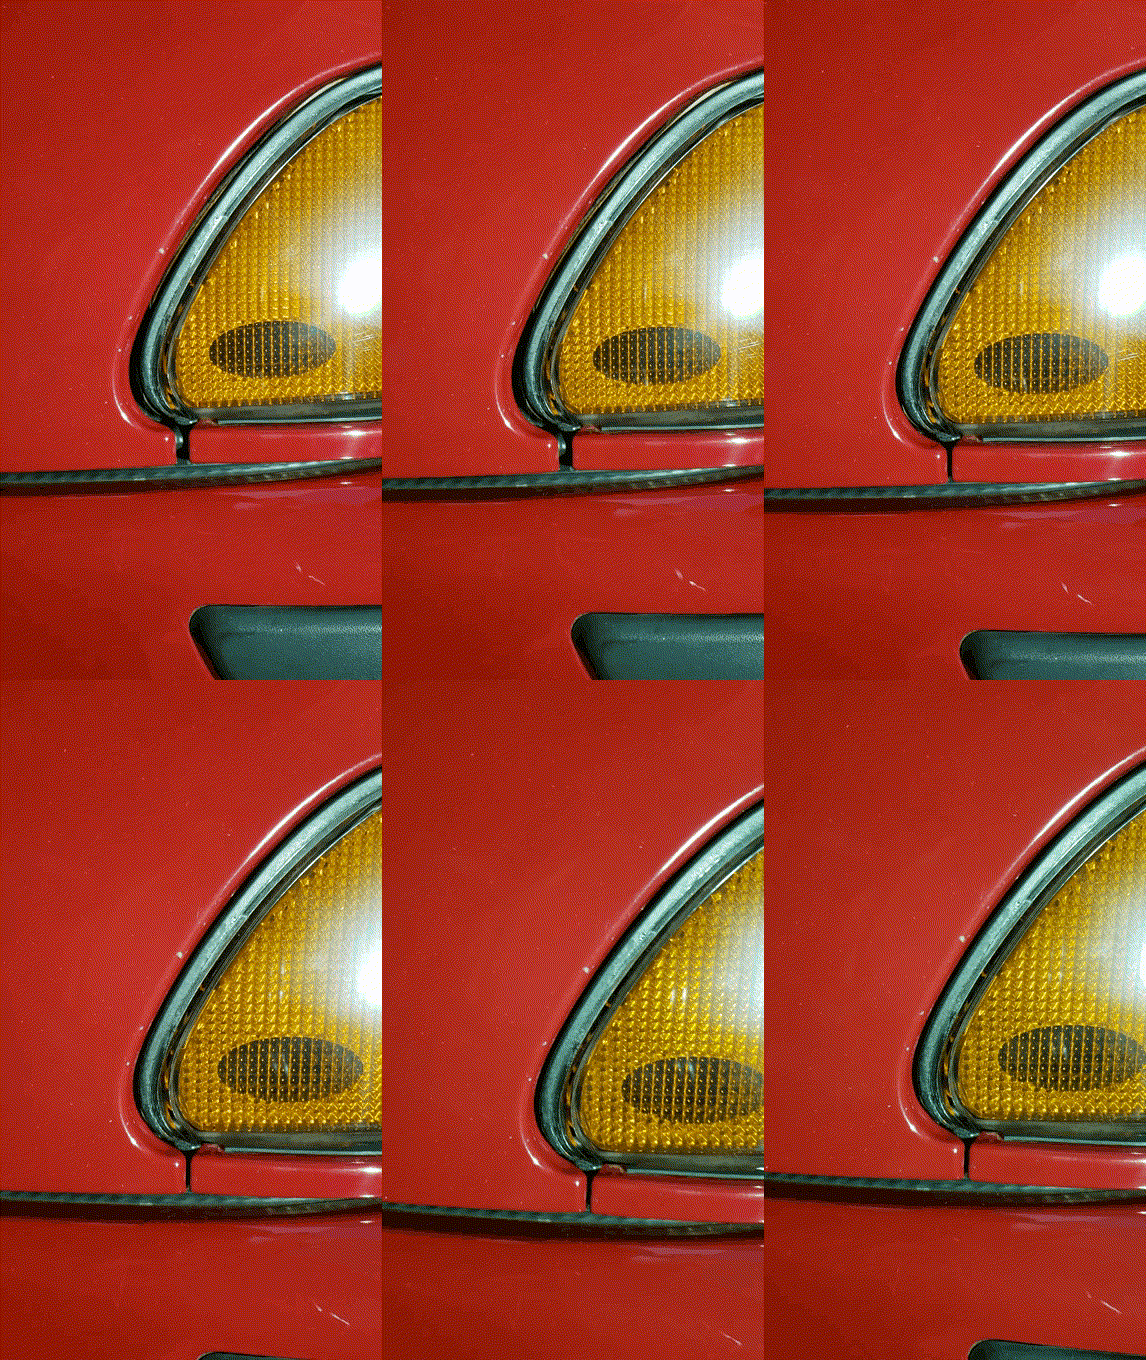
Amazing to see all the little fixes most people would let go. This is how I've been treating all of the cars under my care as well. Especially if it is usually just a question of time and effort. Always feels good to fix little stuff that makes the overall car appear far cleaner... Good hit of dopamine!
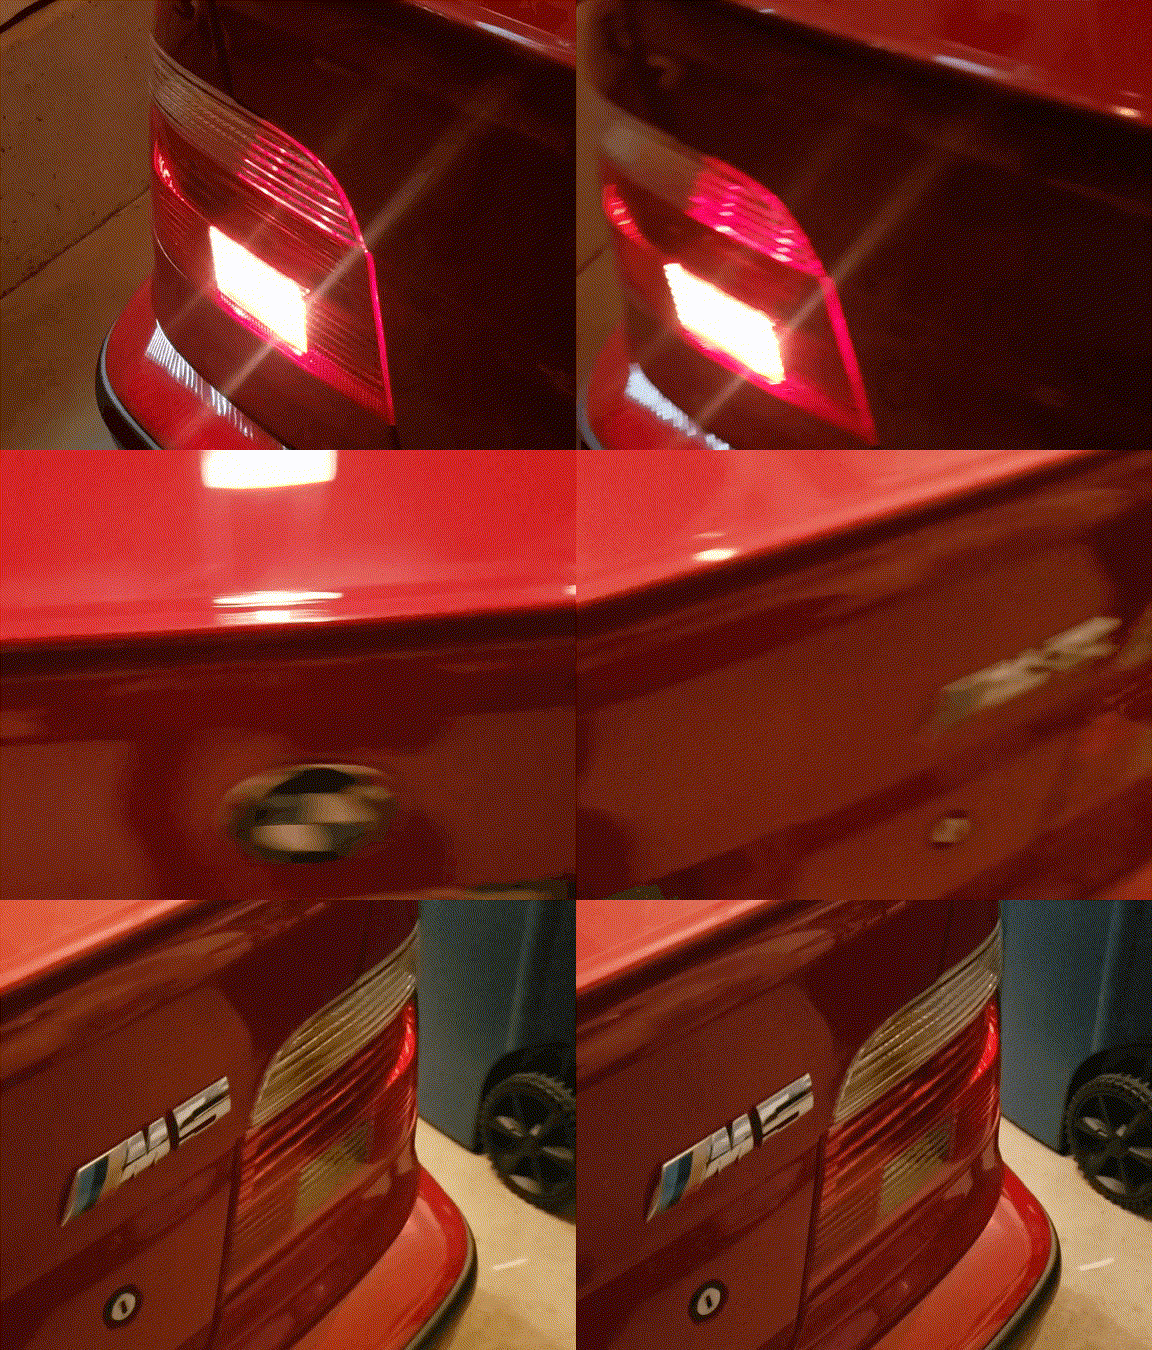
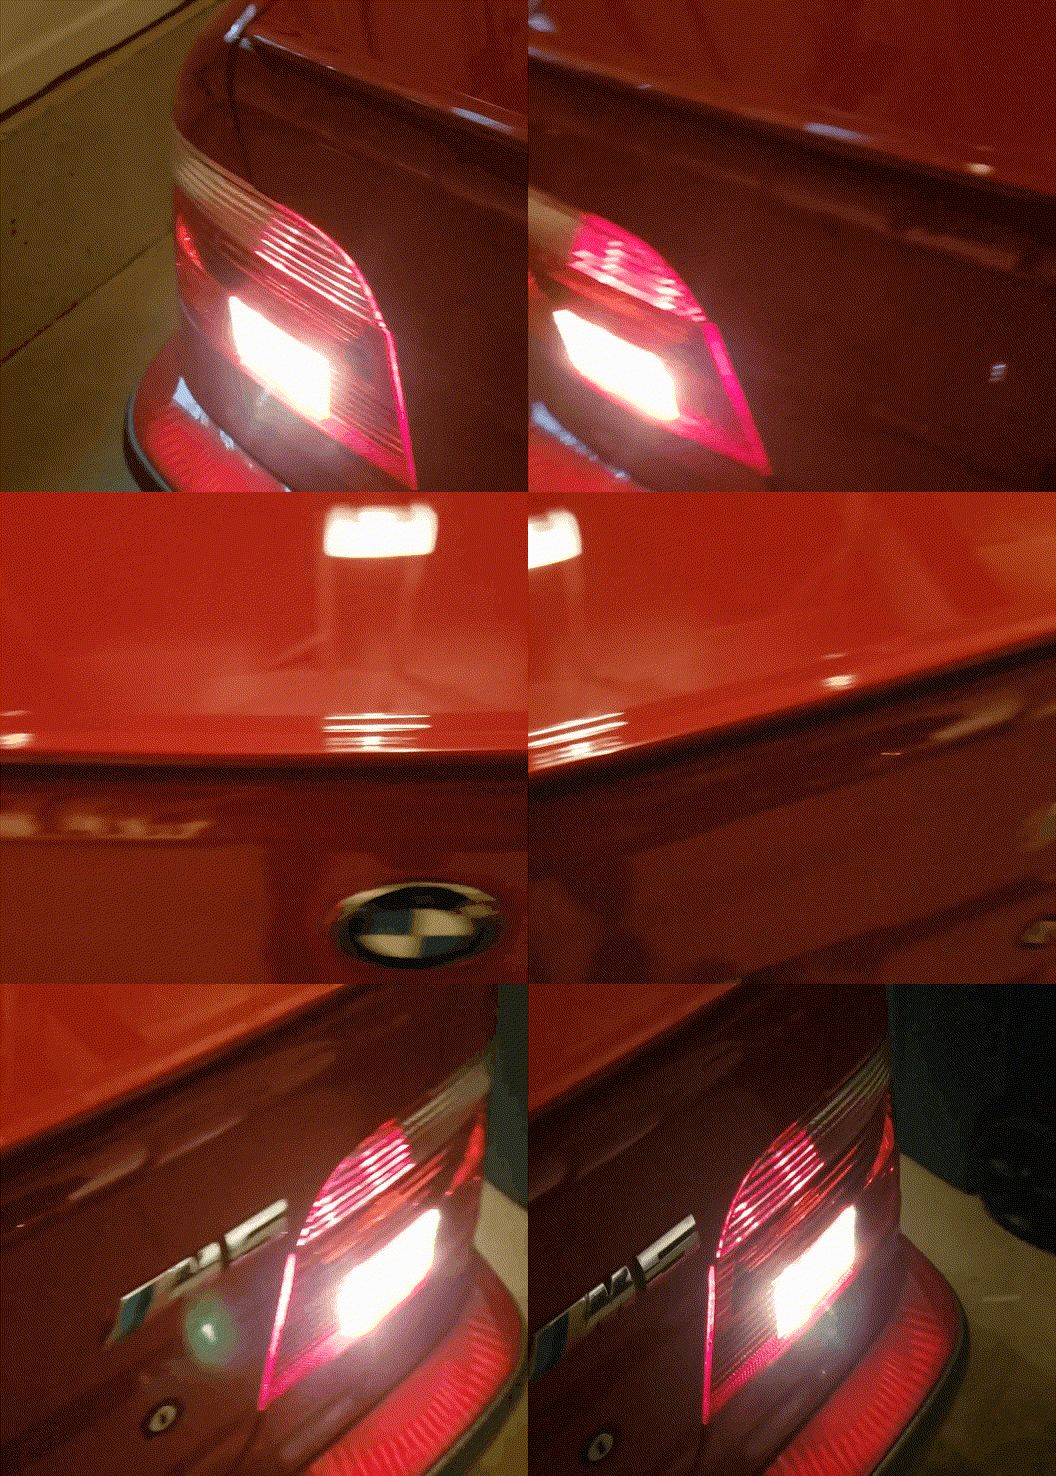
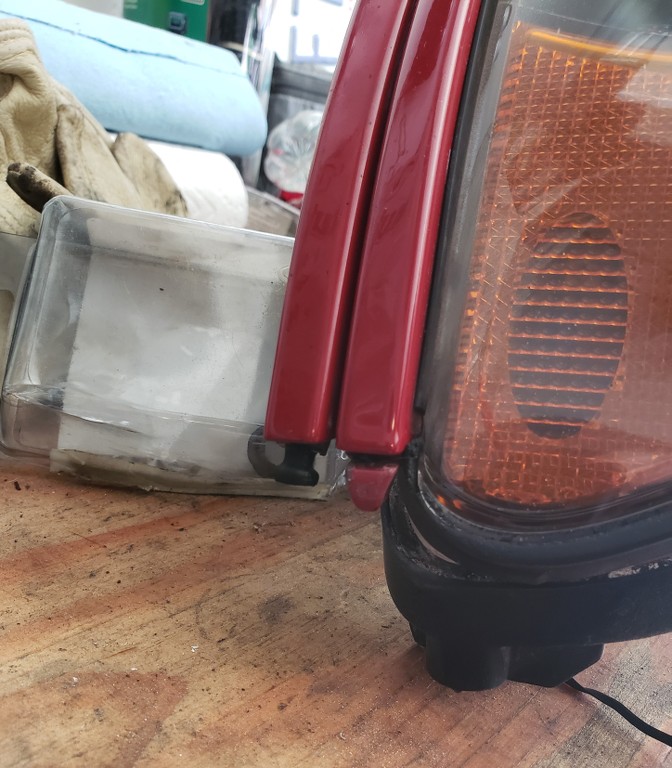
Seeing that butyl GIF gives me PTSD. Lol! One of my least favorite substances in cars. Although it does work well when it is fresh.
The two tricks I've found for removing butyl that work that depend on the type are pulling it away fast/hard and also using a blob of it like that GIF to quickly tab at remainders of it. Either way it sucks though.
Well, fixing this was fun.
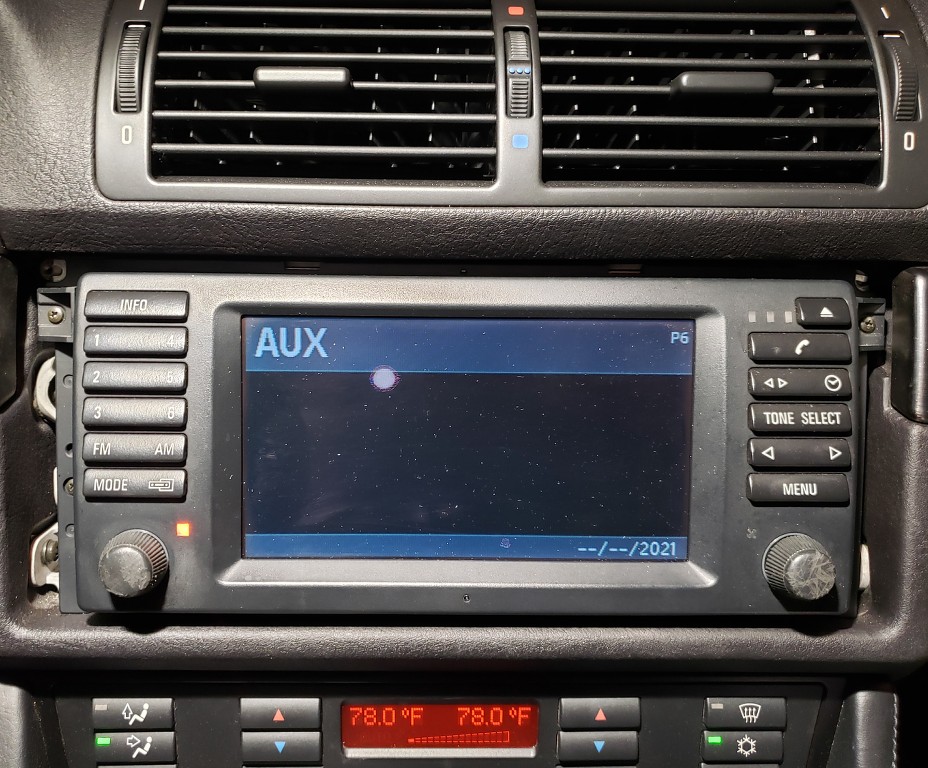
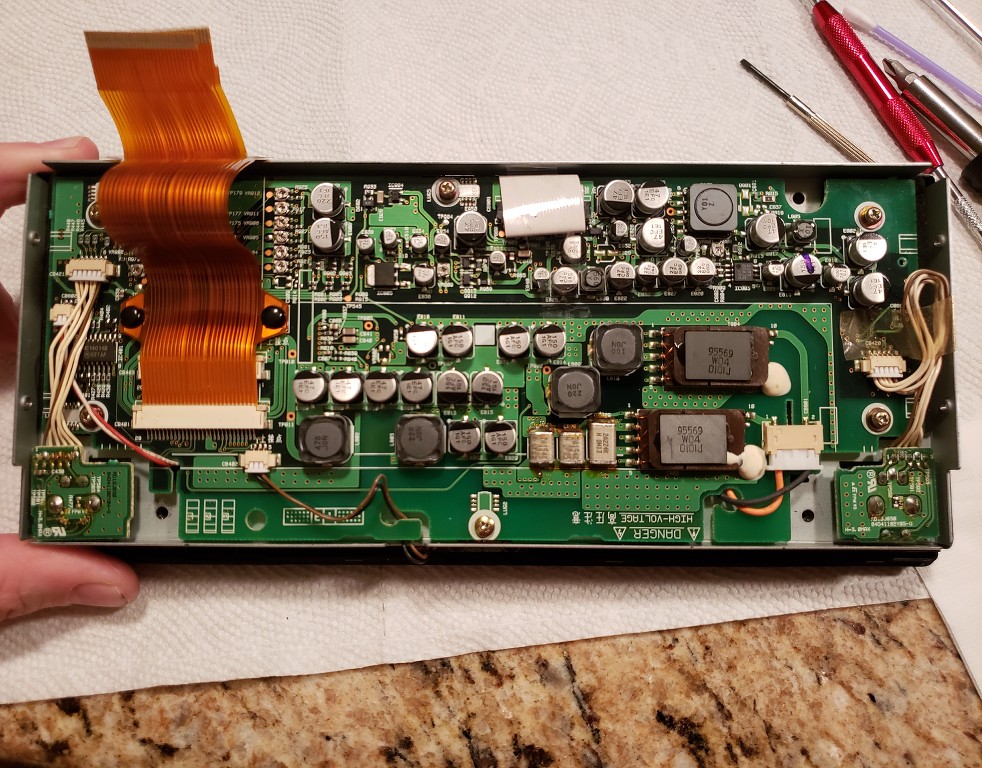
I finally narrowed down the head unit screen flickering issue to the PCB in the screen assembly.
I purchased an ebay head unit that was 'tested and working 100%' and replaced the LCD with the aftermarket one I installed previously. Ultimately this works with some headache and time wasted as detailed below.
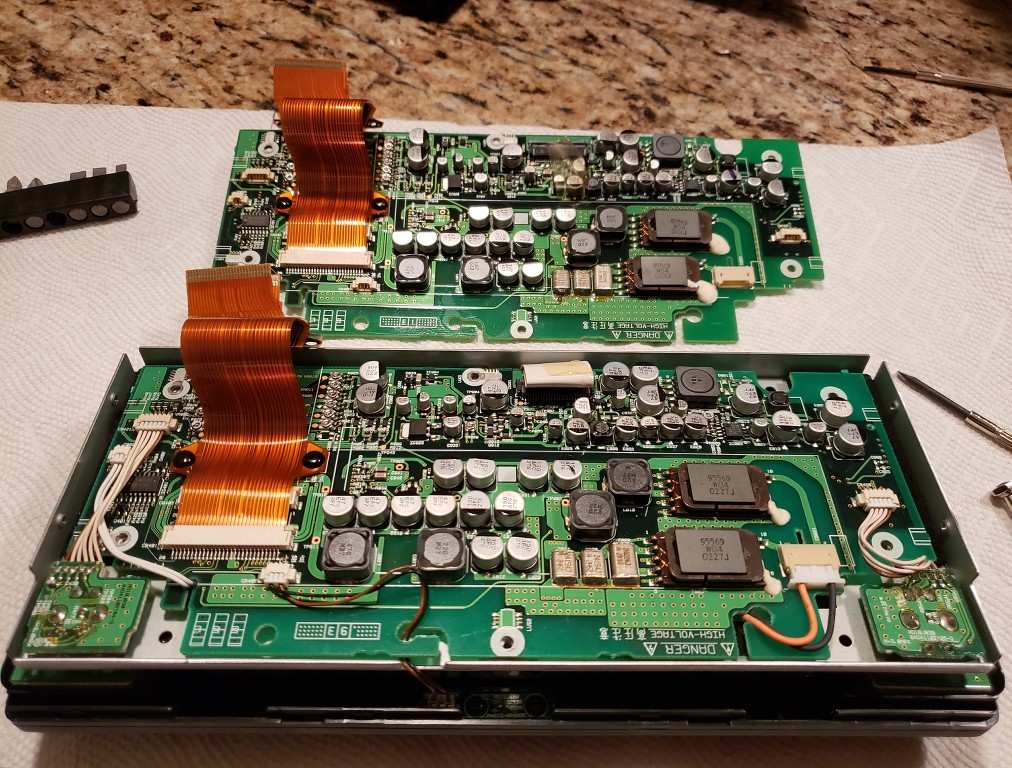
First I plugged in and powered on the ebay unit to see what I was working with. The faceplate and overall appearance was good but it unfortunately had some dead pixels. Next I swapped the entire screen assembly from my original unit onto the ebay unit to see if the original problem had anything to do with the body of the head unit. There was no change so I knew 100% the issue was in the screen assembly. Next I swapped the screen PCBs only, installing the ebay PCB into the original assembly (that has a new LCD) with this assembly onto the original body. And it worked! Well.. not exactly. The display was upside down.. Next I decided to swap everything around so that I essentially had the ebay unit with the new LCD. The problem with this was the bracket that holds the faceplate controls and screen did not line up with the new screen screw holes.. So I wasted time here swapping the brackets. I put it all together and it's still upside down. I took it apart, clean and retighten, same thing.
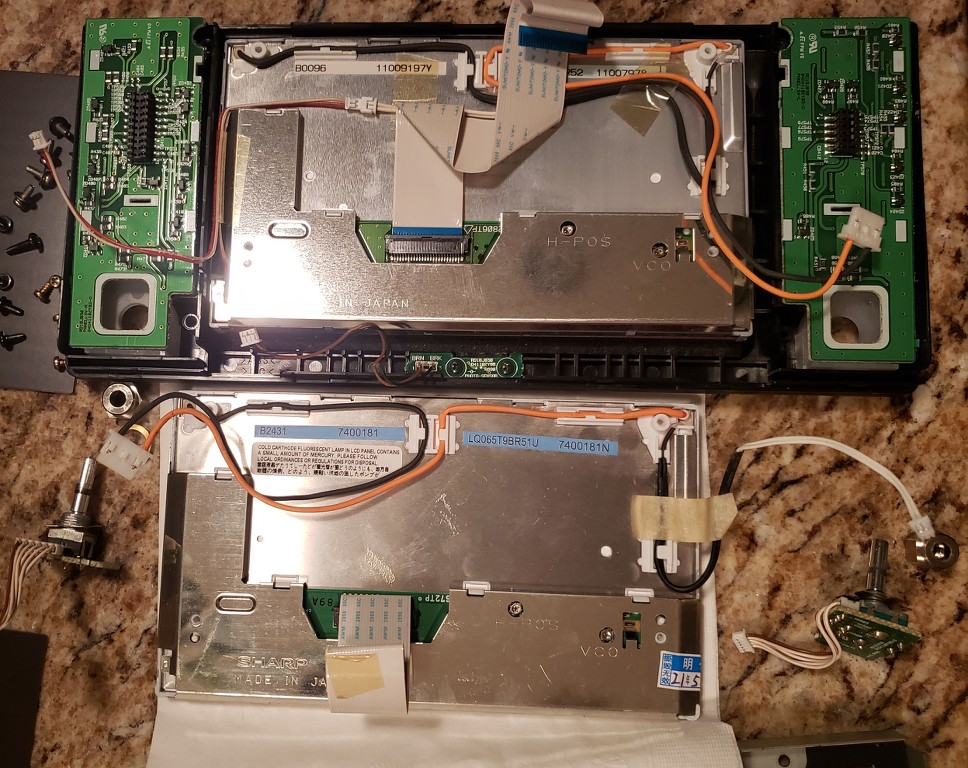
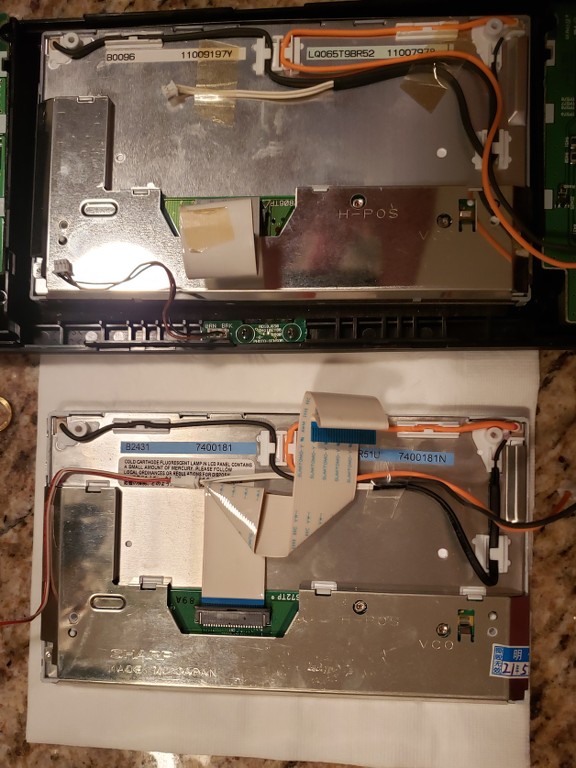
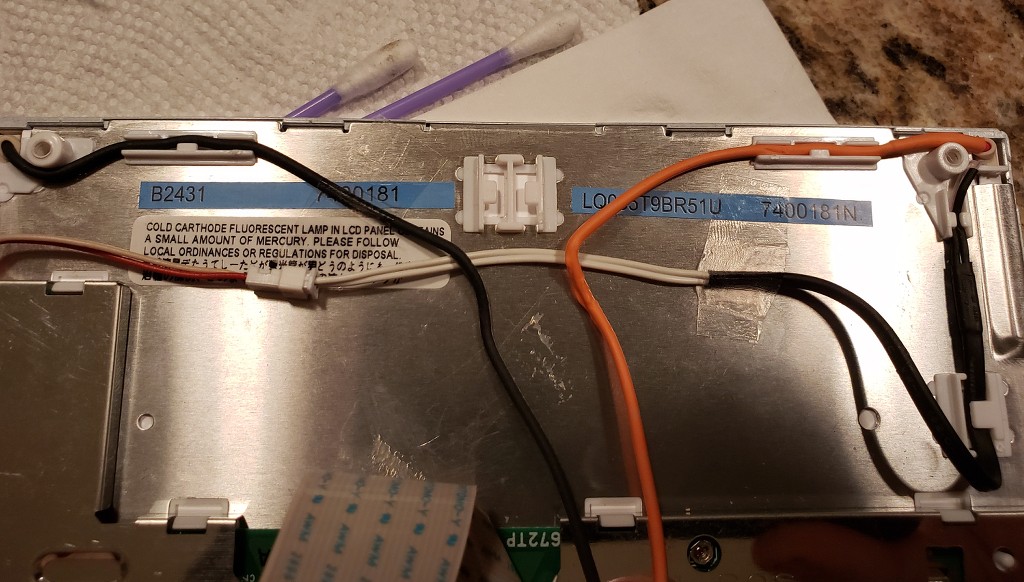
I took a break and started looking at the pictures I took during this process only to realize the screens have the same screw pattern. The difference was in the bracket.. It turns out sometime between Feb 2001 and Sept 2002 (my original) they changed the bracket and PCB to run the screen upside-down. I also noticed that the older screen assembly only worked with a wiring extension and a longer ribbon cable. So, I swapped those cables over to the new screen, mounted it to the ebay screen assembly bracket to use with the ebay PCB. What I'm going to assume is the backlight power wires, orange and black, were too short to run to the plug on the PCB so I unhooked them from the center wiring stay for more slack and taped the black wire into place. There was no binding/pinching. With that sorted I mounted the ebay screen assembly to the ebay body and tested it out. Finally I was in business. The screen seems like it's maybe a mm shifted to the right but from my vantage point it's hard to tell. I'm sure this will be an easy fix but that's a project for future me.
So in summary, the entire screen assemblies will swap right over. The PCBs are specific to the screen mounting orientation.
Complete ebay unit
Swapping PCBs only
Ugh
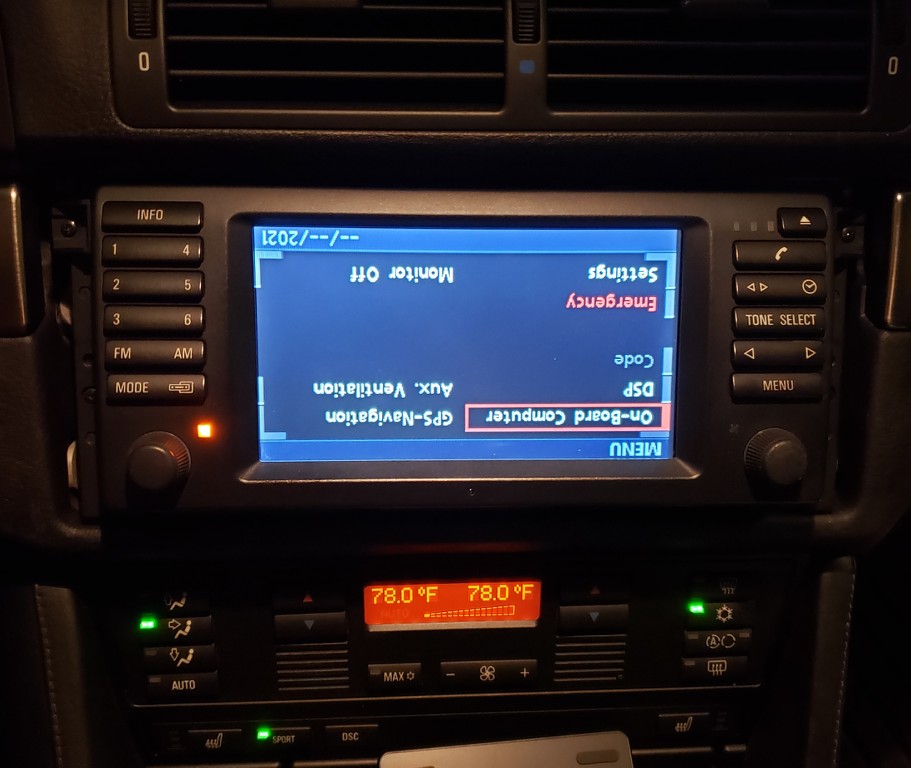
20 year old electronics party
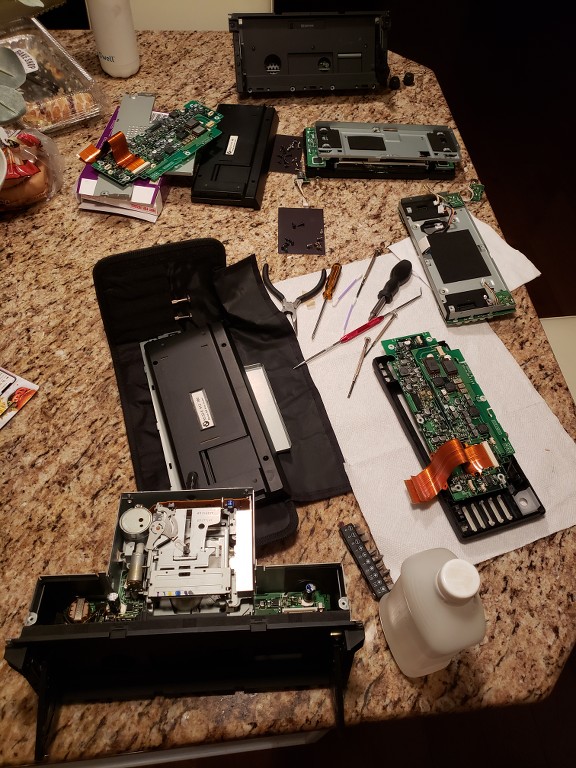
Screen bracket differences
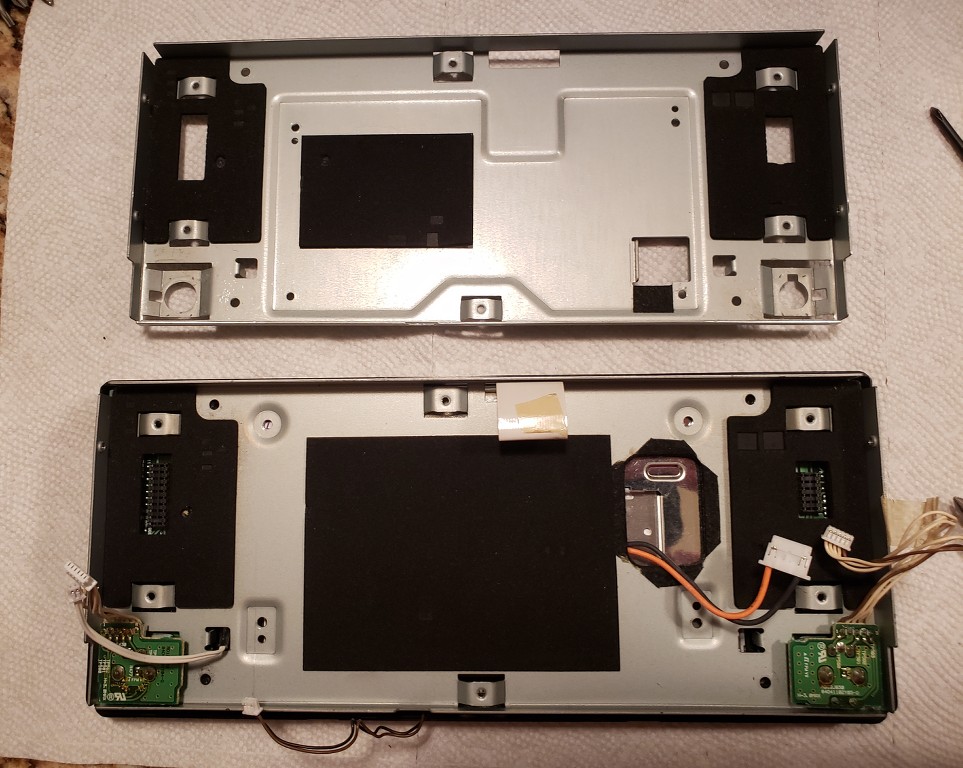
LCD wiring differences (older up top)
Wires swapped
More slack
Orange and Black wires are tight but reach
Success