

http://www.pontiacbonnevilleclub.com/fo ... =14&t=5512harofreak00 wrote:I decided that my original headlights were in poor enough condition to use my parts car headlights on my car. Since there isn't really a "how to clear the headlights" thread, I figured I could make a tutorial.
Skill level: 4/10
Time needed: 30-45 min
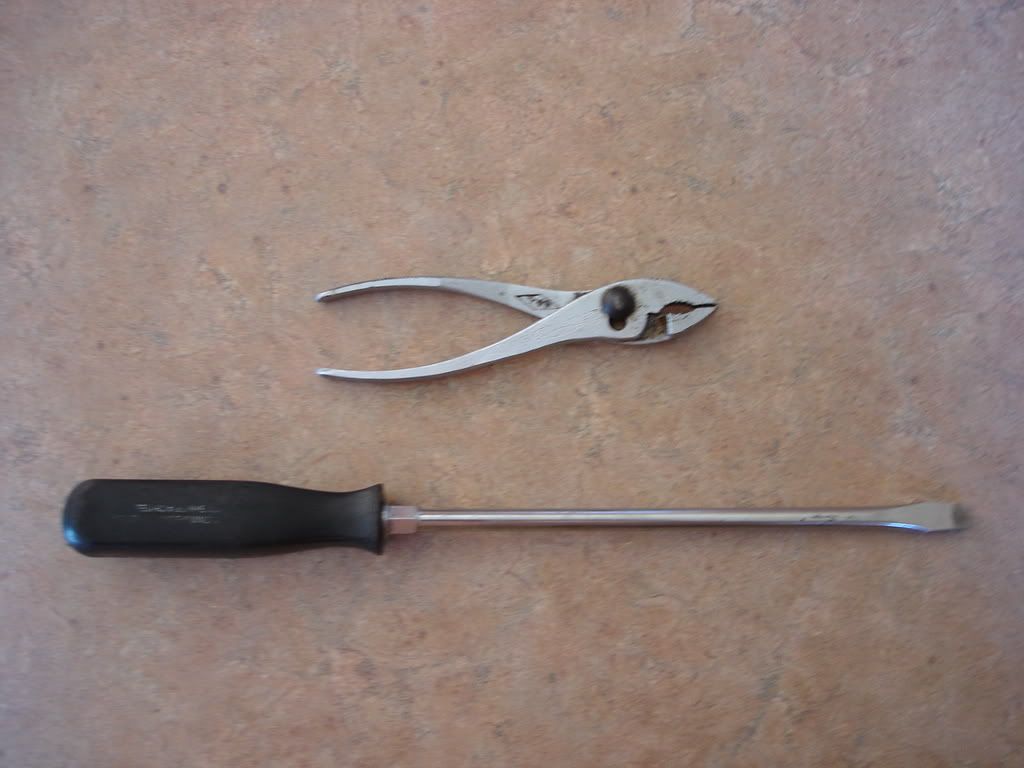
Here are the only 2 tools you should need.
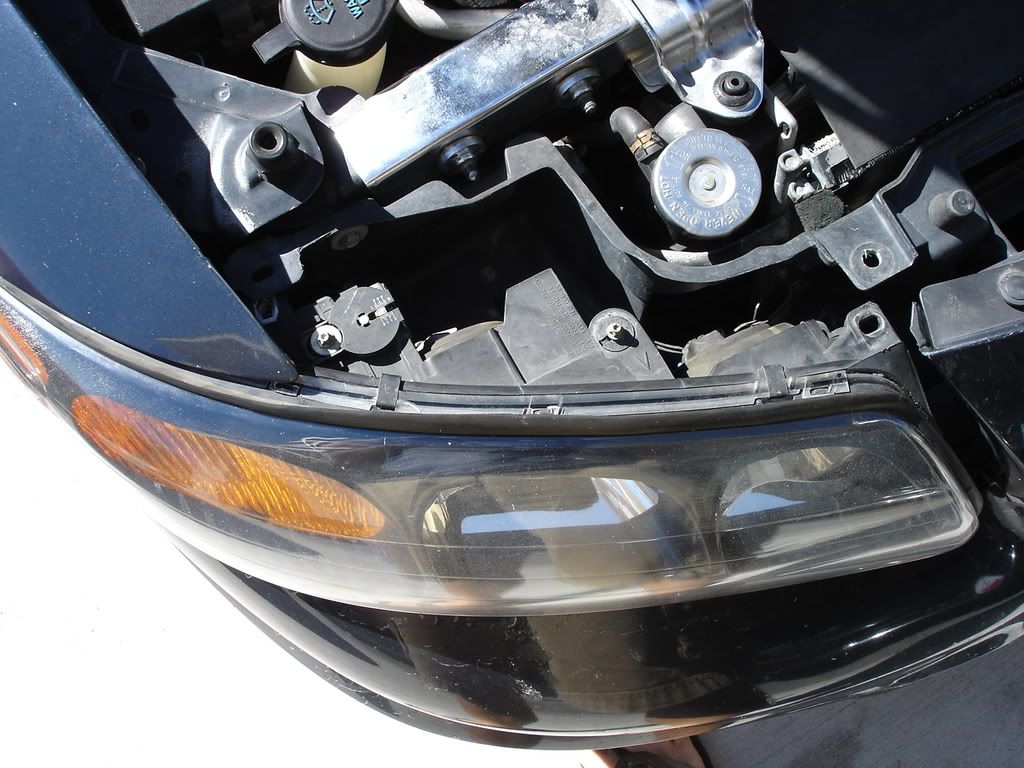
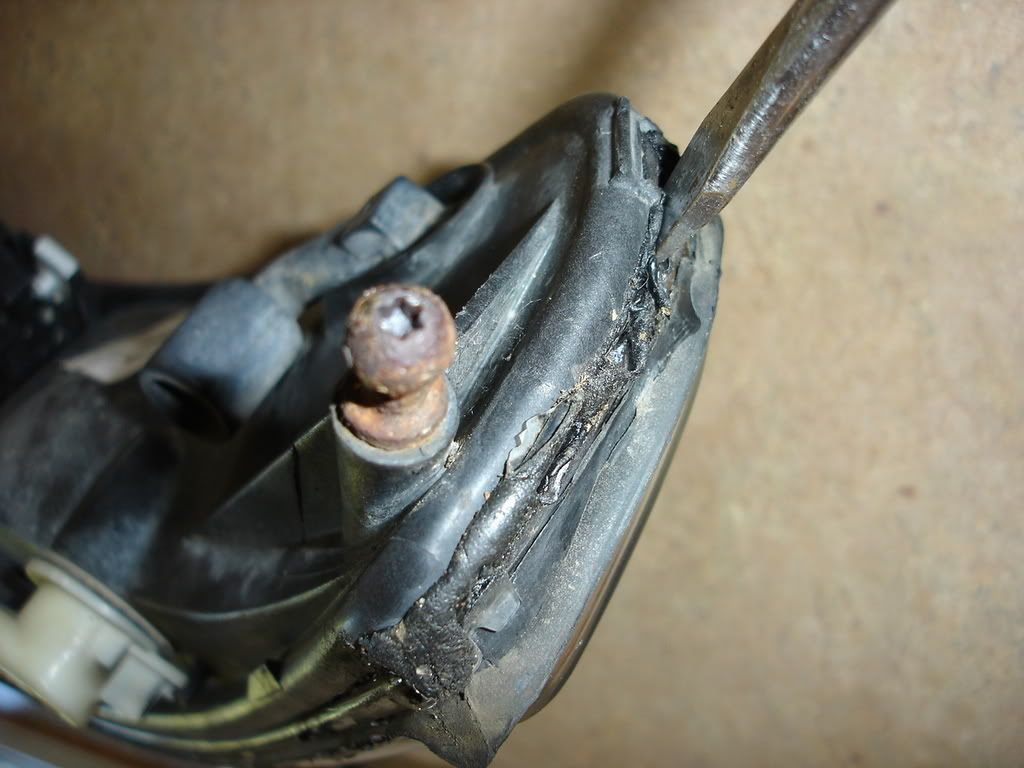
First, remove the headlight from the car, there are 2 - 10mm bolts that hold it in.
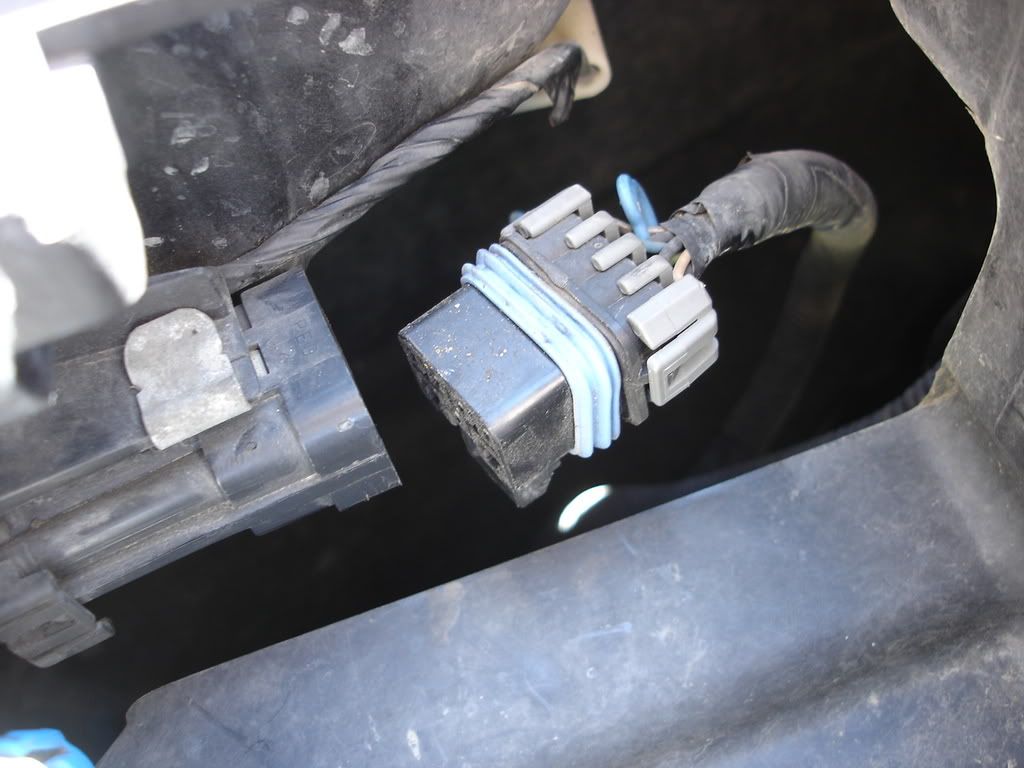
Then remove the wiring harness from the back of the headlight.
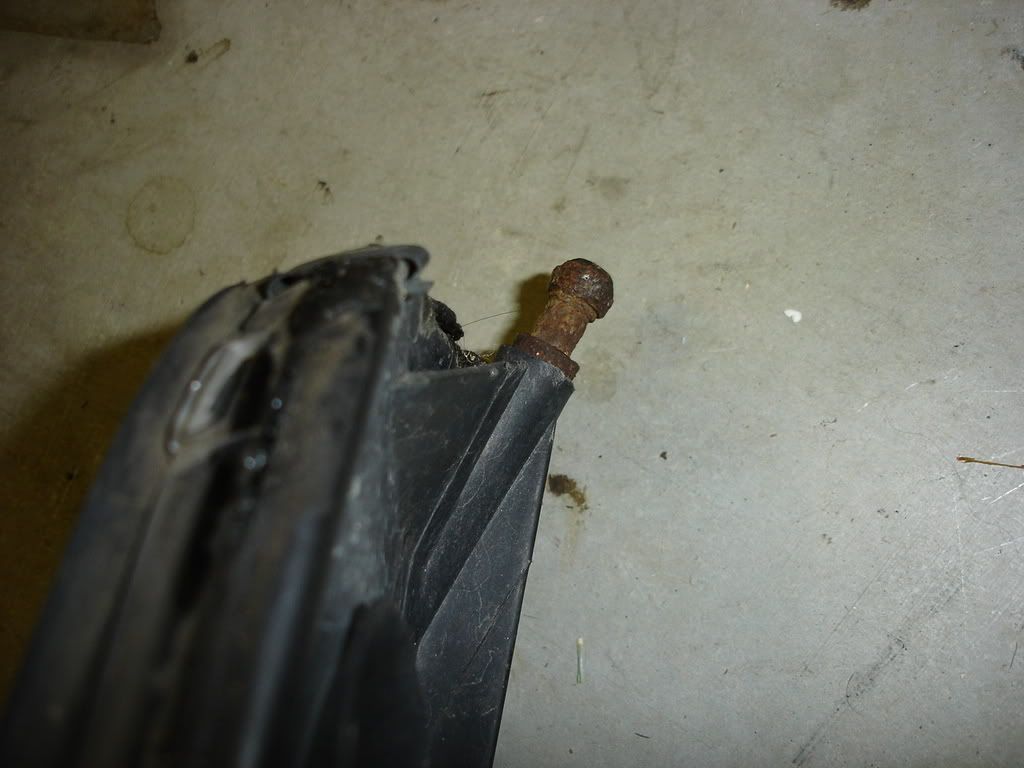
The headlight might appear to be "stuck" to the fender. It is a ball-socket joint that you simply pull straight out. It can get rusty over time, and you might need to pull and wiggle with all your strength.
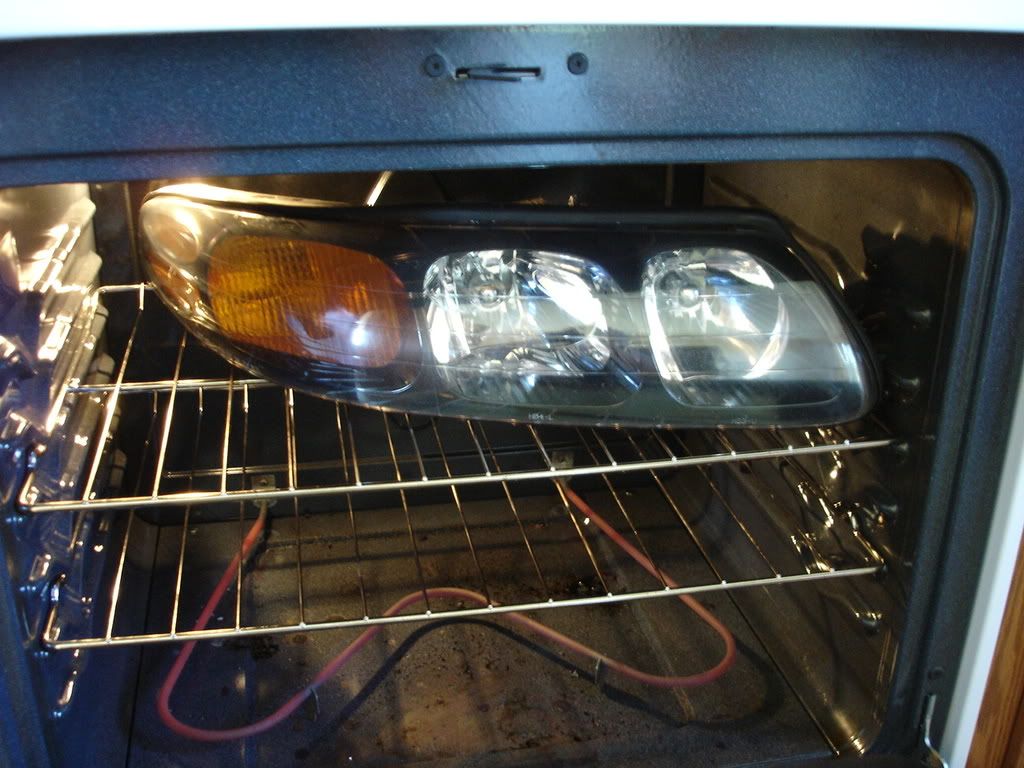
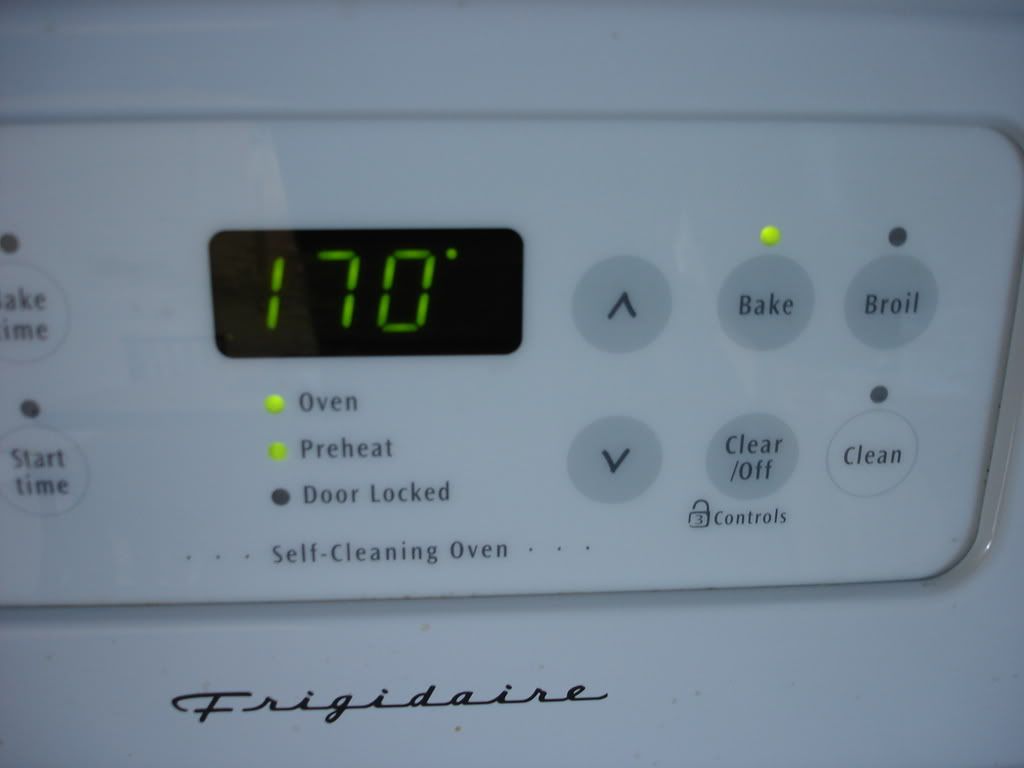
Next, we need to warm the headlight up so the sealant that holds the 2 pieces together will let go easier.
Put it in the oven at the lowest temp for 2-3 minutes, with the door open. You really don't want to melt the plastic, so don't forget its in there!
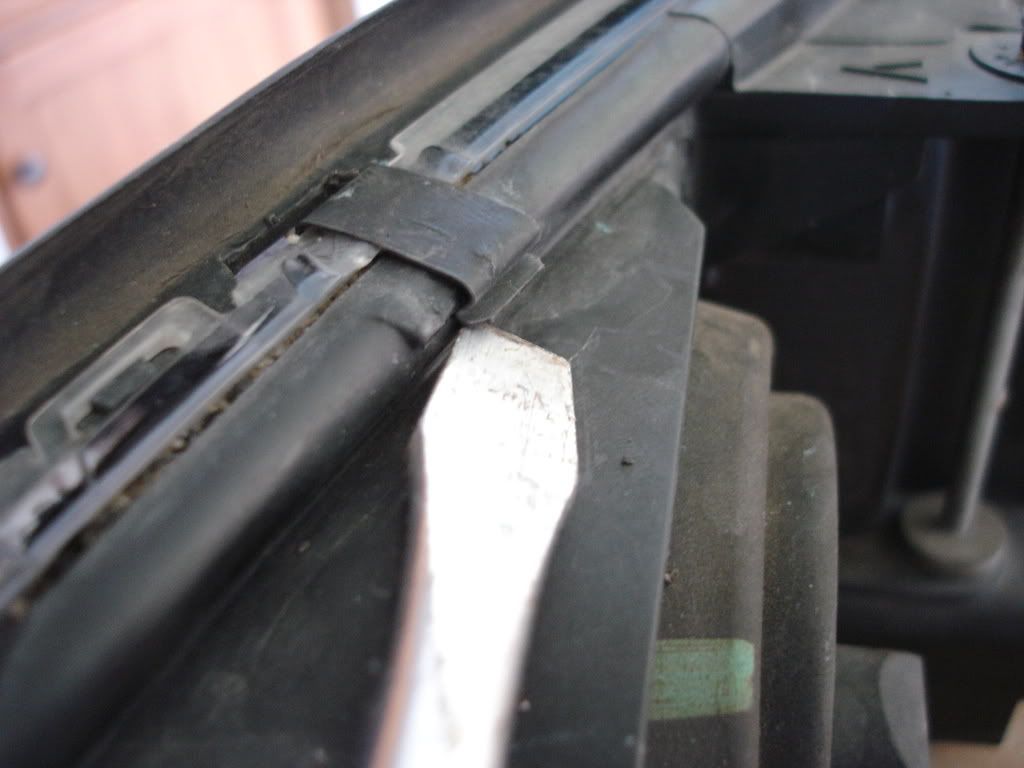
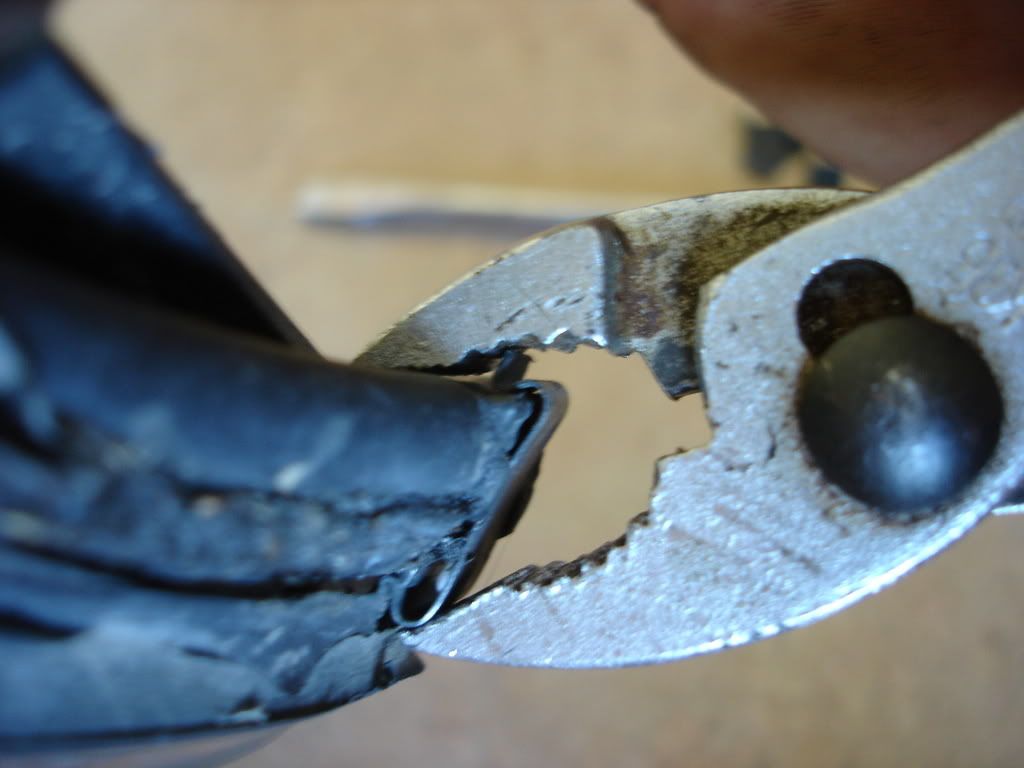
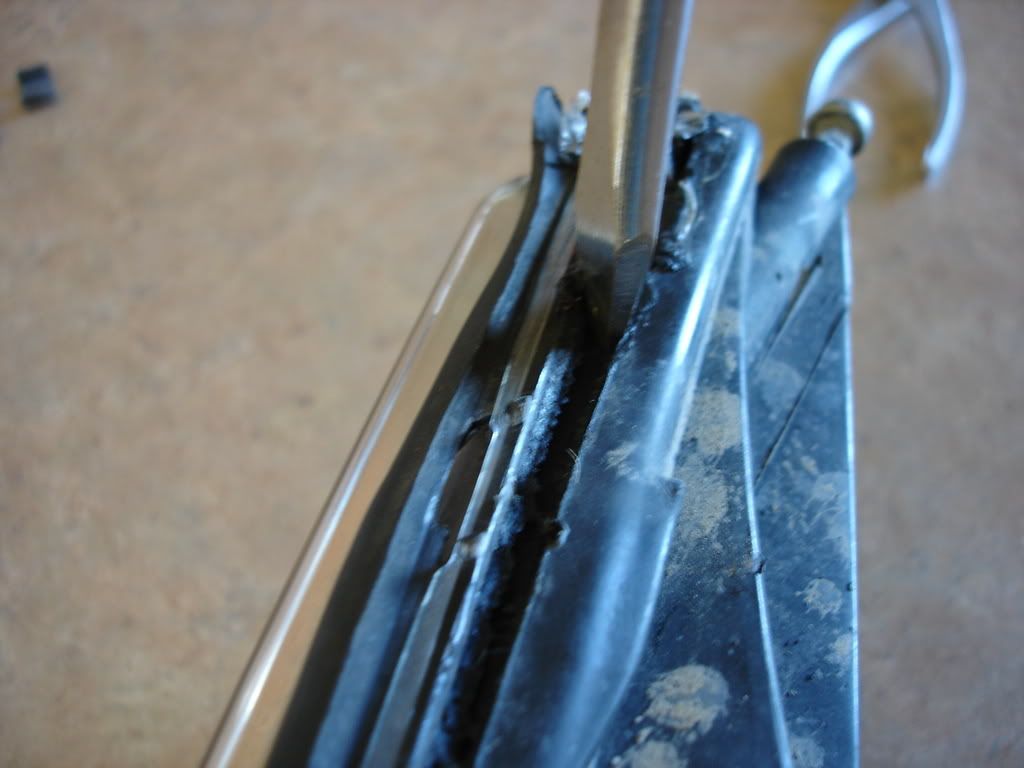
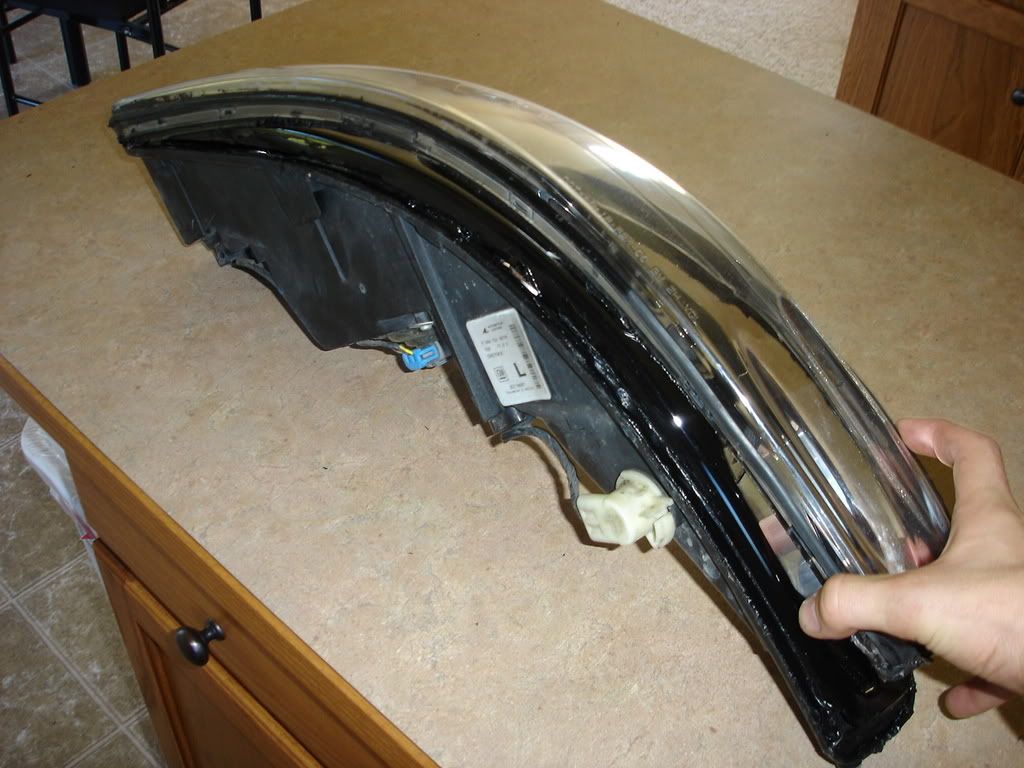
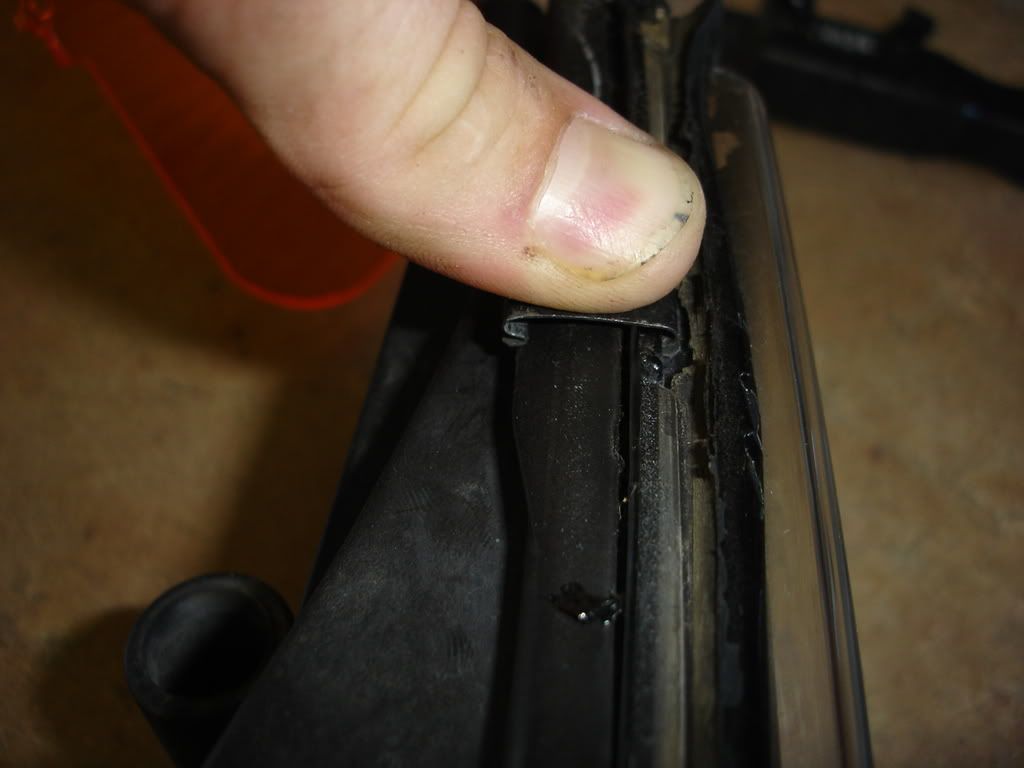
Remove the headlight from the oven and pry off the 7 retaining clips that hold the headlight together. Some will come off better with a flat-blade screwdriver, while others will come off with the plyers.
Use the screwdriver to start prying the pieces apart.
Then use your fingers to pry it the rest of the way apart.
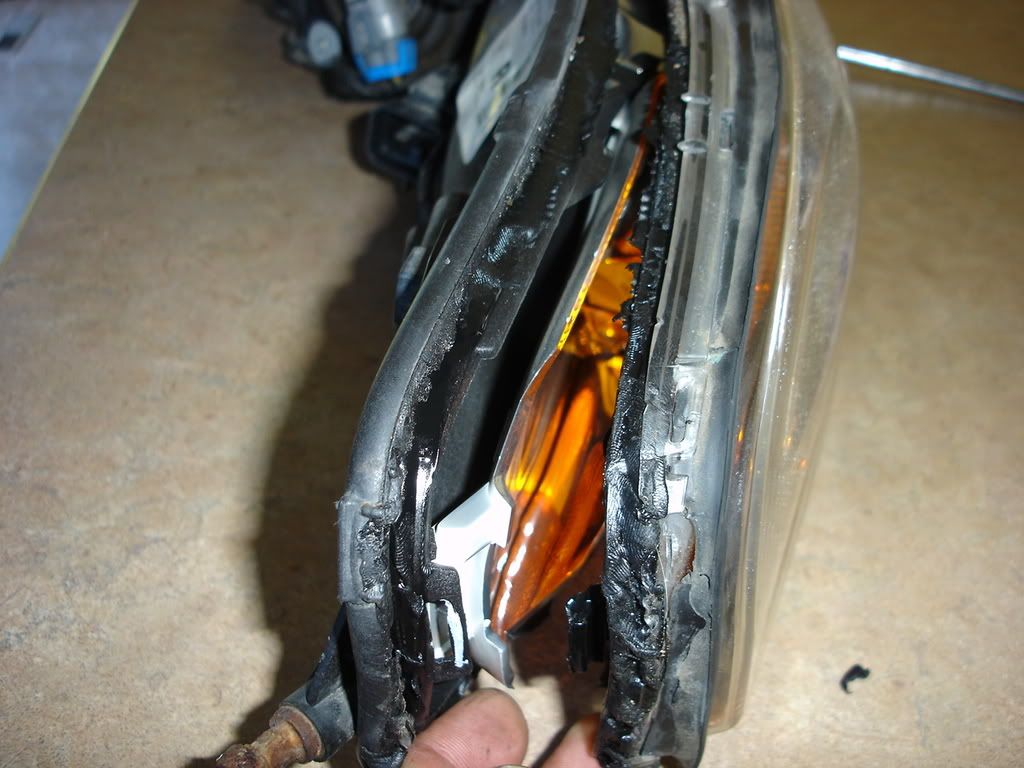
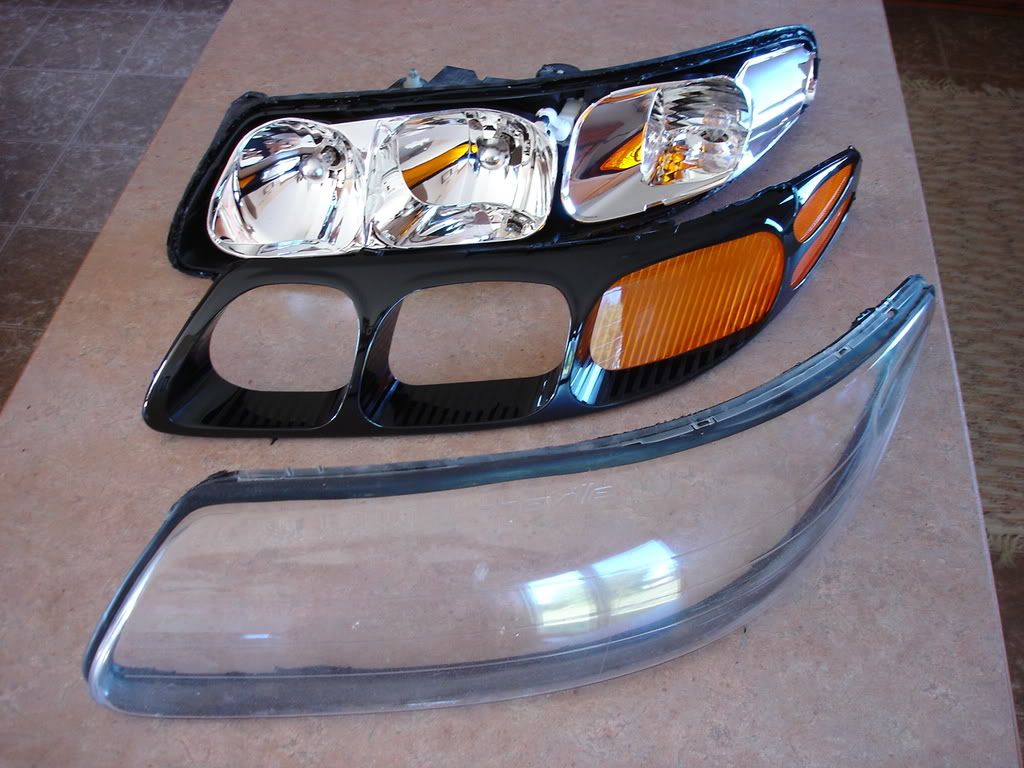
...until you have 2 pieces.
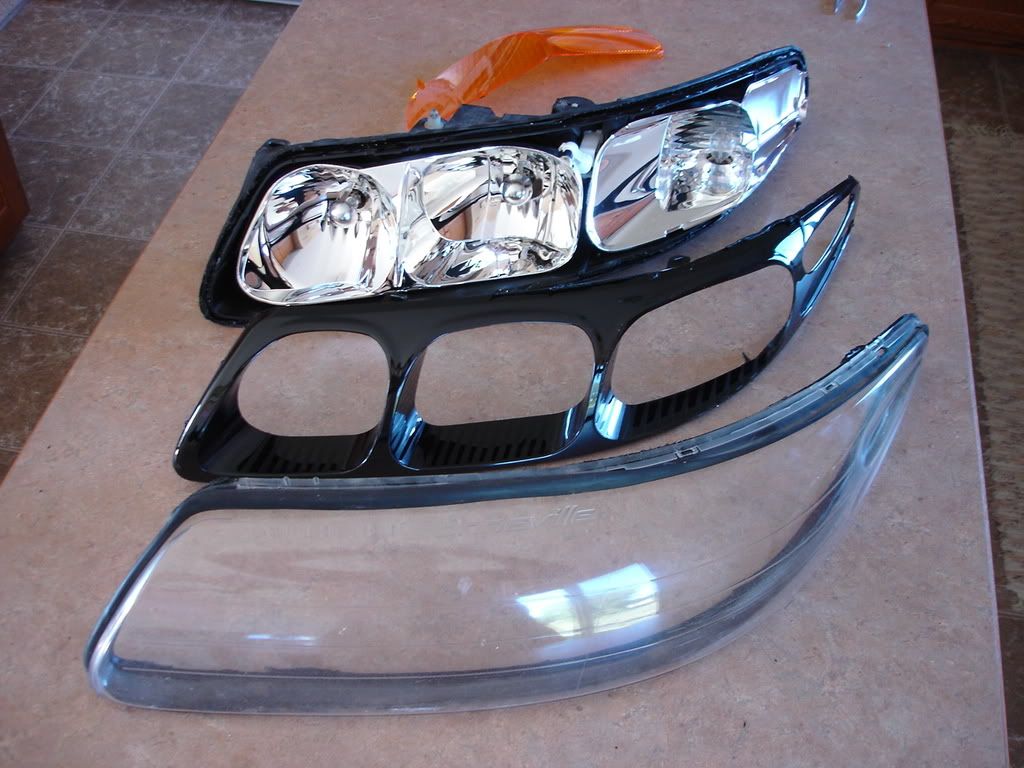
Then pull the black insert out from whatever piece it came out with... you now have 3 pieces.
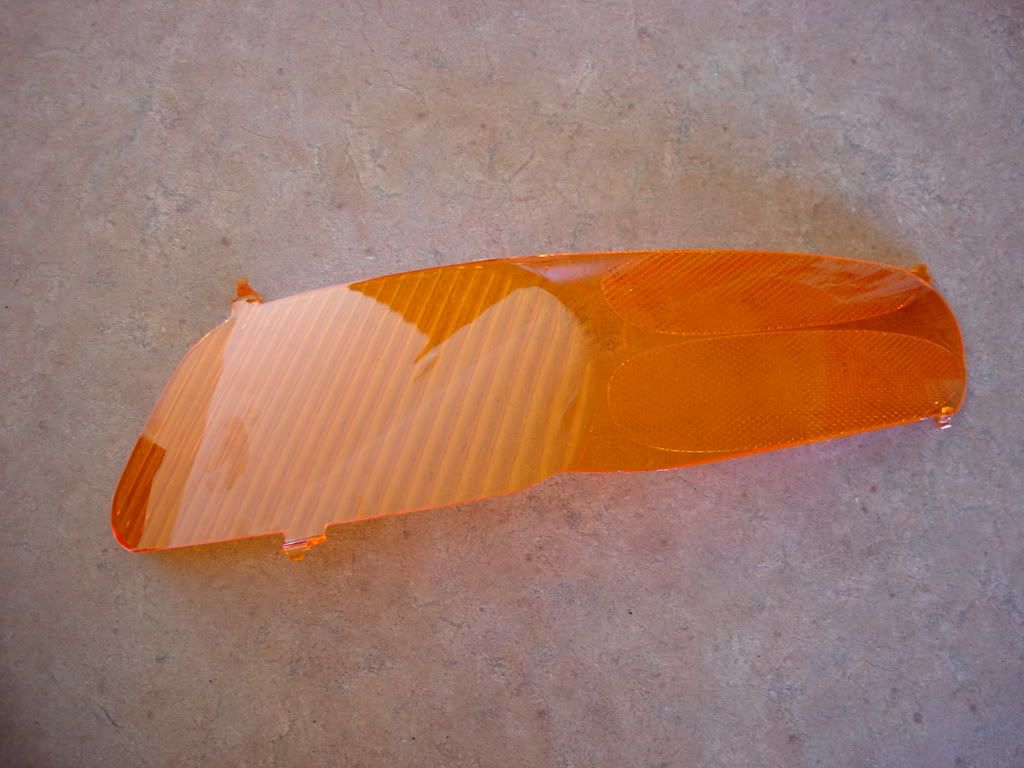
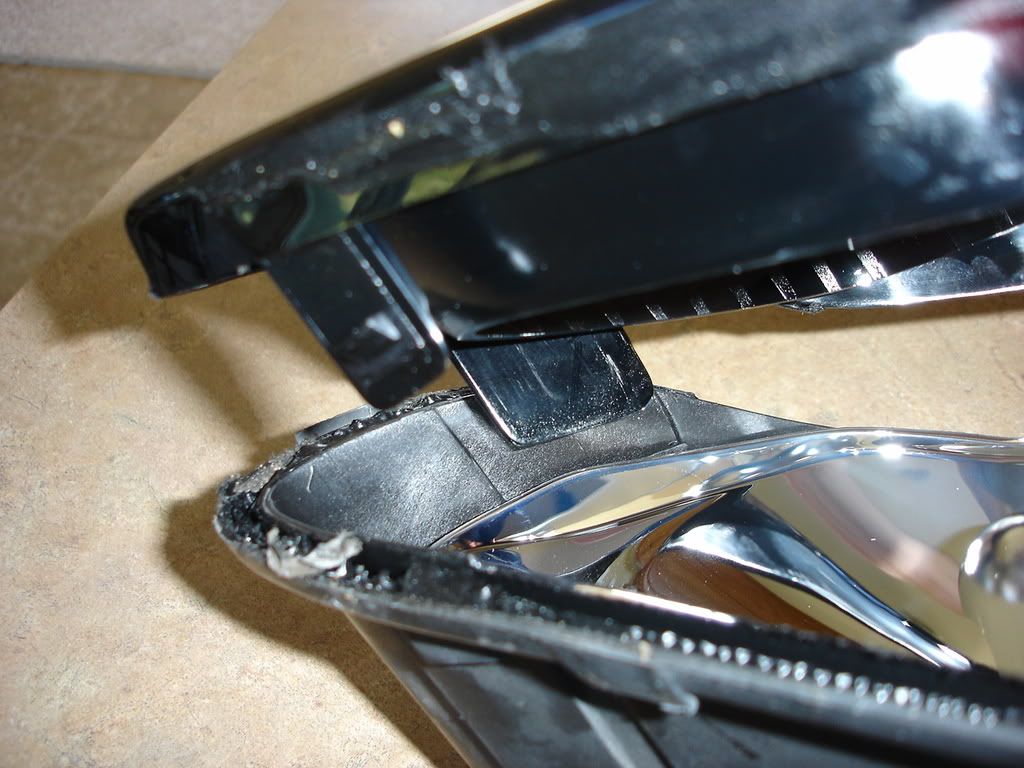
Now remove the orange reflector from the black insert. It is held in with 4 tabs.
At this point, you might be wanting to clean up any dust inside the headlight. DO NOT WIPE any part of the chrome finish. It is very sensative and will only scratch if you rub it. Its best just to blow any dust away with compressed air.
There might be some black goop that fell out of its channel that you will need to clean up. You don't want any of this to show when the headlight is back together. Now start putting it back together, while the goop is still warm.
Insert the black plastic insert into the housing, using the inside (highbeam) side first. There is a channel at the end that needs to fit in a chamber.
The rest of the insert will fall right into place, and then snap into the housing.
Lastly, place the lens on the housing, starting with the same inside (highbeam) side first. If done correctly, the side marker side of the headlight should just drop into place, if it doesn't something is wrong, and you should redo the placement.
Push the lens down onto the housing with your hands and then reapply the clips to hold the headlight together.
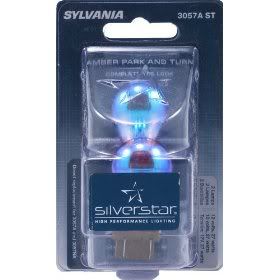
Don't forget to swap out your turn signal bulbs with an amber bulb, or the more preferred Silverstar 3057 bulbs.
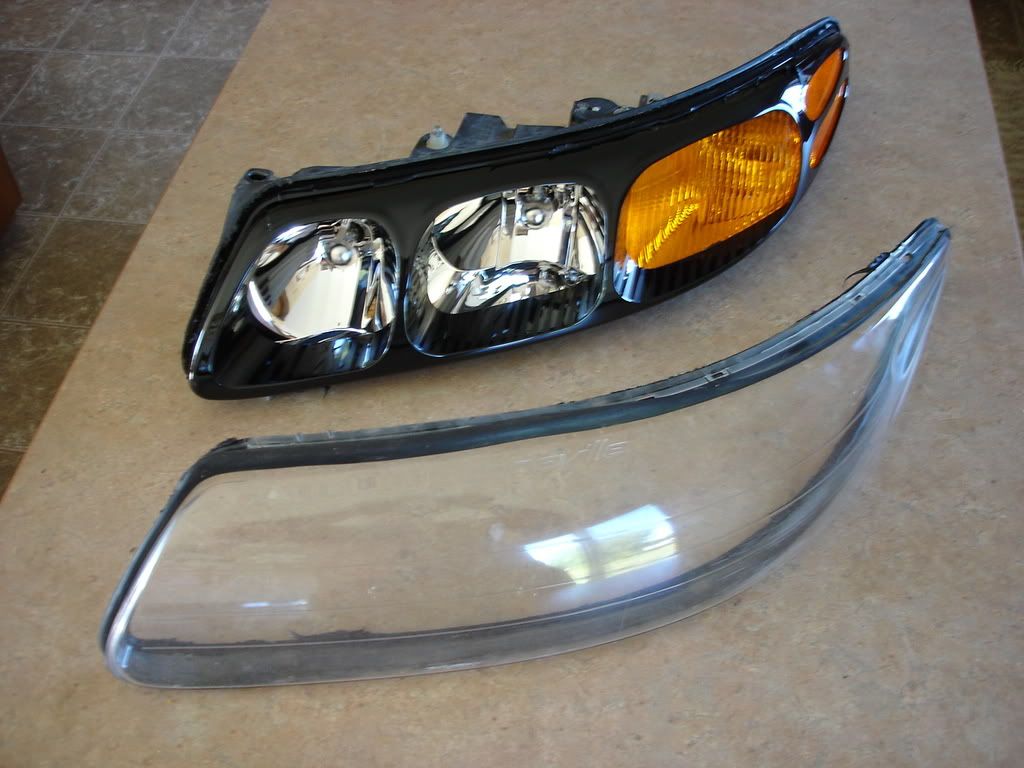
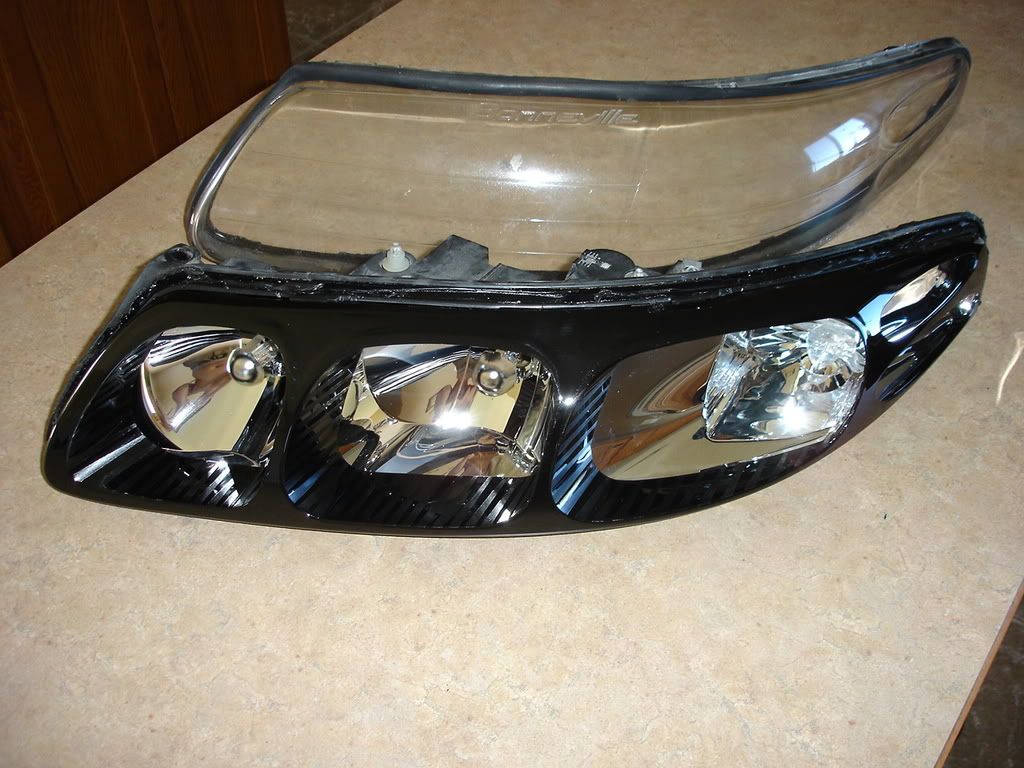
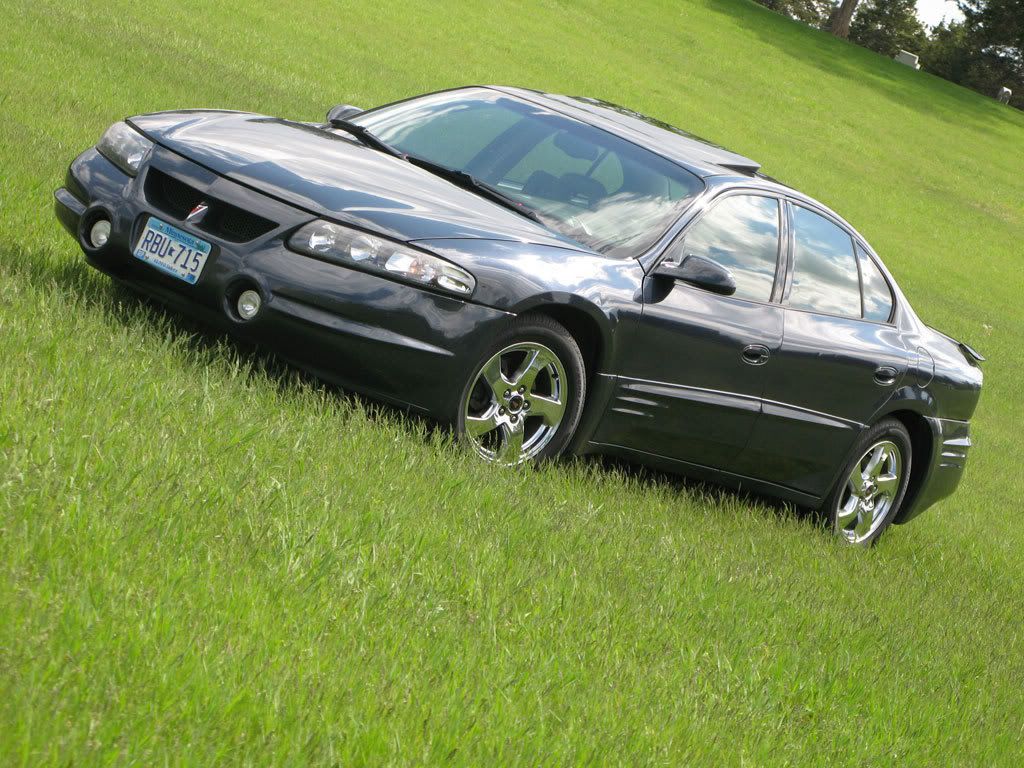
Here is the finished product.
and installed...
How-To: Clearing the Headlights on 00+
Moderator: Gearheads
-
Jrs3800
- Retired Admin/Techinfo Admin

- Posts: 26009
- Joined: Mon May 19, 2008 2:08 pm
- Year and Trim: 03 SLE, 95 SE, 95 TS SE
- Location: Space Coast, or at least it used to be
How-To: Clearing the Headlights on 00+

Last edited by Jrs3800 on Thu Feb 12, 2009 5:41 pm, edited 1 time in total.