PontiacBonnevilleClub.com
http://www.pontiacbonnevilleclub.com/forum/

Headliner Replacement Tutorial
http://www.pontiacbonnevilleclub.com/forum/detailing-appearance/topic483.html
Page 1 of 1

Author:  harofreak00 [ Wed May 21, 2008 9:56 pm ]
Post subject:  Headliner Replacement Tutorial

well i finally got around to doing this because i dont work today. i bought the 3M super trim adhesive (#08090) from my local parts store and got the christian discount on it, i paid $15 this stuff is made for heavyweight headliners, dont use the general trim adhesive (#08080). i had my dad help me lift it on there, but otherwise i did everything else. i had taken this headliner out about a month ago, and it had just been sitting in the basement. i bought the fabric from hancock fabrics for $8.99 a yard, i got 2 yards, so that gives me about a foot of extra. i sprayed 3 coats of glue on the board and on the fabric, let it dry for 5 min. i layed down 3 sheets of wax paper, but i ended up not needing it, this stuff only sticks to itself. and then i placed it on. at first i got really pissed cuz it wasnt sticking, but i guess it just takes time. you really have to work with it. anyhow, heres the pics so far...ill prolly put it back up tomorrow.
Image
Image
Image
Image
Image
Image
Image
Image
Image
Image
Image
Image
Image
Image
Image

Author:  John Deere Boy [ Thu May 22, 2008 8:13 pm ]
Post subject:  Re: Headliner Replacement Tutorial

I followed harofreak's instructions and thought i'd make another tutorial from my own experience.

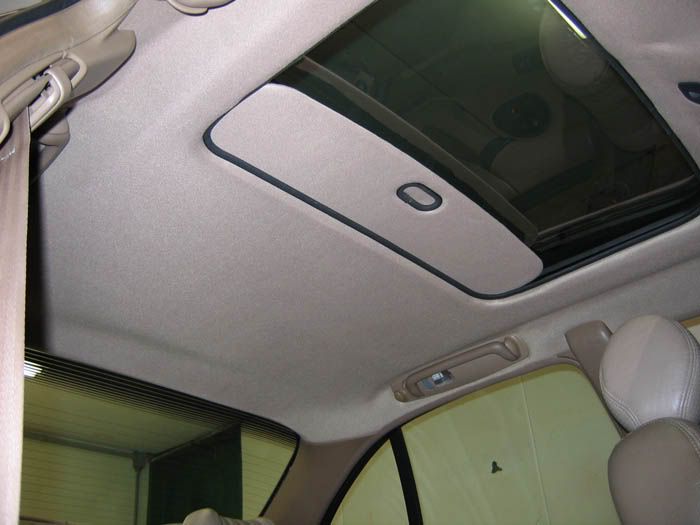
When your headliner begins to sag, the only way to truly fix it is to take the backer board out of the car and recover it with foam-backed headliner material. It is impossible to achieve satisfactory results by trying to reglue the old fabric because the foam behind it has deteriorated.

Board Removal
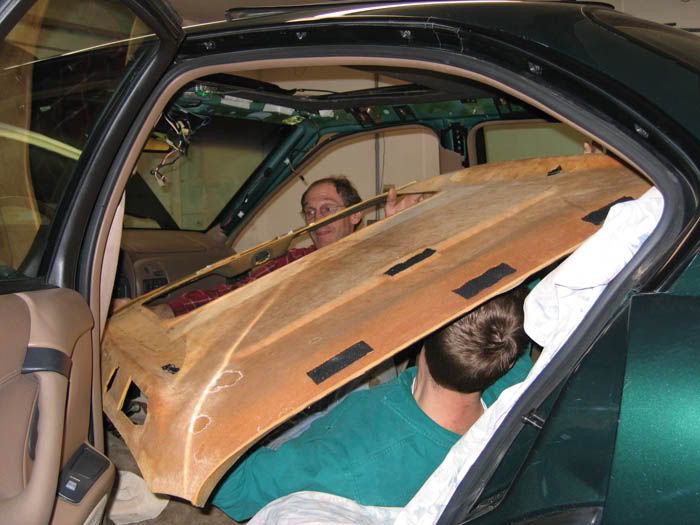
There are members here that have removed the board from both the front and rear passenger doors, but that requires quite a bit of bending, and the board is about as strong as laminated tissue paper, so bending it really creases it. I found through trial and error that the only way to get it out with out causing major damage is to remove the front passenger door, both front seats, the console, and the shifter assembly. Afterwards, it slides out easily.

Door-
1. Remove the interior panel. There are screws behind the door handle cover, the black cover above the armrest-handle, and the interior lights.
2. There are plugs lining the perimeter of the door--use a trim fork to pull them out.
3. Unplug all the wires and get them ready to feed through the hole when you pull the door off. There is a picture below to show how to route them when you reinstall the door.
4. With a marker, trace the outline of where the hinges bolt to the door. This is so you know where to align it later.
5. Remove the four nuts bolting the door to the hinge. Leave the hinges attached to the car.
6. Reinstallation: When you reinstall the door, you have to be very careful to align it properly before you even try to close it because the clearance is so tight.
Front seats- Very straightforward.
Console-
1. First pop out the bottom of the storage area under the armrest. There are two nuts in that area to remove.
2. Remove shifter knob. There is a clip on the front side of the knob—pull it out and the knob lifts off.
3. Remove two screws from the ashtray, then lift up on the entire plastic top of the console. There are two or three bolts in there to remove.
4. Detach the long clip in the front of the console, under the dash.
5. Unplug cigarette lighter wire.
Shifter- This isn’t 100% necessary to remove, but it gives you that last two inches you need to get the board out.
1. Detach shifter linkage by pulling out the clip in the end of the plastic ball joint socket then pull the socket off.
2. Detach Shift Interlock cable. This is kind of a “half ball joint”—slip the cable up over the end of the ball.
3. Remove four bolts, then let the whole assembly sit over by the pedals. You don’t have to unplug it.
Trim-
A pillars- well i never figured how to get those off without breaking.
B pillars- can’t really remember, but I think there is a plug in top and the bottom.
C pillars- two plugs
Grab handles- Pop out the tabs with a screwdriver or pliers, then pull straight out on the whole assembly. Becareful, but you'll probably break one or two anyway. :roll:
Map Light- for sunroof cars, this will stay attached to the headliner board. Just unplug the wires when you get it down.
Sunvisors- The inside brackets have a clip that you pull down with a screwdriver, then they pull off. The outside brackets have two screws. Beware that the board is ready to come down when you pull the visor brackets.
Board- After you pull all the trim pieces off, the board is really just held up by the sunroof gasket (if you have it) and Velcro in the back.

Recovering
I bought my material from http://www.yourautotrim.com, and am happy with it. Harofreak00 got his from http://www.hancockfabrics.com and he’s happy with it too. Randman1 got his from a local shop and he’s happy with it three. At any rate, you’re gonna need 2 yards of it in 54” width for the headliner, and three yards if you’re gonna do the sunroof cover at the same time. On the Bonneville club, 3M Super Trim Adhesive #08090 is the generally accepted glue, but I hated it. It is not sticky when you’re working with it, so unless you’ve got everything clamped down, it’s not going to bond. I had a lot of trouble in the maplight area and it didn’t turn out as well as I hoped. Instead I recommend Permatex Heavy Duty Headliner Adhesive, sold at Autozone. I used this stuff for the Sunroof cover, and it is better. However, the Permatex is too sticky—It will leave permanent fingerprints and marks from your clamps if you’re not careful. I used 2.5 cans of adhesive total on the headliner and sunroof cover.

Edit: jrs3800 used Permatex and it did not last. Use the 3M instead.

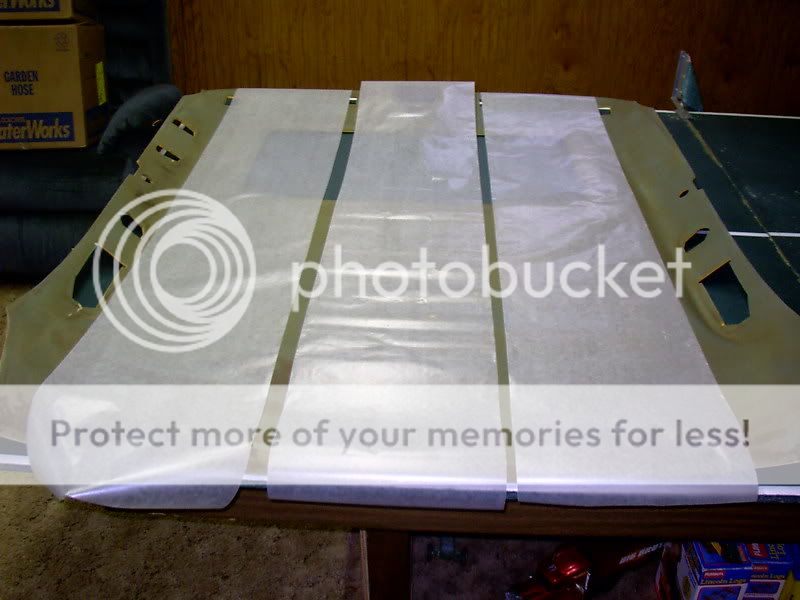
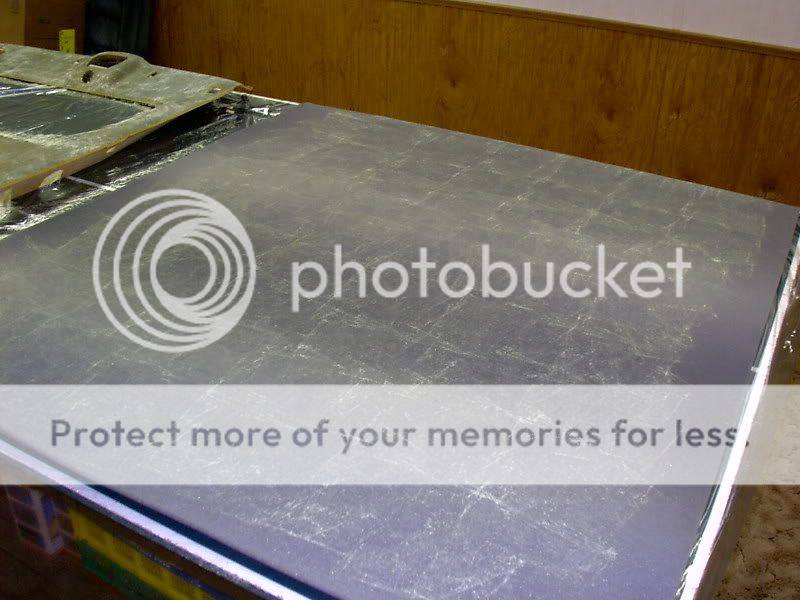
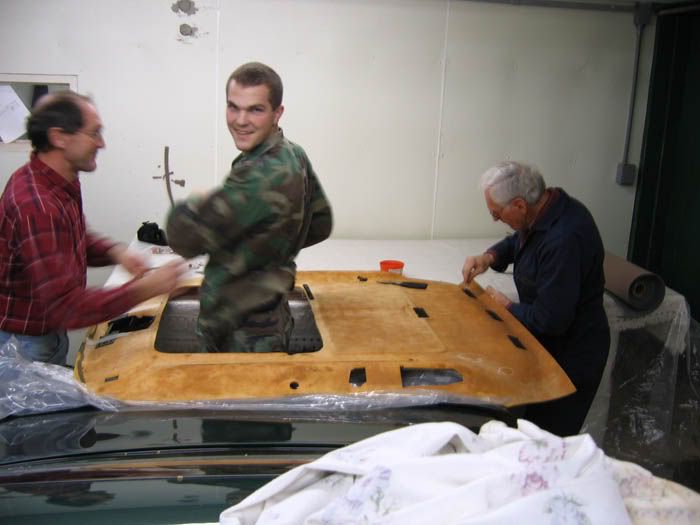
1. Remove all foam residue from your board.
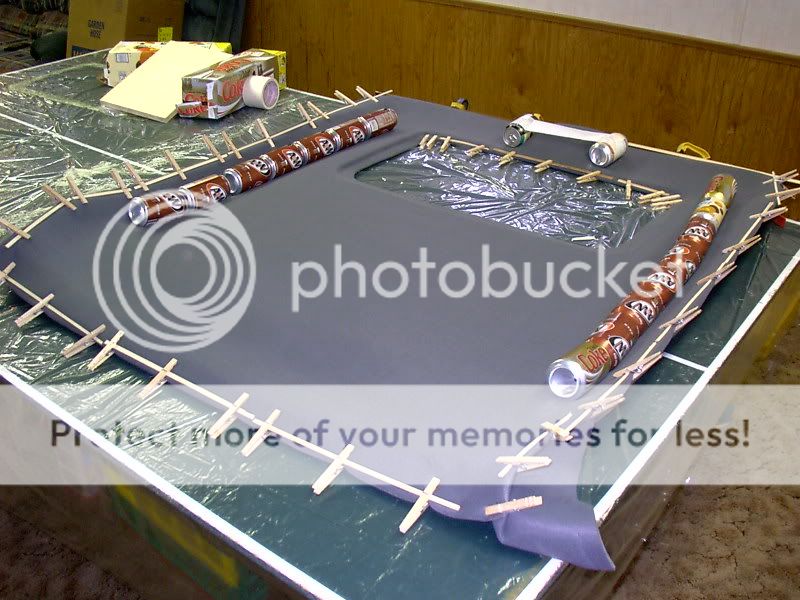
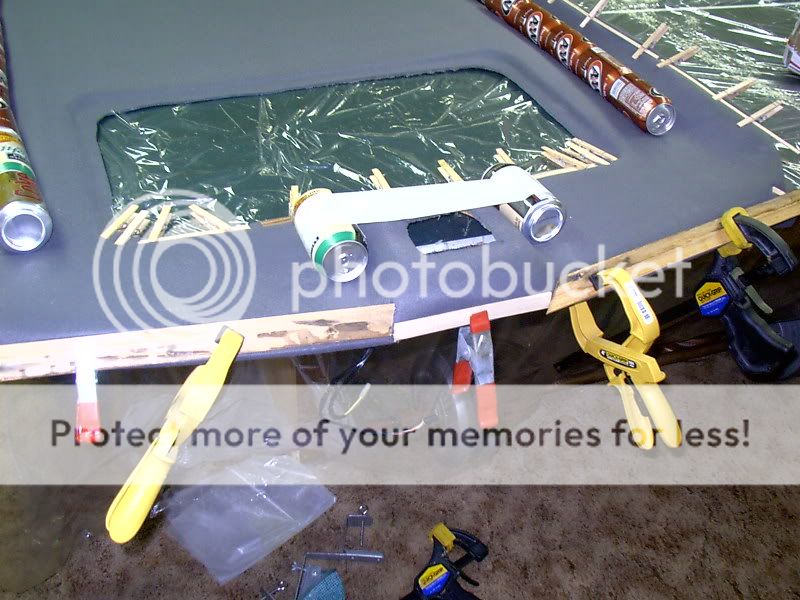
2. Follow instructions on your can of glue, spraying both the fabric and the board.
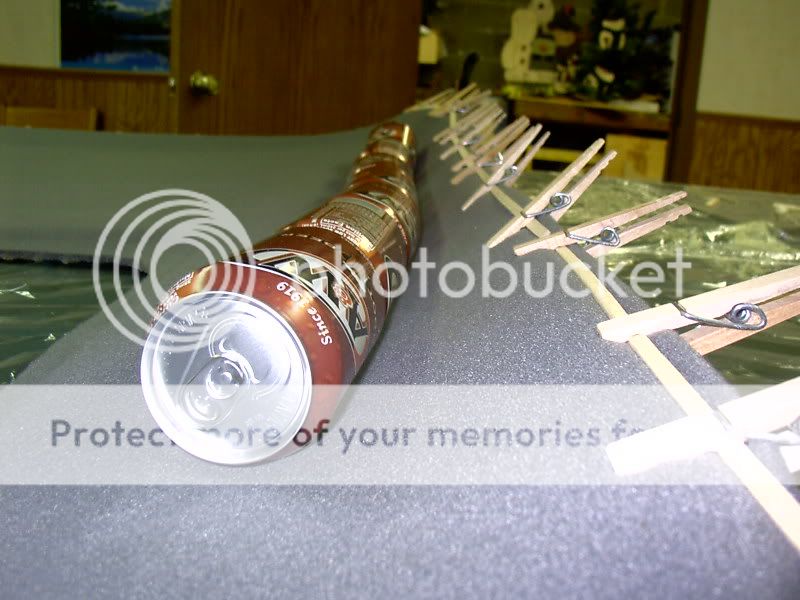
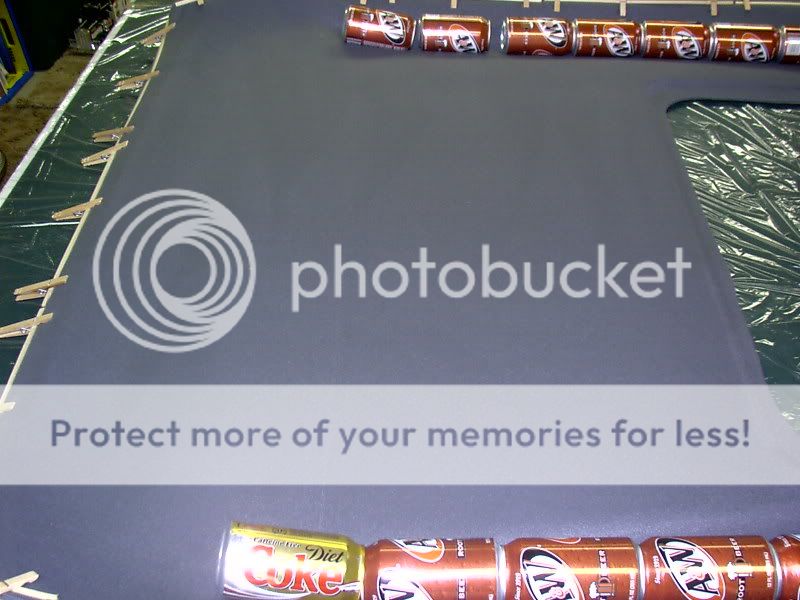
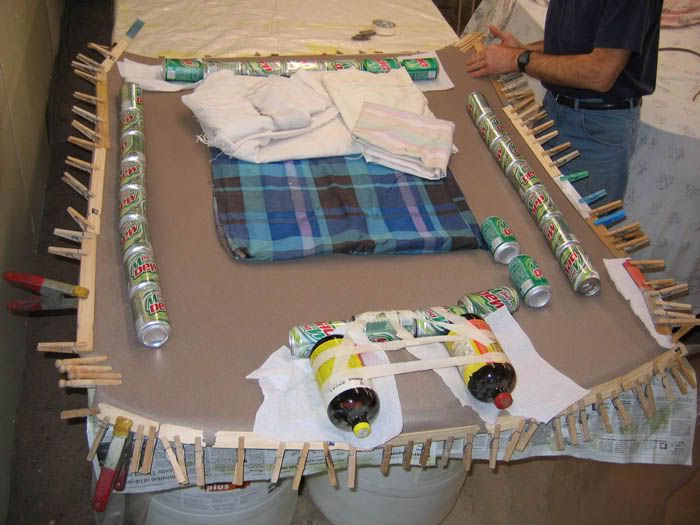
3. And now the most important part, lay the fabric on the board and clamp it. If you use 3M glue, if you make a mistake you can easily pull the material back off and try again. The Permatex is much more sticky and you’ll want to get it right the first time.
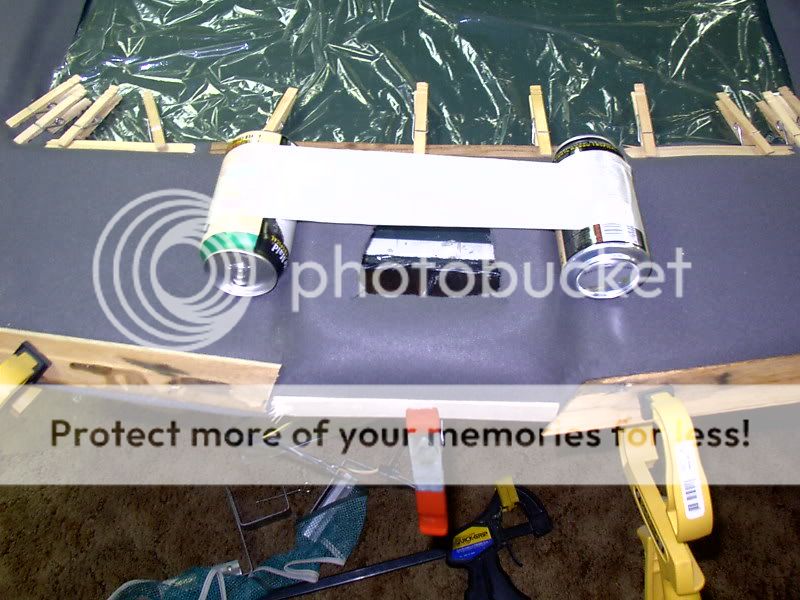
4. The factory headliner was rolled around the front edge only, but I recommend rolling around all the edges to get more contact…why not?
5. After the glue dries, trim all the holes flush. i.e. grab handle holes, map light.

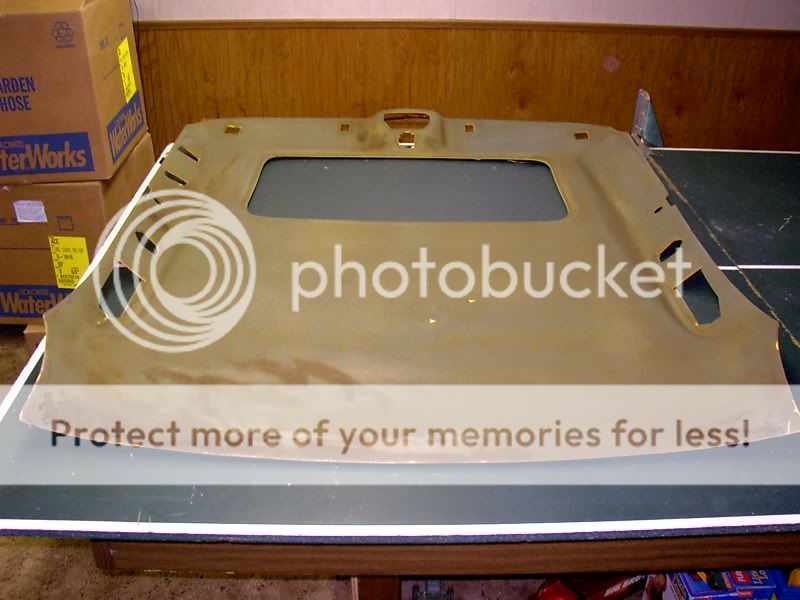
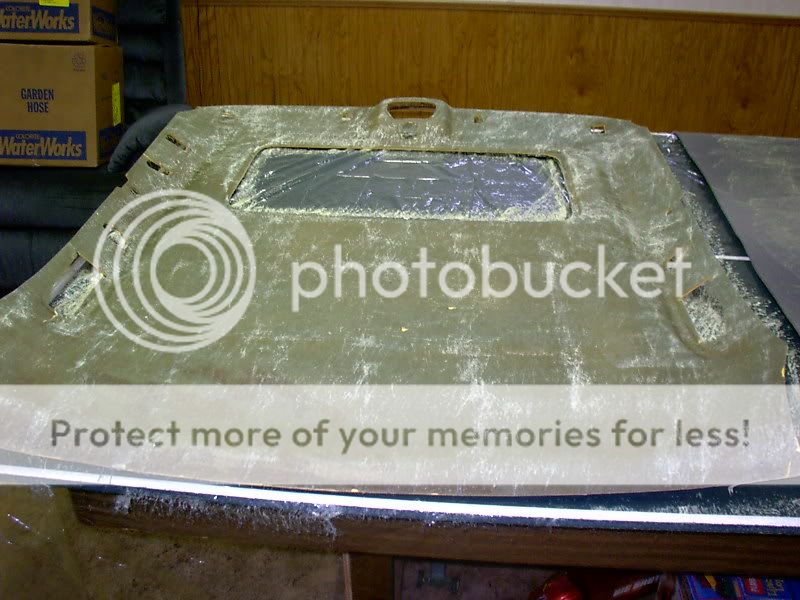
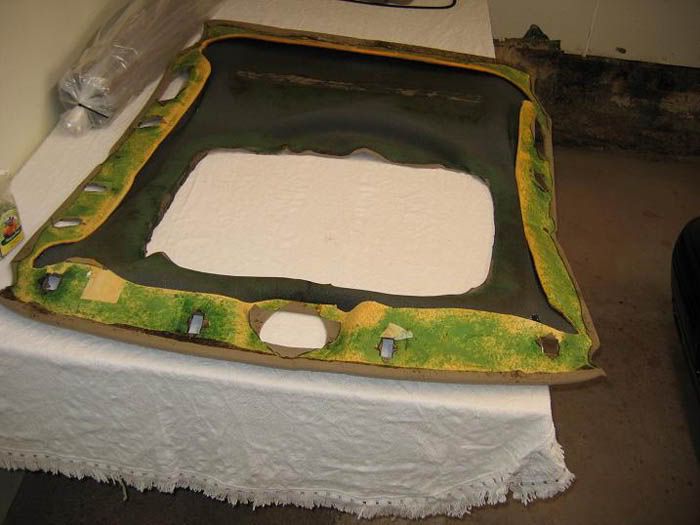
If you have an aftermarket moonroof:
Then your board was cut away by the installers, and you’re screwed, like I was. I went to the junkyard and got a board from a factory moonroof car, but the sunroof cutout didn’t match mine. I had to trim away part of it, and fill in part of it. You’ll just have to improvise.

This is what's left after an aftermarket sunroof installation.
Image

The console put up a fight with my brother.
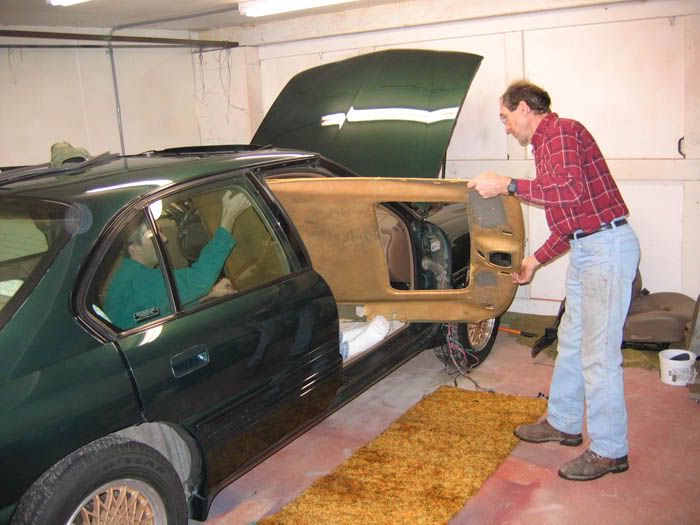
Image

Image

Image

Image

Family Project
Image

Image

Image

Author:  John Deere Boy [ Thu May 22, 2008 8:14 pm ]
Post subject:  Re: Headliner Replacement Tutorial 1

Some updates:

1. Use the 3M adhesive, not the Permatex, because the Permatex failed on jr's3800.
2. I'm the only member who took a door off to get the board out. Everyone else squeezes them through the back door.
3. All the imperfections eventually disappeared, so if you're pissed with your finished product, it should look better in time.
4. You don't need the wax paper Andrew pictured if you use the 3M glue.

Author:  crzydmnd72 [ Fri May 23, 2008 1:36 am ]
Post subject:  Re: Headliner Replacement Tutorial

Good points on the attention to details, like the cans to help contours and rolling all the edges for better contact. Even considered backing the underside rolled edge with duct tape, wouldnt show and would add some holding power. I didnt though.

I hurried thru one of mine, ran out of the 3M stuff at the back, and it shows. Still looks better than the old saggy one but I wish I had taken more time and care with it everytime I drive the car.

Anyone want to do a visor write up next? :twisted:

Would it stress the material too much to roll it into place with a small wooden formica roller?

Author:  Bugsi [ Mon May 26, 2008 3:55 am ]
Post subject:  Re: Headliner Replacement Tutorial

I did the same process using the 3M glue on our old 88 GP when we had it, using the foam-fabric from Hancock Fabrics. The 3M glue didn't hold up over the course of a year. I eventually took the headliner back out and completely re-did it again. I still used the 3M glue, but this time I used a LOT of it. Be generous with the 3M glue. Don't skimp. If you skimp, your headliner will eventually sag. I forget how many cans we used on it the second time around, but more is better. Get a heavy coating of the 3M glue on for best results. You're fighting gravity with a part of your car that will get hot in the sun. When it would sag, we could push it back up and it would stick for a while, you could feel that the heat from the sun had kind of liquified the 3M glue. But if you use lots of 3M glue, it will hold. So buy more than one can. Buy like 3 or 4 or something, and be generous with the stuff.

Author:  John Deere Boy [ Mon May 26, 2008 6:13 am ]
Post subject:  Re: Headliner Replacement Tutorial

crzydmnd72 wrote:
Anyone want to do a visor write up next? :twisted:


Here is your visor recovering tutorial courtesy of randman1:
Visor Recovering Tutorial


visor visors sunvisor sunvisors recover recovering replace replacing replacement fix

Author:  Peterg22000 [ Mon May 26, 2008 11:55 pm ]
Post subject:  Re: Headliner Replacement Tutorial

Hey Andrew, Maybe this should be in the tech info forum?

Author:  blackout [ Tue May 27, 2008 12:56 pm ]
Post subject:  Re: Headliner Replacement Tutorial

Why not the whole interior?
John Deere Boy wrote:
crzydmnd72 wrote:
Anyone want to do a visor write up next? :twisted:


Here is your visor recovering tutorial courtesy of randman1:
Visor Recovering Tutorial


visor visors sunvisor sunvisors recover recovering replace replacing replacement fix

Author:  mmixter [ Tue May 27, 2008 6:04 pm ]
Post subject:  Re: Headliner Replacement Tutorial

Anybody got anything on gluing the headliner back to the moonroof sliding roof. The plastic part that slides back and forth. Mine has slowly started to peel and was wondering if there is a quick fix. Thanks

Author:  Barry [ Fri May 30, 2008 4:55 pm ]
Post subject:  Re: Headliner Replacement Tutorial

Great stuff guys! I sure hope I don't have to do mine anytime soon.

Author:  TrueWildMan [ Wed Aug 23, 2017 4:52 pm ]
Post subject:  Re: Headliner Replacement Tutorial

I take it photobucket broke something?

Author:  95naSTA [ Wed Aug 23, 2017 9:48 pm ]
Post subject:  Re: Headliner Replacement Tutorial

Here's at least a temporary fix:

http://www.grandprixforums.net/threads/ ... hotobucket

Author:  John Deere Boy [ Sat Aug 26, 2017 7:19 pm ]
Post subject:  Re: Headliner Replacement Tutorial

Those jerks. I'd donate money to Pontiac Bonneville Club for the option of locally hosted pictures.

Author:  redfury [ Sun Aug 27, 2017 12:05 pm ]
Post subject:  Re: Headliner Replacement Tutorial

I host all my photos through my google account, it's free and I've never had any issues with long term hosting on various sites.

Page 1 of 1 All times are UTC - 5 hours [ DST ]
Powered by phpBB® Forum Software © phpBB Group
http://www.phpbb.com/