PontiacBonnevilleClub.com http://www.pontiacbonnevilleclub.com/forum/ |
|
95 L67 Performance http://www.pontiacbonnevilleclub.com/forum/performance-brainstorming/topic23880.html |
Page 1 of 1 |
Author: | flatlander745 [ Sun Feb 20, 2011 10:57 pm ] |
Post subject: | 95 L67 Performance |
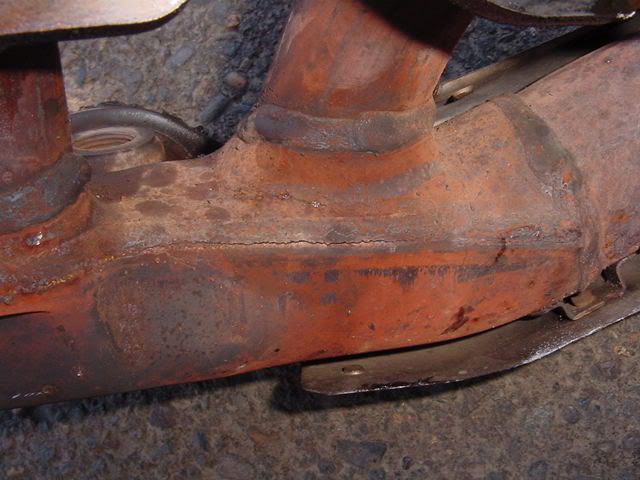
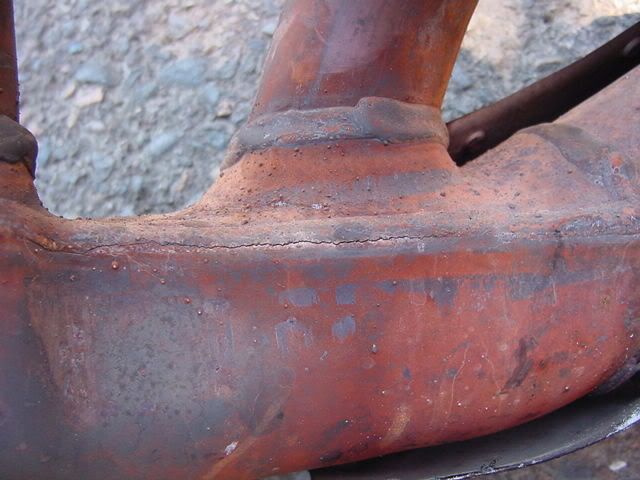
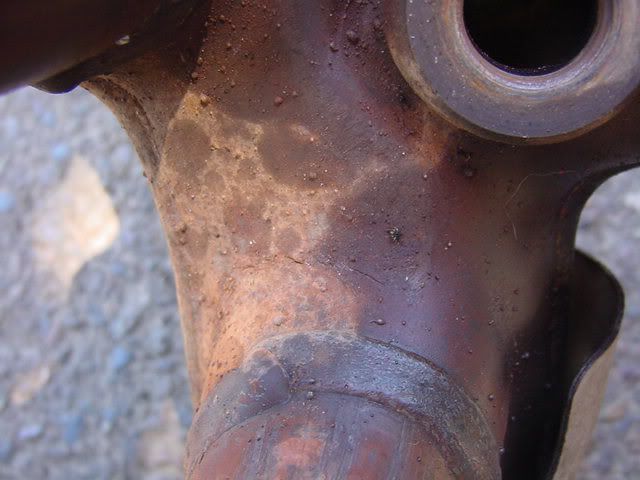
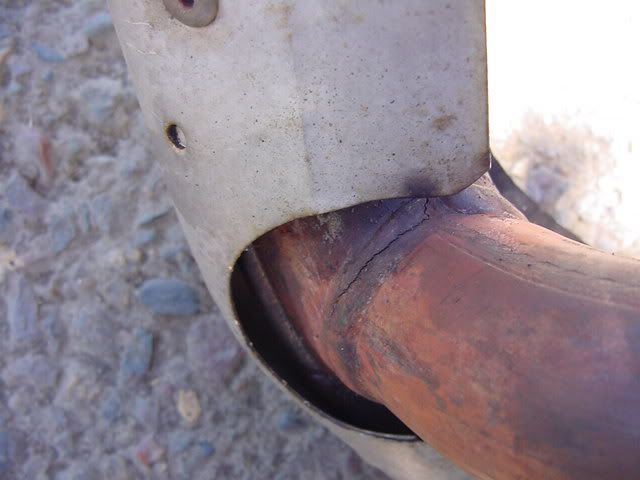
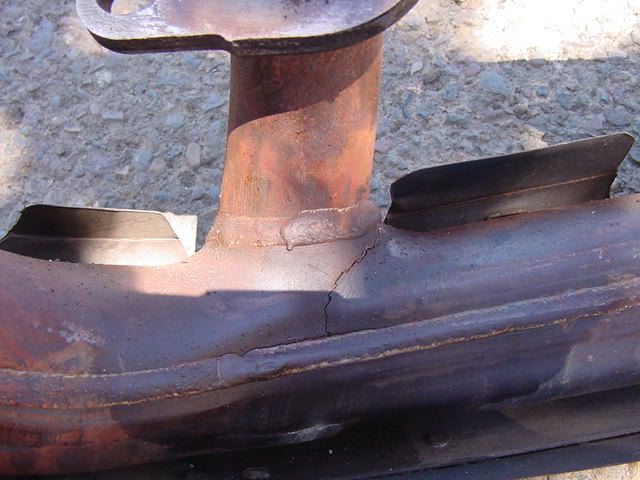
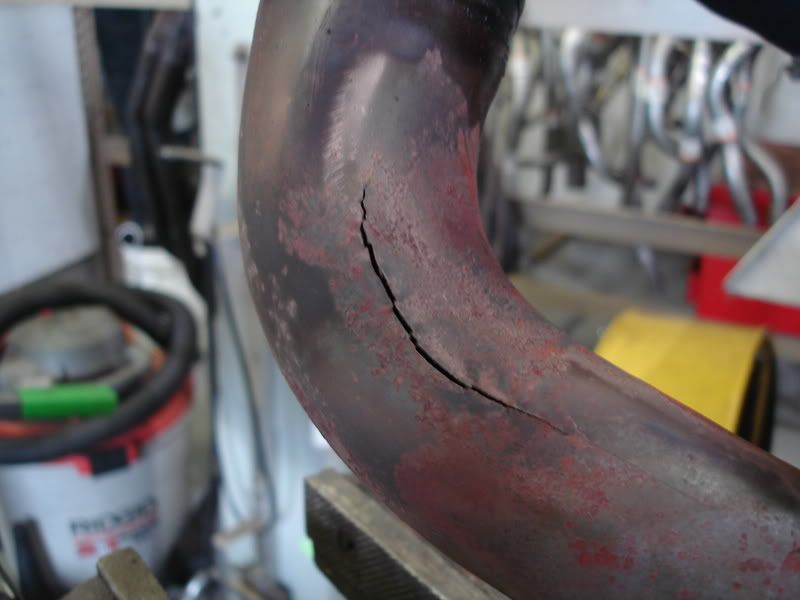
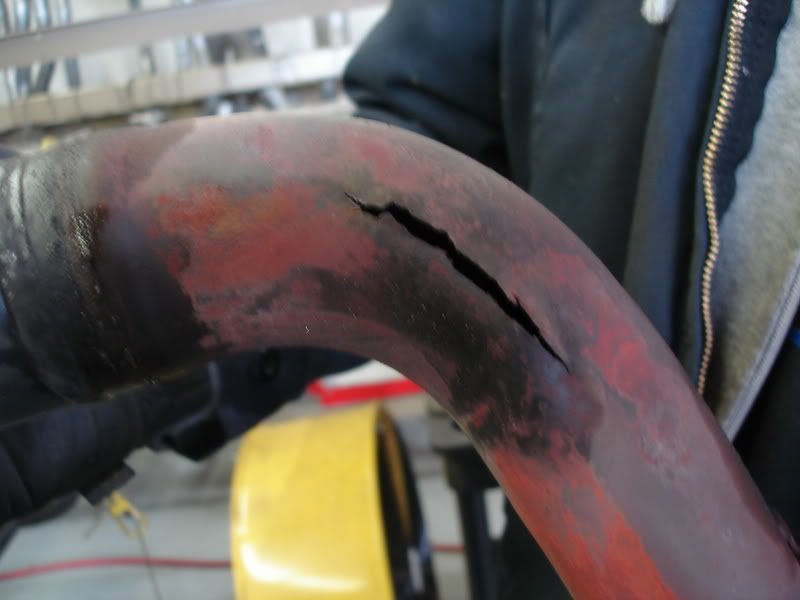
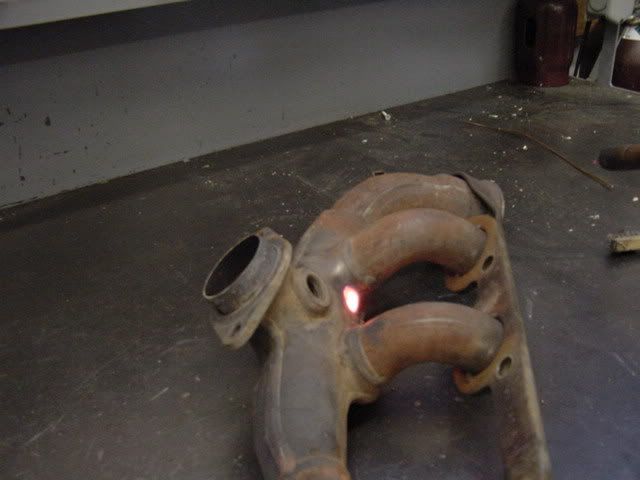
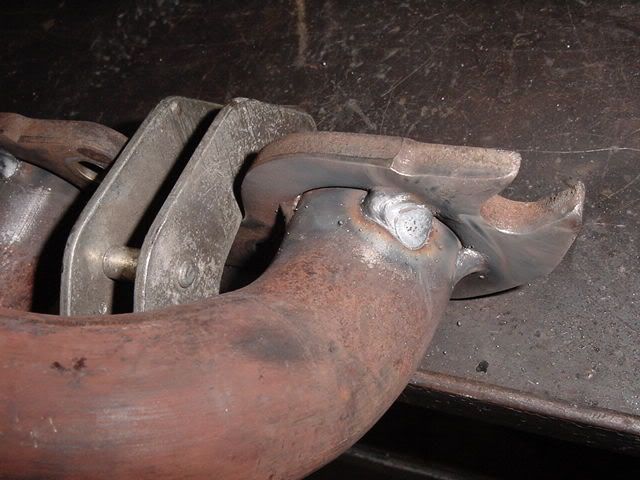
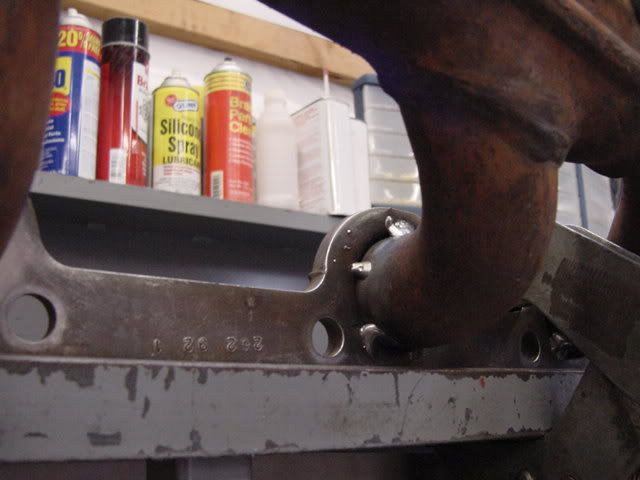
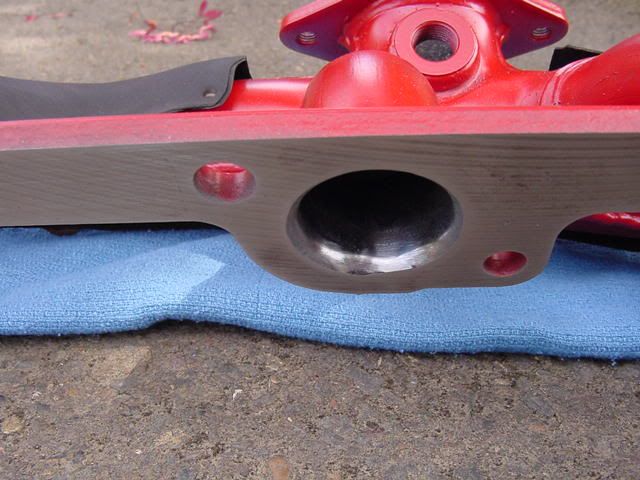
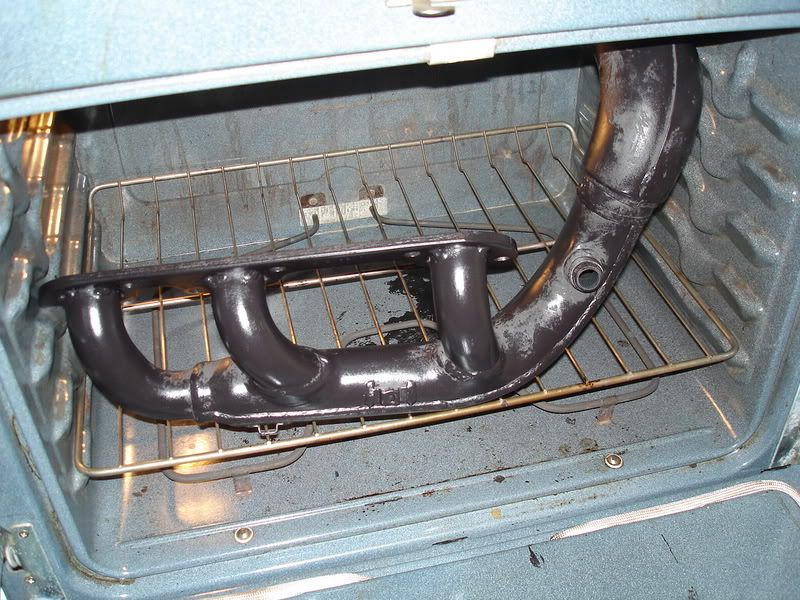
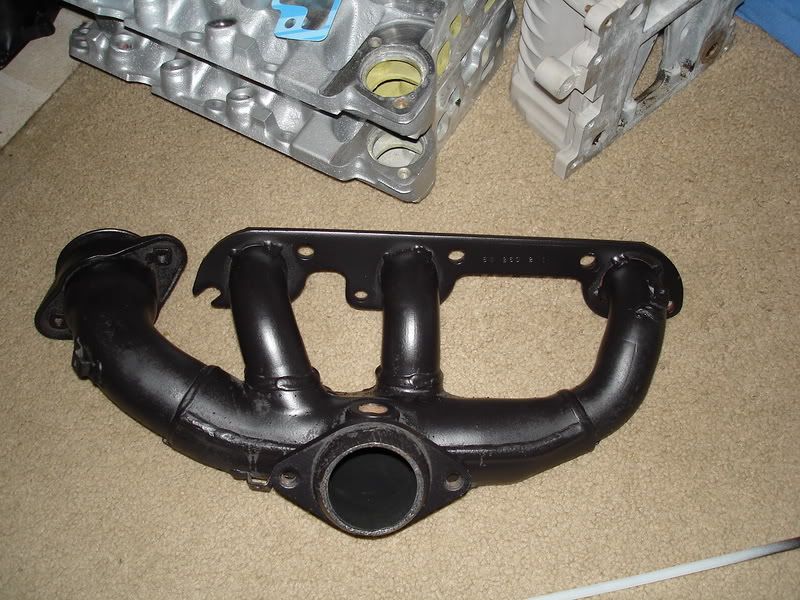
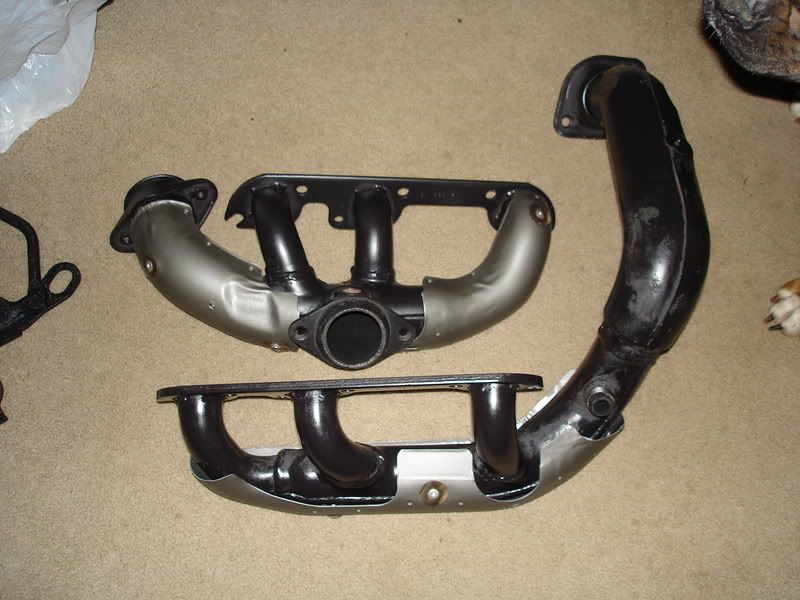
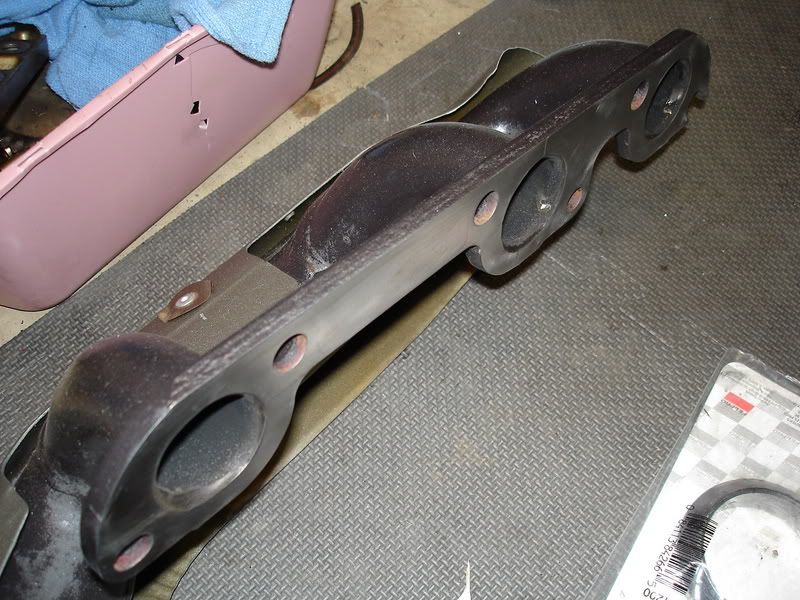
Hey guys I am pulling exhaust manifolds for crack checks and I have the front one off and do not see anything obvious (haven't pulled heat shields yet), where do they crack? At the welds or under the heat shields? 
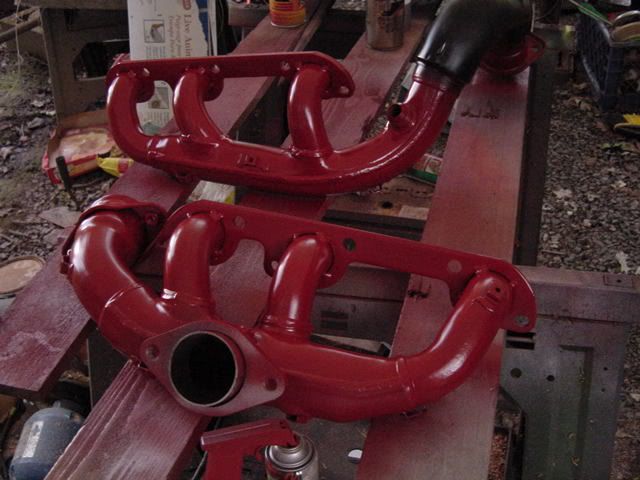
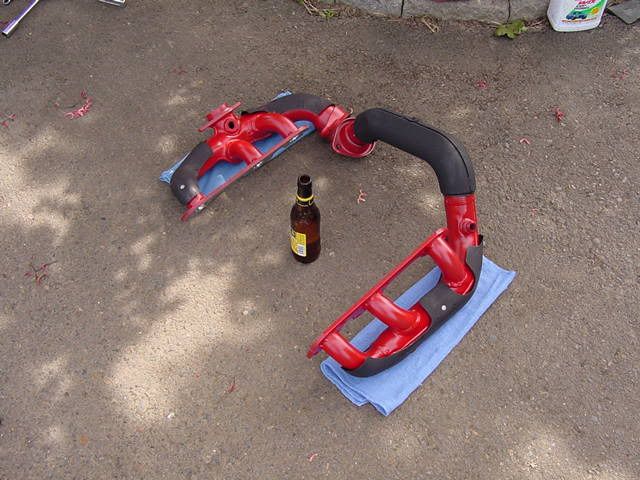
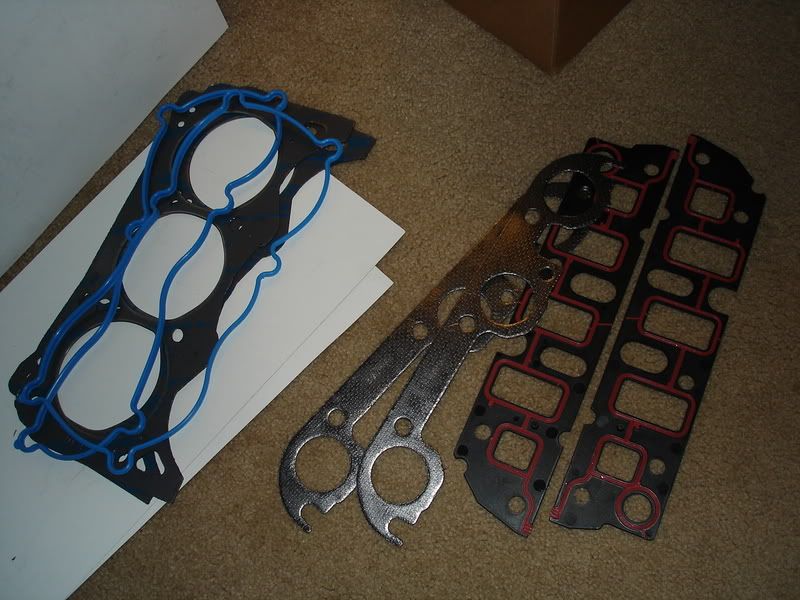
Also should I add Felpro gaskets when I put them back on? There were no gaskets when I took them off. Also are the series 2 coils the ones with grey dots on the bottom? Do they need to be factory or do aftermarket oe replacements have the same output? I am looking to upgrade to the 97+ coils. I am working on the fuel system too. About a year ago I installed a new Delphi fuel pump and high flow filter from ZZP. The fuel pressure readings were exactly the same before and after new pump: prime (koeo) 45psi+ and 35psi @ idle. I have had no driveability issues other than the slight feel of missing power except for the occasional xtra Zing one day and gone the next, by zing I mean waay better throttle response, like LESS throttle & ALOT more GO. Every once in awhile it will have a good day like that. Fuel is Always 93 octane from Mobil/Exxon and SeaFoam in the tank every so often (did the hot soak after fuel pump). Sooo, I sent my injectors off to Cruzin Performance for flow test and ultrasonic cleaning (I'll add a link to the data later), and I also got a new pressure regulator and a NTK O2 sensor. Am I on the right path here to get to the 41psi+ fuel pressure that I am lacking? I have owned the car for almost 4 years and have put 55,000 on it and it has only set a code once when i started it @ -20F one morning back in IL, no codes set other than that. Injector Results Thanks! |
Author: | willwren [ Mon Feb 21, 2011 11:44 am ] |
Post subject: | Re: 95 L67 Performance |
You have to drill the rivets off the heatshields, and I strongly suggest riveting them back in place (screws and nuts won't hold) when you're done. Here's what you're looking for (interestingly, there is only one picture on my photobucket account older than these): (tiny crack just above the weld running horizontally in the middle of the picture) Crossover cracks: Notice the heat shields are still on them? More cracks were found underneath them. Some of them are TINY hairline cracks. The best way to find them is to pour a little water in them, and slosh them around. The water will leak through a crack and darken it. Mark them with a permanent marker so you can find them when it's time to weld. For welding, fix one crack on one manifold, then switch to the other manifold while it cools. This keeps a single manifold from getting too hot and warping or changing shape. Here are some examples: Welding the flanges isn't necessary. I only did it because I knew I was going to port my heads within a year or two. The weld restriction on the manifolds is still larger than the exhaust ports on a Series 1: (this was the first of the stitch welds, we moved from one runner to the next, and back and forth between the manifolds until they were welded well) Make sure you and your welder know that these are STAINLESS STEEL! After welding, don't use high-temp exhaust manifold paint like I did the first time, it won't hold: This is a finished port (this was brutal work, don't waste your time with it for no benefit unless you plan to port heads soon): (even with a die grinder, this took me an hour and a half for EACH PORT) You WILL need to use gaskets for installation, especially after welding stresses the manifolds. Here's what they look like: Never wrap these manifolds (or any headers). Coating only. Most areas have good exhaust (ceramic) coating shops to do this, but I chose DIY because I have the tools to do it with. I chose Tech Line Coatings "Black Satin" Header Coating. You can buy it at speedwaymotors.com and the small can is plenty to apply an even coat on both manifolds and the crossover with some left over for touch-up. You CAN let it air dry only if you are very careful installing them (they scratch before they're cured), then cure them on the car (Idle for at least an hour before driving). I pre-baked them in the oven, and it wasn't easy: (notice the face of the flange is gasket-prepped properly) If you don't have a compressor or spray gun, you CAN use this: http://www.preval.com/ My local Home Depot has it, and I bet Lowe's or any paint store would too. Buy an extra can just in case, and DO NOT THIN the coating. My manifolds have held up to some pretty extreme abuse over the last three years |
Author: | flatlander745 [ Mon Feb 21, 2011 1:21 pm ] |
Post subject: | Re: 95 L67 Performance |
Thanks for that Will, were the first pictures of the front or rear manifold? I have the front off and see zero signs of any cracks. |
Author: | willwren [ Mon Feb 21, 2011 1:37 pm ] |
Post subject: | Re: 95 L67 Performance |
The cracks are very small, and most weren't visible at first. The water trick will expose them. The pictures above start with the rear (notice the O2 bung) and transition to the front. The rear is typically worse due to the fact that the heat is trapped back there at the rear of the engine. |
Author: | flatlander745 [ Tue Feb 22, 2011 12:15 pm ] |
Post subject: | Re: 95 L67 Performance |
I found the cracks. Do you cut the welds on the crossover shield to get it off and is there a specific type of rivet (heat resistance/ head type) to re-install shields? Thanks |
Author: | willwren [ Tue Feb 22, 2011 2:25 pm ] |
Post subject: | Re: 95 L67 Performance |
Yes, I used a pneumatic cutoff tool to cut the welds on the crossover heat shield. Welding it back is tricky due to the very thin material (coating first, obviously). I used standard pop rivets to put the other shields back. I just used the rivets that came with my kit. |
Author: | flatlander745 [ Fri Feb 25, 2011 12:41 am ] |
Post subject: | Re: 95 L67 Performance |
No cracks anywhere on rear manifold, did the water test and nothing. One light crack on cylinder #3 runner on front manifold; none on crossover. |
Page 1 of 1 | All times are UTC - 5 hours [ DST ] |
Powered by phpBB® Forum Software © phpBB Group http://www.phpbb.com/ |