Adding an external transmission oil cooler (2000 shown, others similar)
Order a good cooler. The low pressure drop (LPD) type are best due to the bypass when the oil is cold. Here is the one I used and it came complete with hose and mounting hardware.

Remove the lower air deflector under the radiator

Position the cooler in front of the AC condenser to get an idea where it will go
Find which line is the return to the transmission. It should be the top line. To confirm it is, remove the connector from the ICM to prevent the car from starting. Remove the top cooler line from the radiator. Have someone turn the key a couple times in short bursts. This will cause the fluid to pump from the transmission. If the fluid comes from the radiator, this indicates you have the return line which is what you want. If it comes from the line, then you have the pressure side.
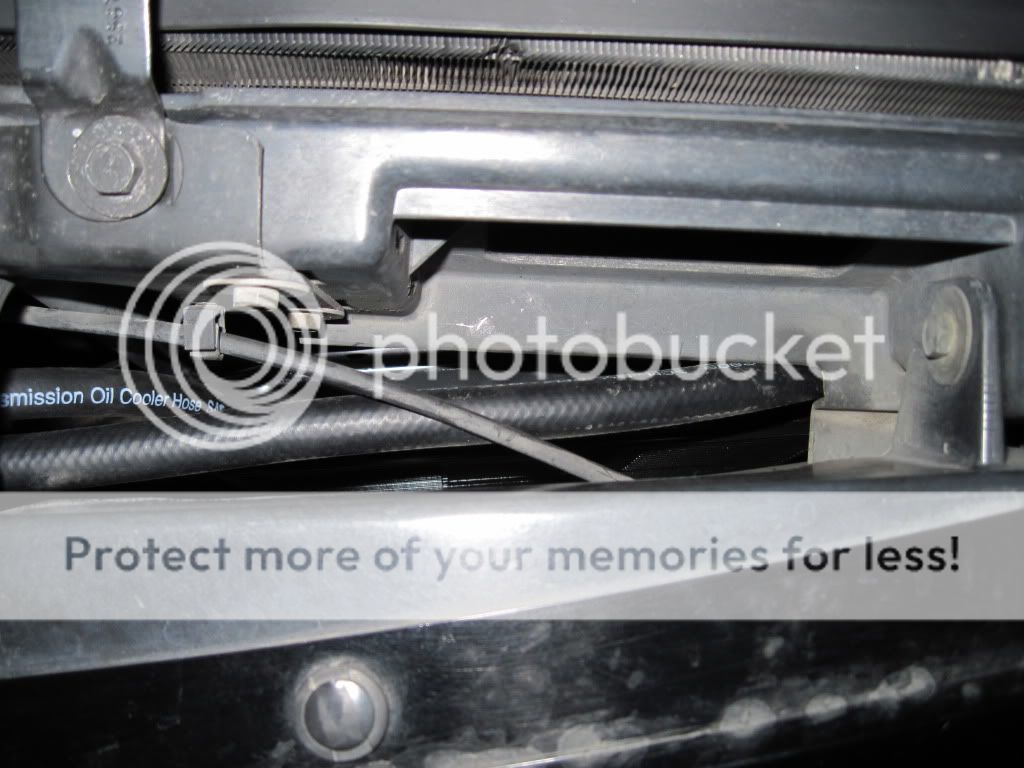
Location of return line connection to the radiator. It is between the radiator support bracket and the overflow hose in this picture.

There are 4 barb fittings provided in the kit. 2 smaller ones and 2 larger. In this application, the larger ones are used. One is threaded onto the hose fitting, and the other is screwed into the radiator. They do not need a sealant because they are tapered for the flare type fittings.
Now to mounting the cooler:
The cooler I used was quite large and left limited places to mount. There are many ways to mount it, but you just want to make sure it is rigid and will not vibrate loose.
The kit provides 4 ties that can be put through the fins of the condenser or radiator. If using this method, make sure you use the foam pads to isolate the core and condenser/radiator.
There are also brackets and bolts provided if you are able to mount it somewhere.
Mine is mounted on the driver’s side and needed a little more hose which I got from Napa. I used a few zip-ties on the top to keep it off the condenser. On the bottom I was able to use the provided brackets and screws to attach it to the front of the sub-frame.


Keep in mind that the hoses need to be attached to the cooler. I found it easier to attach them before doing the final mounting. This also allows you to check for kinked lines before the final mounting.
I found that by removing the passenger headlight I could route the hoses under it to get them to the fittings installed earlier. They go through the same place the coolant overflow hose is.

Make sure the hoses are not kinked when attaching to the system. You will also want to make sure that all wear points are isolated or eliminated.
After this is done, you will want to start the car and check for leaks.
Finally, this adds about a pint of volume to the system, so check the fluid level and add the appropriate amount of fluid.[/


