Replace Front Wheel Bearing (Hub Assembly)This work was performed on a 1995 Bonneville SE, other years and models up to 1999 similar. Check the Techinfo article for
87-99 torque specifications for your car.
Disclaimer: Performing repairs on automobiles can result in damage to property, personal injury, or death. The author is not responsible for any losses incurred as a result of the use of this information. Persons using this information do so at their own risk.Read all of the instructions before beginning to work. If, after reading through the procedure, you have any doubts that you have the skill or resources to perform the work correctly and safely, take the car to a shop and pay to have the work done. Click on any photo to enlarge.
This job can be done in about an hour if the axle shaft is not frozen in the hub. New hub assemblies range in price from $50 mail order to more than $200 purchased from the dealer. Most parts houses get about $110 for them.
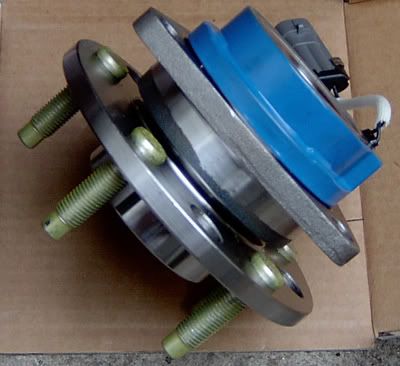
I bought the one shown above (July 2009) from AM Autoparts on E-Bay for $57 including shipping. Took about a week to ship to central Iowa.
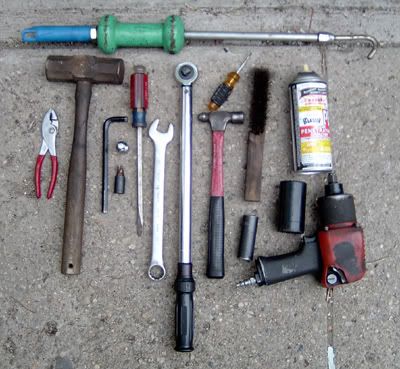
In addition to a jack and jack stands you will need the following tools:
Torx 55 driver with a long shank small enough to fit through the access hole
Small screwdriver
Big screwdriver
Small hammer
Large hammer
Pliers
Penetrating oil
Anti-seize compound
¾” socket for lug nuts
34mm socket for axle nut
Torque wrench
Impact wrench or long ½-inch drive handle
3/8” hex key and large box wrench or cheater pipe to increase torque
Wire brush
Wire, rope or heavy string to hang caliper
If you do not have a T-55 torx driver, make sure you buy a good one. The Lisle brand that I used in this example has outlasted two others that were not up to impact wrench service.
Gearhead Mechanical Mike reminds you that many auto parts stores will loan out that pricey 34mm socket for the hub nut.
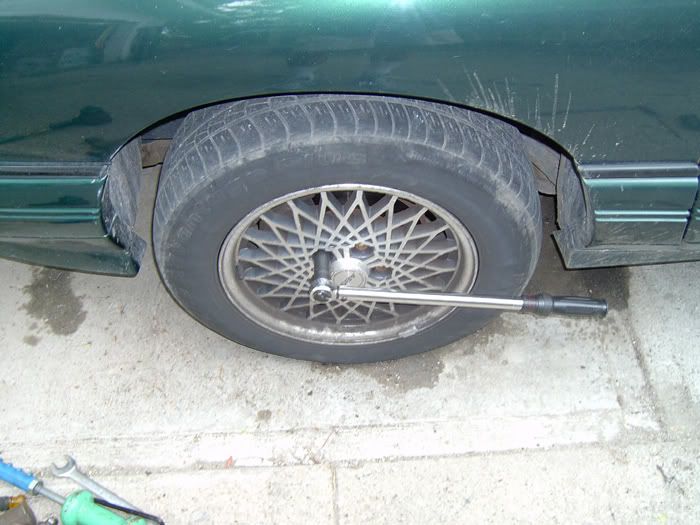
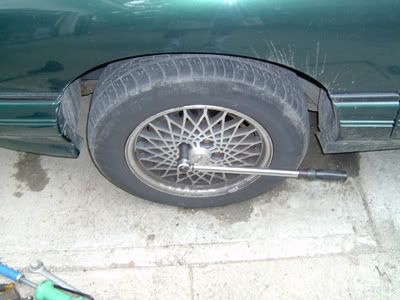
If you do not have an impact wrench, remove the plastic lug nut covers and break loose the lug nuts with a ¾” socket.
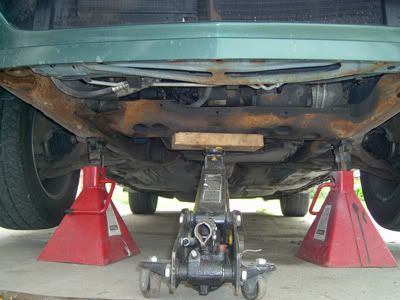
Raise the front of the car and support it safely with jack stands. Remove the lug nuts and the wheel.
Gearhead Mechanical Mike reminds you that while you have it nicely jacked up and safely supported, take a look at the rubber boots on the drive axles to make sure they are not cracked or throwing grease.
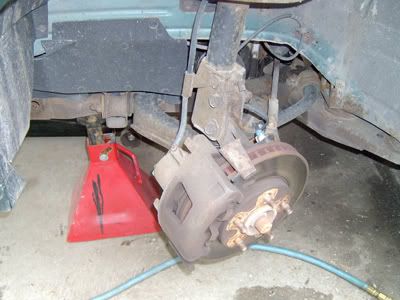
Turn the wheel for easier access to the caliper bolts.
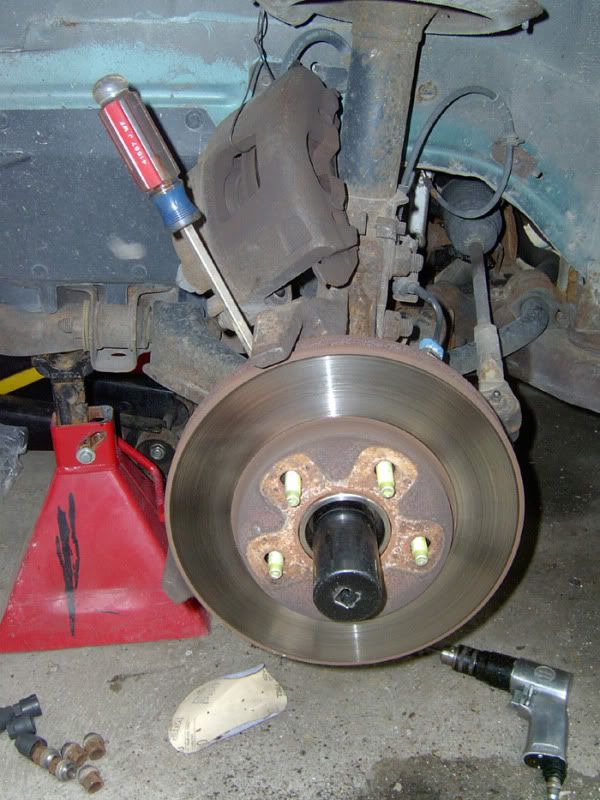
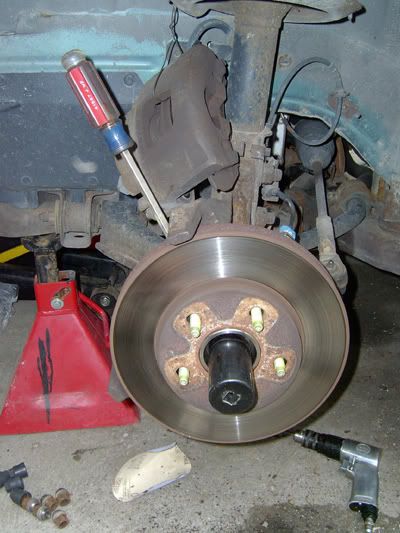
Working through the large hole in the top of the caliper, place a screwdriver against the outside edge of the rotor, and pull out against the front edge of the hole in the caliper. This will force the caliper piston to retract a bit, and will loosen the pads allowing you to lift the caliper and pads up off the rotor after you have undone the caliper bolts.
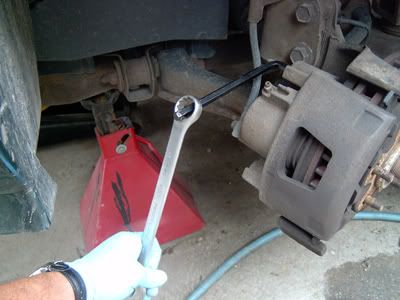
Gearhead Bugsi uses a 3/8” hex socket and breaker bar to undo the caliper bolts, but lacking these, a regular old 3/8" hex wrench will do the job. You can multiply the torque on the hex wrench with a box wrench as shown or a cheater pipe if needed.
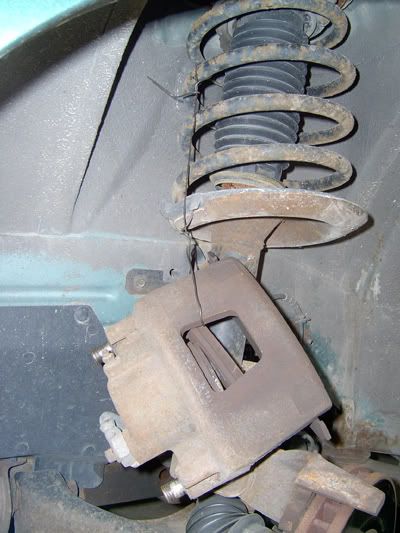
Suspend the caliper from the coil spring with a piece of wire. Don’t let the hydraulic hose take the weight of the caliper.
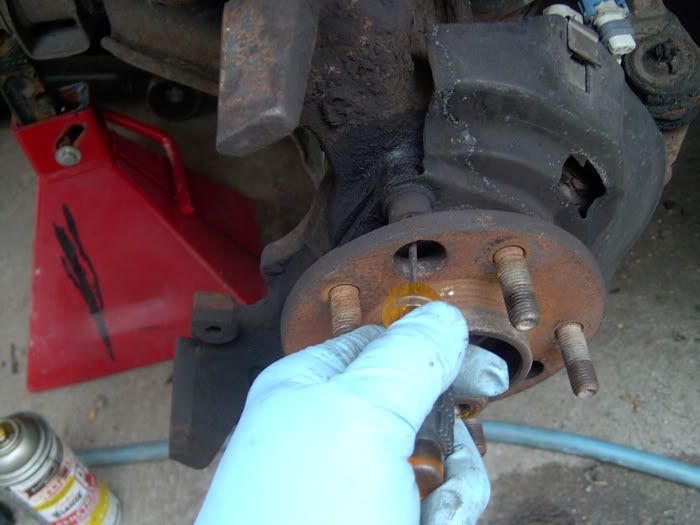
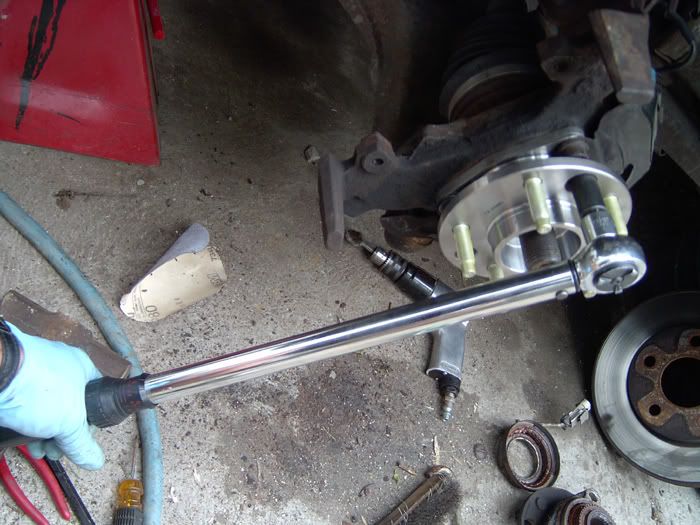
Clean any rust from the axle shaft threads. Lubricate the threads with penetrating oil.

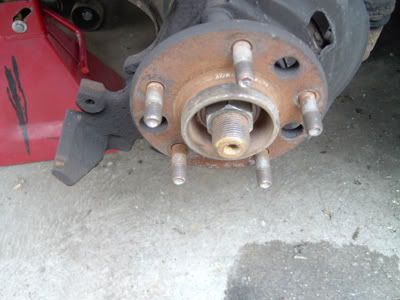
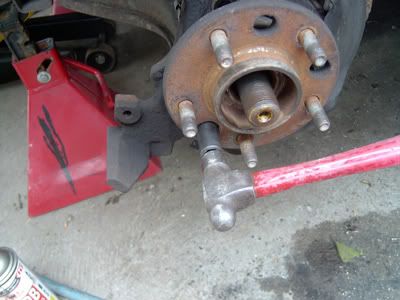
Turn the wheel straight. Slip a screwdriver into one of the rotor slots so that the screwdriver bears against the knuckle to hold the hub in place, then undo the axle shaft nut with a 34mm socket. You may want to spin one lug nut in against the rotor to hold the rotor in place.
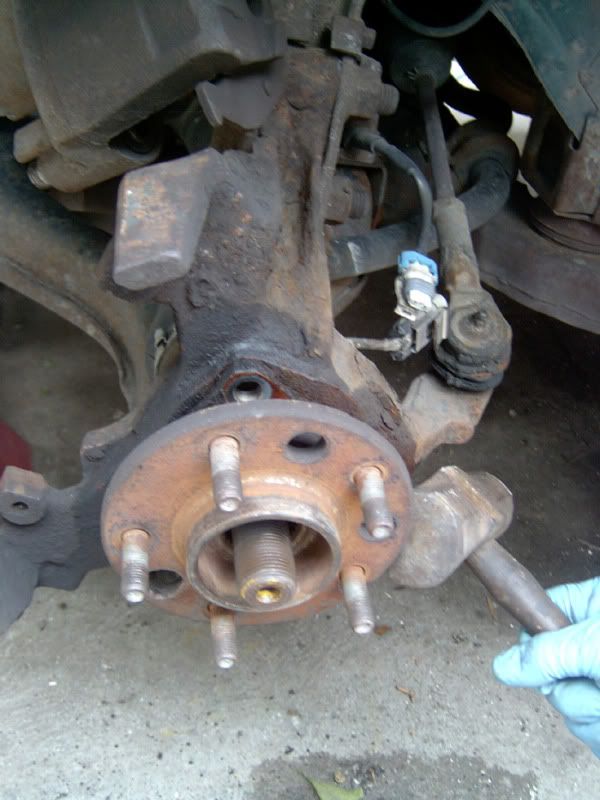
Remove the rotor. Apply penetrating oil to the surfaces where the hub meets the knuckle. Push in on the axle shaft to make sure the shaft is not stuck to the hub. Do not attempt to pull the hub off the frozen shaft without holding the shaft in place- if you do, the drive axle inner joint may pull apart.
If the axle shaft is stuck in the hub, apply penetrating oil to the splines where the shaft mates to the hub and tap the end of the shaft with a sledge. After the penetrant has had time to work, install the axle nut so it is flush with the end of the shaft and tap the shaft inwards gently with the largest sledge you have. A small, light hammer will not work in this application.
Be careful - striking the axle shaft too forcefully on the end may damage the transmission or one of the constant velocity joints. If you cannot break the shaft loose by tapping, stop. Many auto parts stores will loan you a special hub puller tool that will allow you to separate the hub from the axle shaft without damaging the shaft or the knuckle.
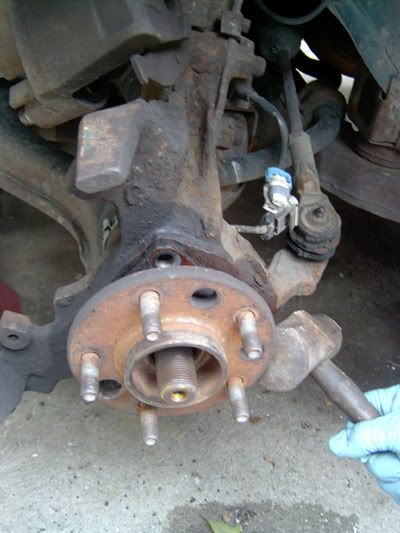
When the axle shaft is sliding freely in hub, rotate the hub until the largest hole lines up with one of the three cap screws attaching the hub to the knuckle.
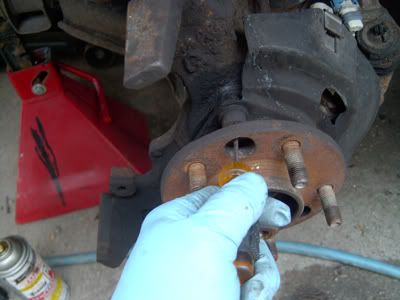
Clean out the torx head socket on top of each cap screw so the 55 torx tool will fully seat in the socket. The torx sockets in these cap screws are pretty shallow when perfectly clean - failure to seat the tool to the maximum depth may result in tool breakage.
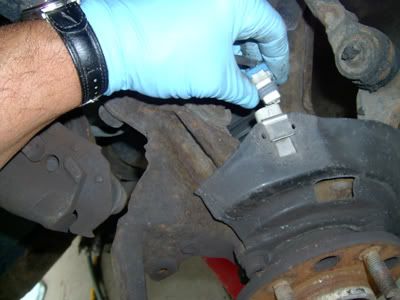
Unplug the wheel speed sensor electrical connector, then unclip the connector from the dust shield.
Tap the torx driver in with a small hammer to make sure it is all the way in. Remove the three cap screws. Remove the dust shield.
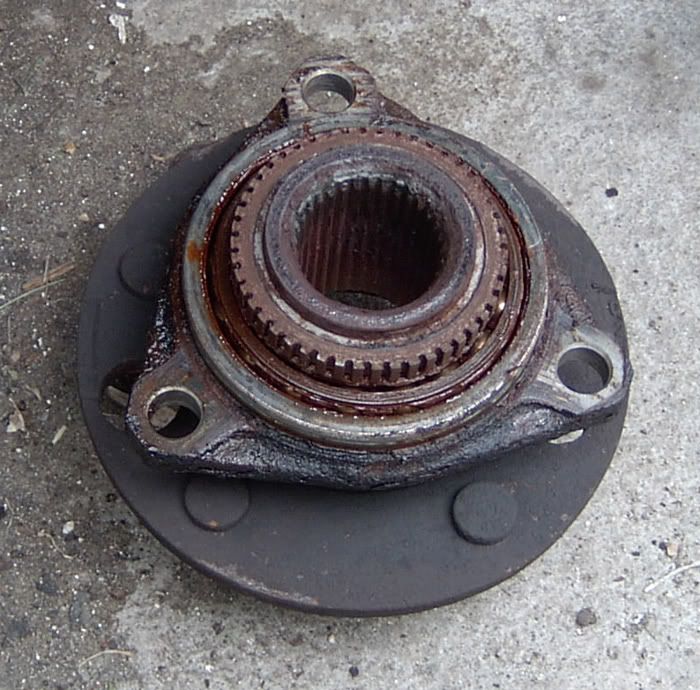
If you are replacing the hub assembly with a new one, you can just tap out the old one with a hammer.
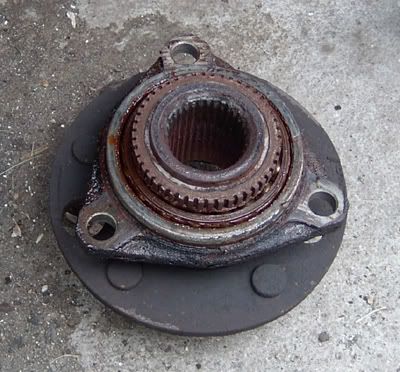

The wheel speed sensor may come apart like mine did. I used a slide hammer to pull out the remaining parts (cover and pickup for the wheel speed sensor). If you don’t have a slide hammer, you could pull the piece out with pliers or drive it out from behind with a drift. Since you are replacing the part anyway, it doesn’t matter if you damage it in the process of removal. Just be careful not to damage the axle shaft or the knuckle. Once the metal is out of the knuckle, push in the axle shaft and move the shaft to one side to allow the wheel speed sensor connector to pass between the knuckle and the axle shaft.
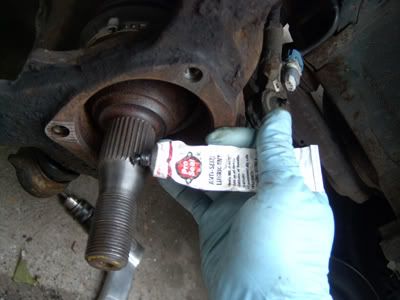
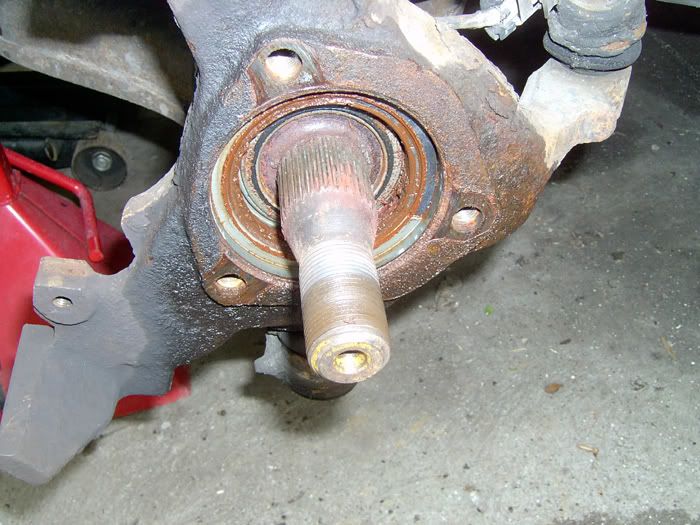
Clean up the splines on the axle shaft, and the surfaces on the knuckle where the hub assembly attaches. Apply anti-seize compound to the splines of the axle shaft.
Slip the new hub assembly over the end of the axle shaft. Then push the axle shaft in and over to one side, to make room to slide the wheel speed sensor electrical connector and wire through the knuckle.
Line up the holes and install the dust shield, then the cap screws with washers attached.

Torque the screws to 25 ft-lb. Then torque them to 70 ft-lb.
Install the rotor and slip a screwdriver into one of the rotor slots so that the screwdriver bears against the knuckle to hold the hub in place for tightening the axle nut. You may want to secure the rotor with a lug nut. Tighten the axle nut to 108 ft-lbs.
Remove the wire and install the caliper. Install the wheel. Snug up the lug nuts. Remove the jack stands and lower the car to the ground.
Torque the lug nuts to 100 ft-lb in a star pattern. Install the plastic lug nut covers. Take a test drive and enjoy the quiet. Pat yourself on the back - you just saved some serious money!
Thanks to the Gearheads and Administrative Staff who helped to review and edit this article.