This procedure was written by 95naSTA for the ‘92 to ’99 model years. It is but one method of replacing the ball joints. Each requires proper care while working on the car. Other methods include using a sawsall , or a grinder to remove the heads of the rivet. In this procedure, it is important to drill in the center of the rivet heads so as not to oval out the holes in the control arm.
As with other procedures, all responsibility lies with you. The author, staff and members accept no responsibility for damage or injuries sustained while following this guide. Work safe and smart.
Special Tools Needed:
A drill with decent power
A GOOD metal drill bit set, Craftsman or better. (I broke almost an entire Harbor Freight set)
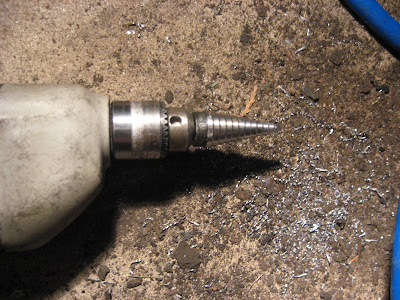
A stepped drill bit made for drilling metal
A air hammer with punch bit or a punch and a hammer
A grease gun
-Break front lugs, set E-brake, and chock the rear tires.
-Jack up the front of the car so that it is even on both sides (the higher the better but keep it safe.)
-Place on jack stands
-Remove wheel
-Remove caliper (3/8" allen – 15mm bolt 2000+) and either support or tie up out of the way (don't want to damage the brake hose) and unbolt brake hose holder(s) that are attached to the strut.
-Remove caliper bracket.
-Remove rotors
-Mark outline of where the strut is bolted to the knuckle so you can try and match it up later.
-Unbolt 2 bottom strut nuts/bolts.
This could potentially be really hard.. it depends on corrosion. It may help to thread the nut back on the bolt a few turns and put the socket back on the nut. Then, hit the socket with a good sized hammer, being careful not to damage the socket. If you need more room, turn the wheel.
The strut should separate from the knuckle.
-Remove 3 nuts holding the strut top making sure not to let the strut assembly drop
-Remove strut being careful not to damage CV boots
-Remove swaybar endlink
-Remove tie-rod pin/castle nut.
-Remove pin/castle nut from ball joint
-Bang on the bottom/side of the knuckle hard where the ball joint goes through with a hammer to try and break it loose front the ball joint. You're not actually banging anything through. The vibrations help to break the tension.
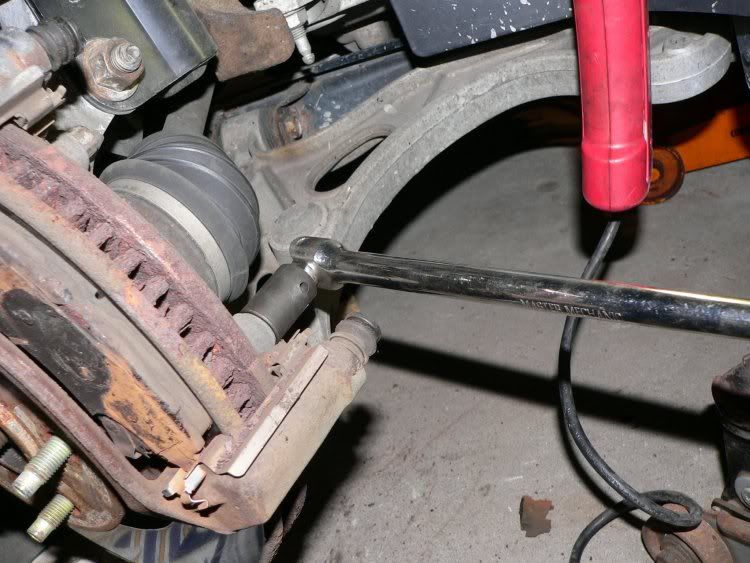
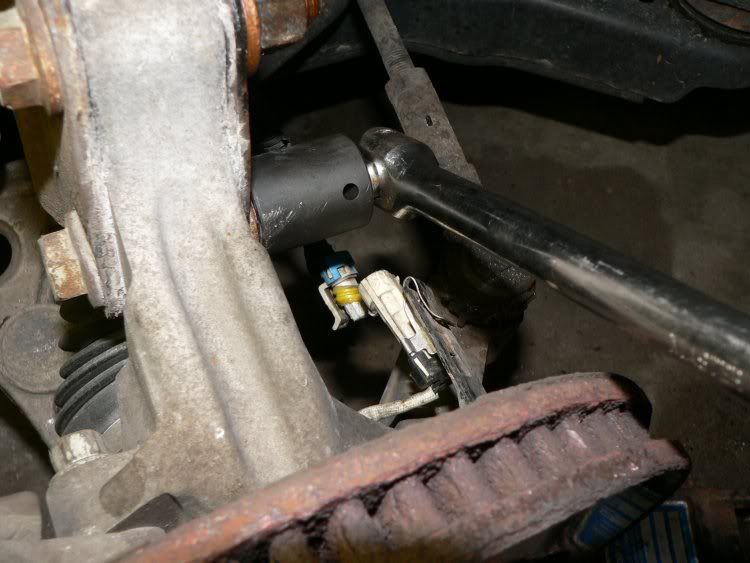
-Pry between the knuckle and the control arm section of the ball joint to break the ball joint loose. This is where the height comes as an advantage, to get room for the pry bar. You can also use a pickle fork here.
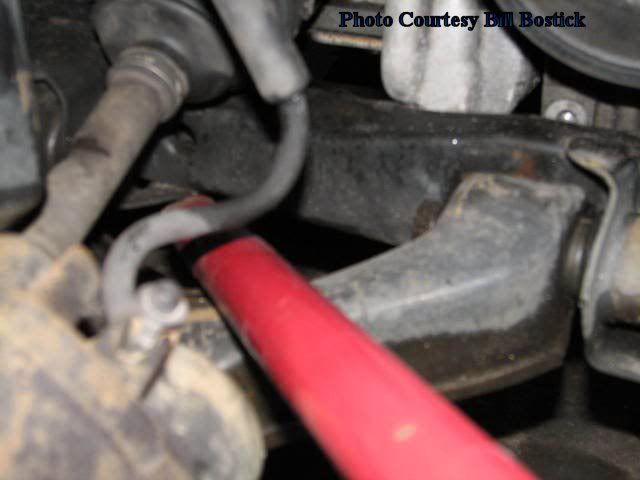
The knuckle should be free at this point and you should be able to lift it up off the ball joint. It might take a bit of banging and prying but it should come loose. You may need something to support the knuckle out of the way of the ball joint since it's still connected by the axle.
From here you can use the procedure that I made about drilling out the rivets and bolting in the new one:
Special Tools Needed:
A drill with decent power
A GOOD metal drill bit set, Craftsman or better. (I broke almost an entire Harbor Freight set)
A stepped drill bit made for drilling metal
An air hammer with punch bit or a punch and a hammer
A grease gun
-Drill a small hole as close to the center of the rivet as possible. Drill almost all the way through.
-Follow up with a larger bit that is larger than the tip of the stepped bit.
-Drill into the rivet with the stepped bit until the head of the rivet comes loose.
-Air hammer the rivet out or hammer it out with a punch
-Repeat for the other 2 rivets
-Bolt new ball joint in to manufacturer's torque
-Install knuckle, and strut
-Grease the joint through the zerk fitting until the boot starts to bulge.
Pics to illustrate:
Stepped drill bit:
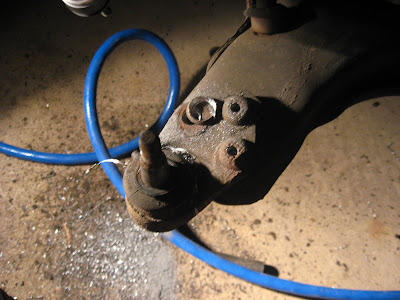
Counter-clockwise from the bottom right, small hole, larger hole, start of drilling with stepped bit:
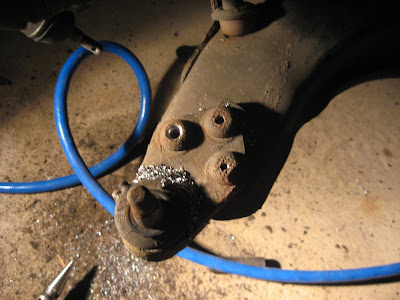
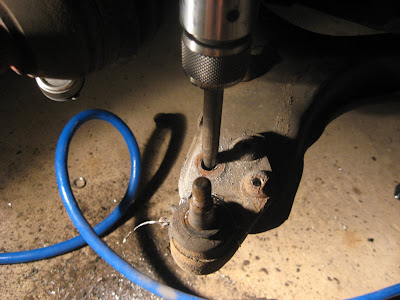
Opening up the hole more with the stepped bit:
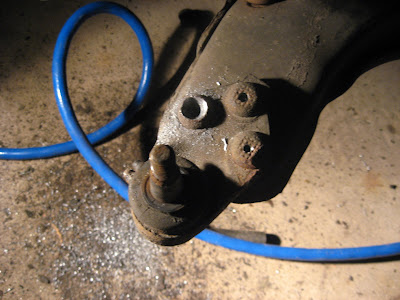
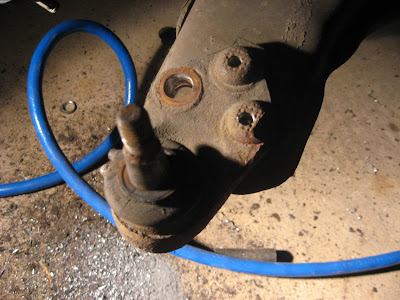
The head of the rivet loose:
Air hammer in place:
Punched out rivet:
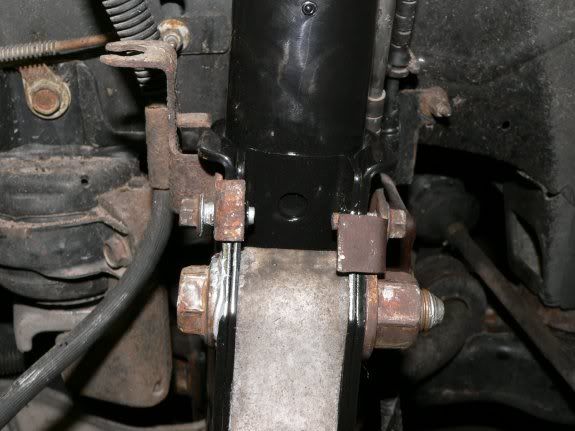
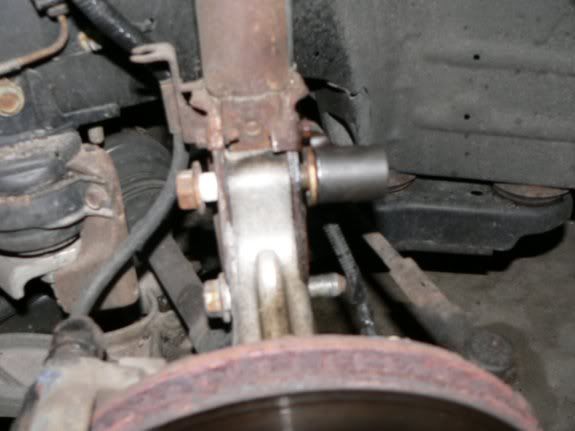
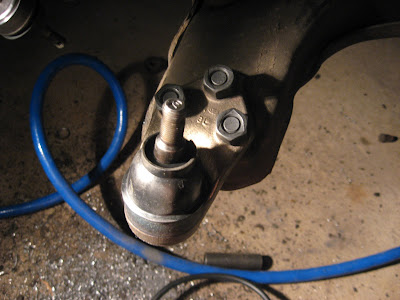
New ball-joint bolted in:
This is a quick and dirty write up but hopefully it's of use to someone on here. I know it would have saved me time.