Author - ddalderCenter Console Courtesy LampWhat bothered me for a very long time was digging around in my center console looking for something at night. I finally decided to fix this and install a courtesy lamp. It would have been better had I done a write-up at the time (this project was actually completed several years ago) because some of the details would have been a little clearer in my mind. Regardless, here we go…
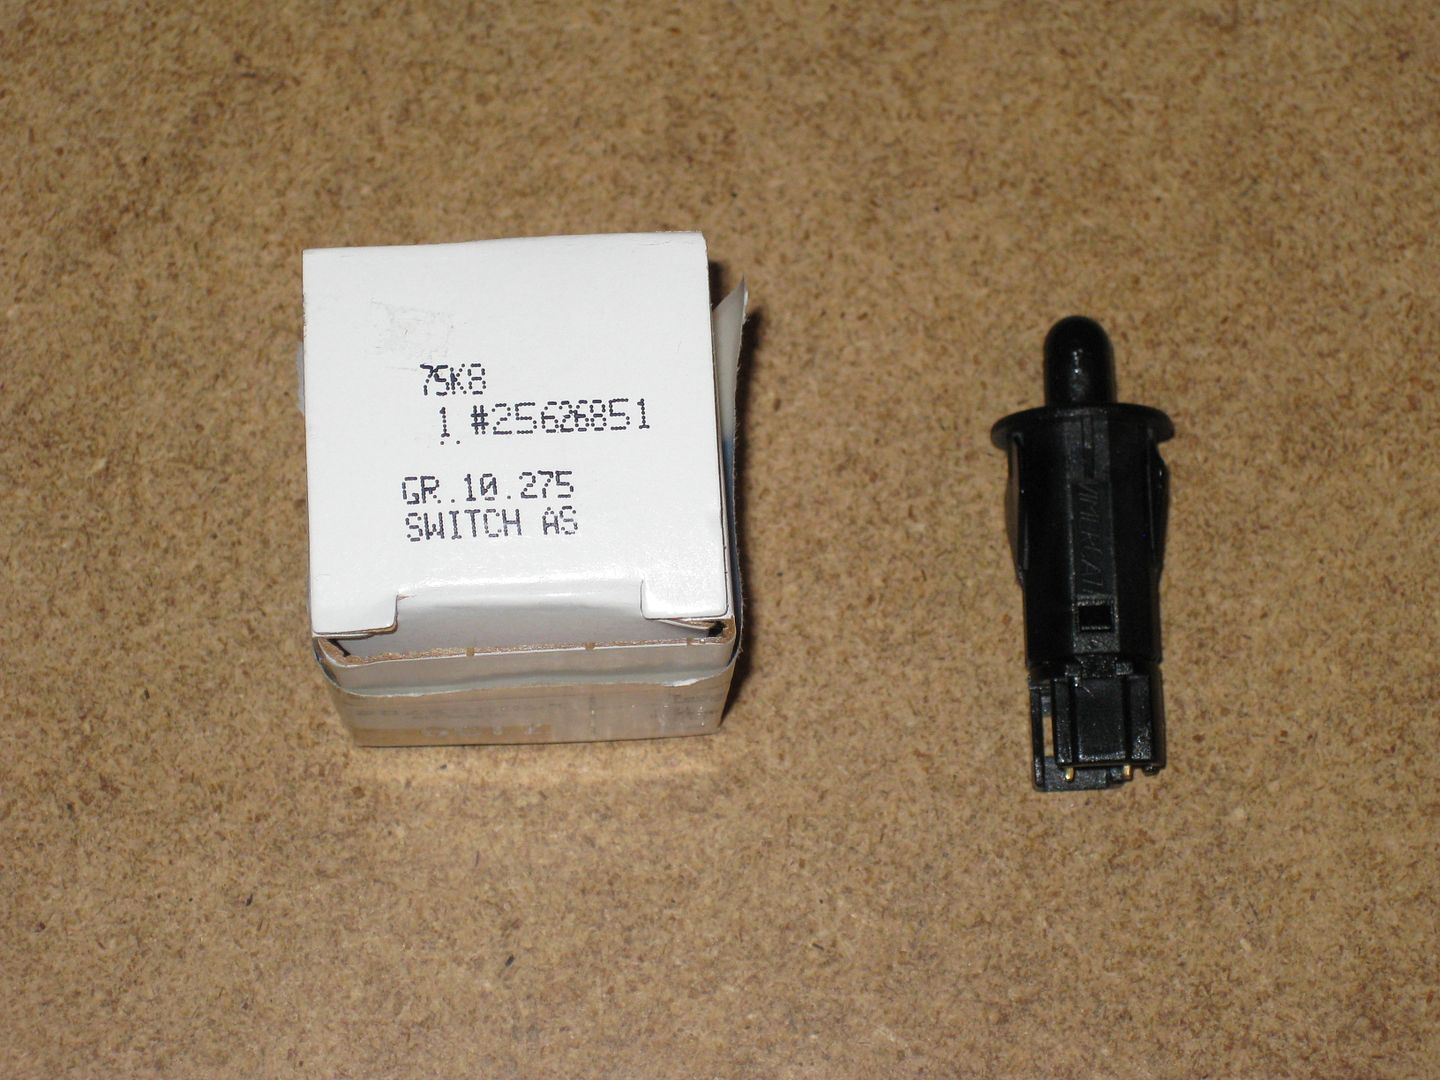
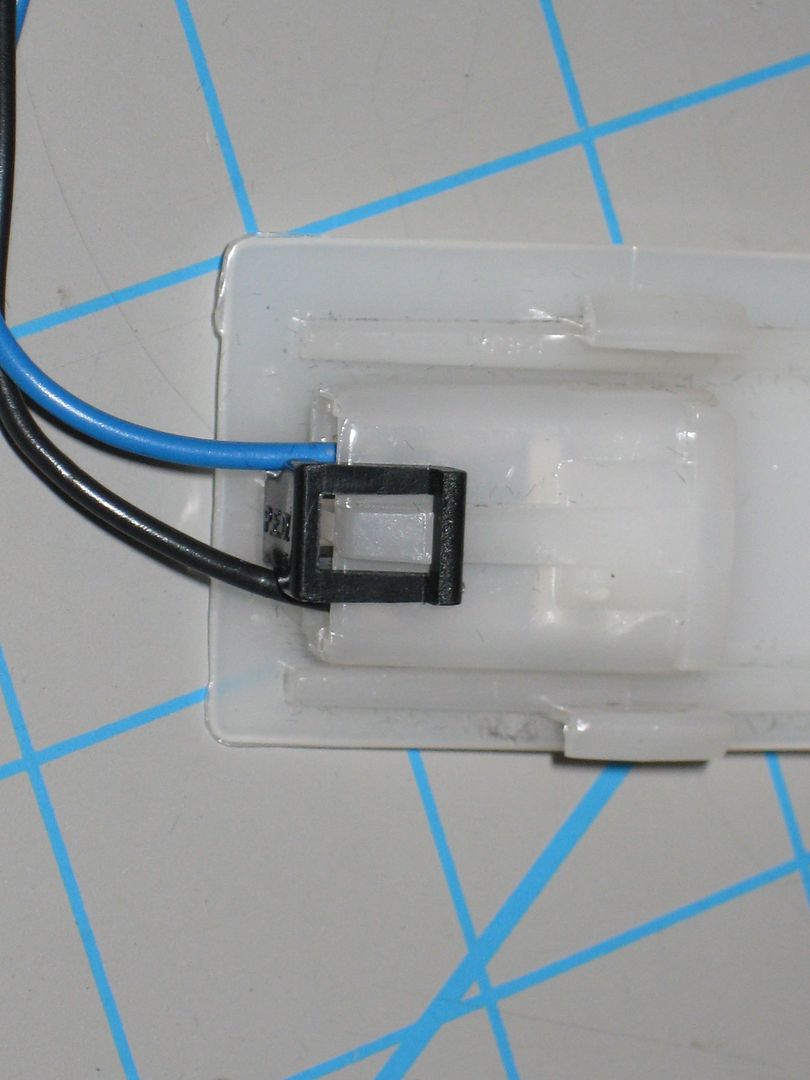
The lamp assembly and switch both came from an Oldsmobile Aurora, late 90’s into the early 2000’s vintage. The switch is P/N 25626851 and was used on a wide range of GM vehicles from 1985 through 2014. As for the lamp, there are a couple of variations depending on the donor vehicle. I chose the white lamp but there is also a clear version available that was used primarily in glove compartments (versus center consoles). In some of the pictures you’ll see a black plastic rear cap. This was not necessary in the Aurora because the lens clipped directly into the compartment insert. With the Bonneville the plastic is not thick enough to accommodate this. To resolve this I used the black plastic cap which the lens is designed to clip onto. This was acquired from (as I recall) the glove box lamp assembly of a late 90’s Buick of some type.
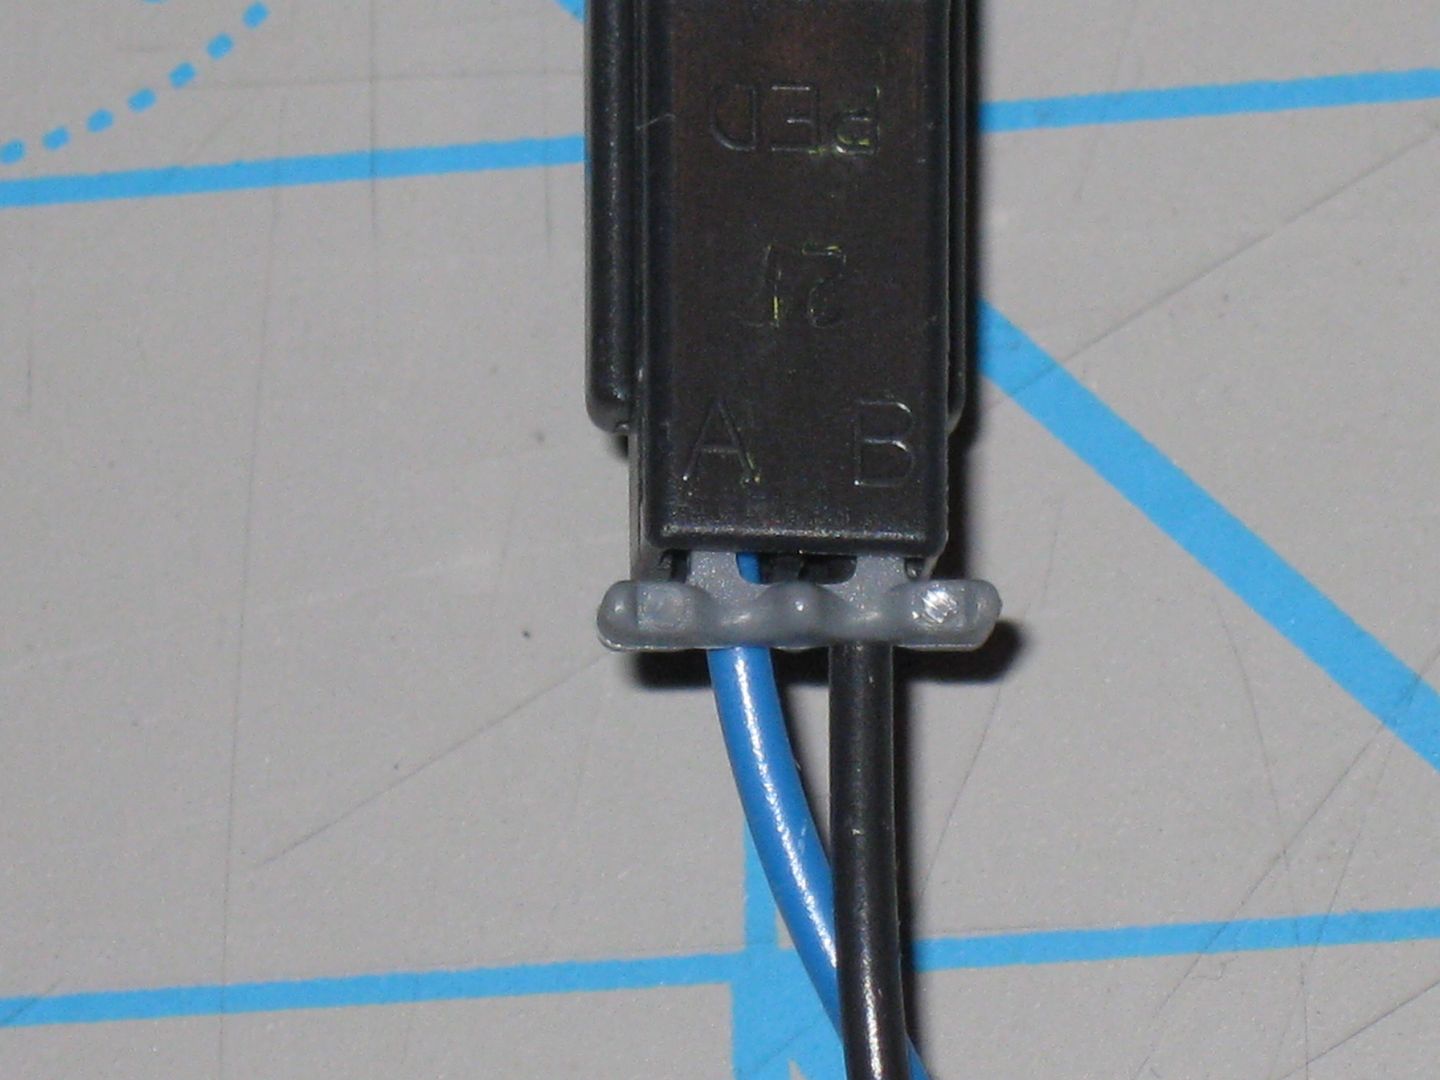
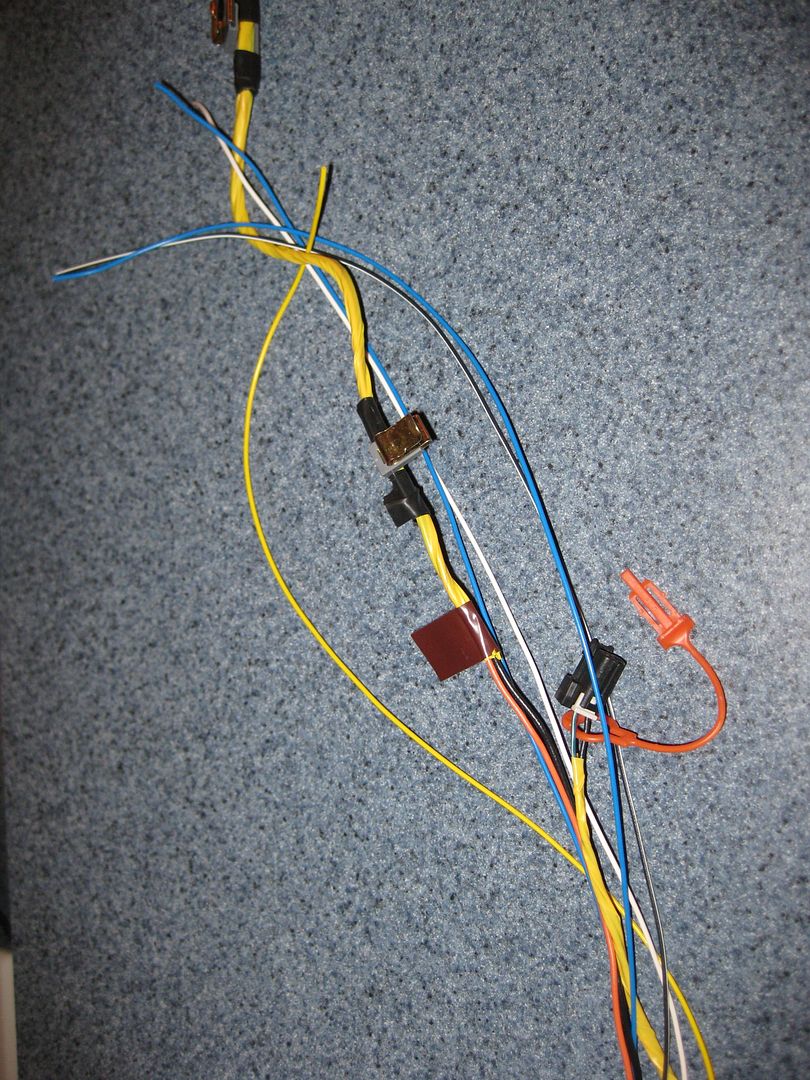
The wiring is another custom creation which I ultimately integrated into the center console wiring harness. When I completed my main body and instrument panel harness project I added the necessary wiring there as well making it a completely “seamless” integration. The lamp is wired into the same circuit as the glove box lamp to be protected by the fuse for that circuit.
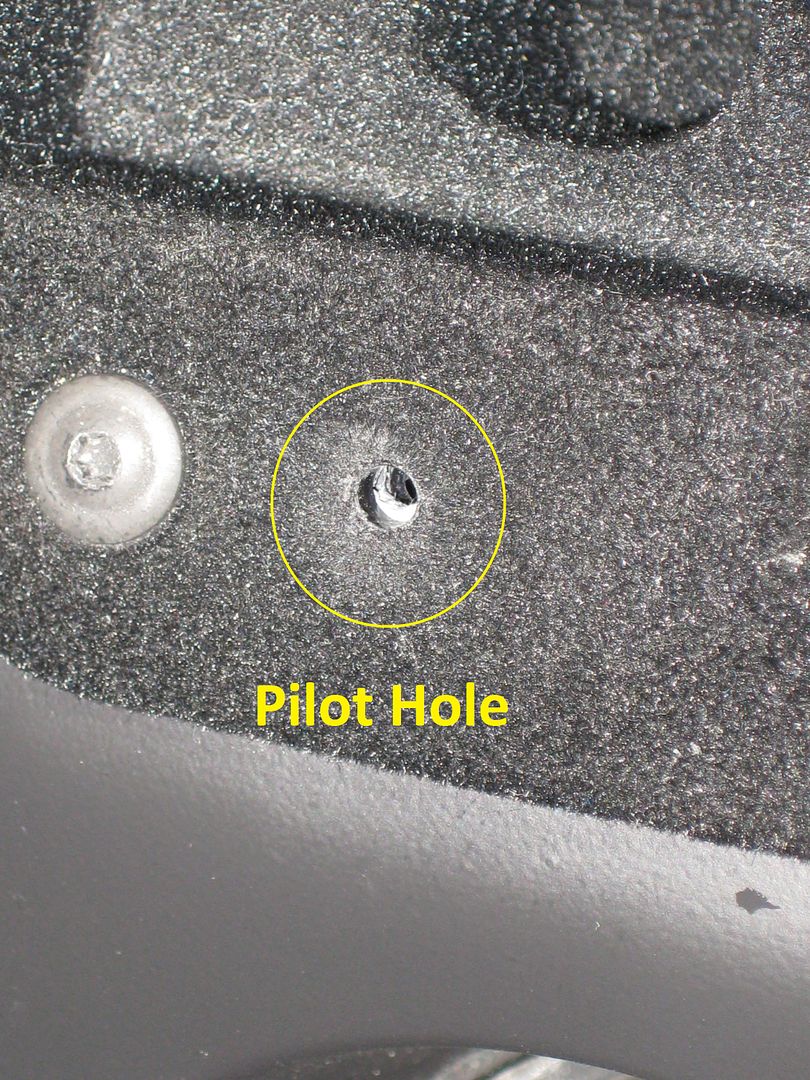
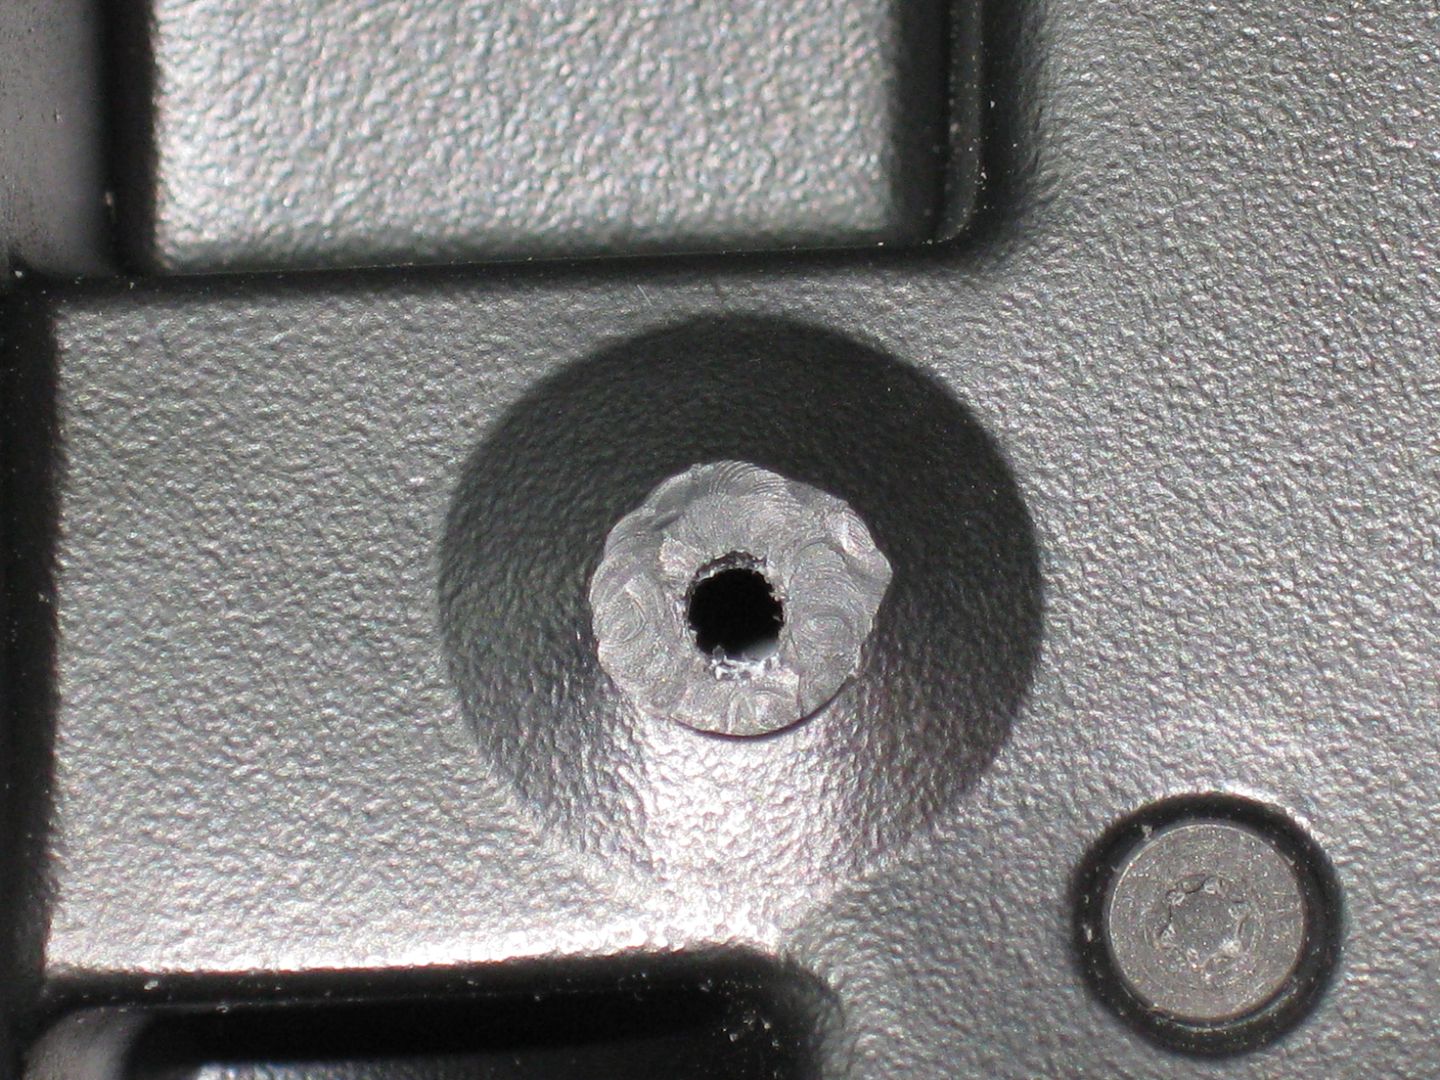
The first step was to mark the location where the right console lid rubber bumper contacts the center console insert. I drilled a pilot hole then enlarged it to 5/8”. This was done with all the components still installed in the car ensuring everything will be aligned correctly between the cup holder insert and the CD/Cassette insert.
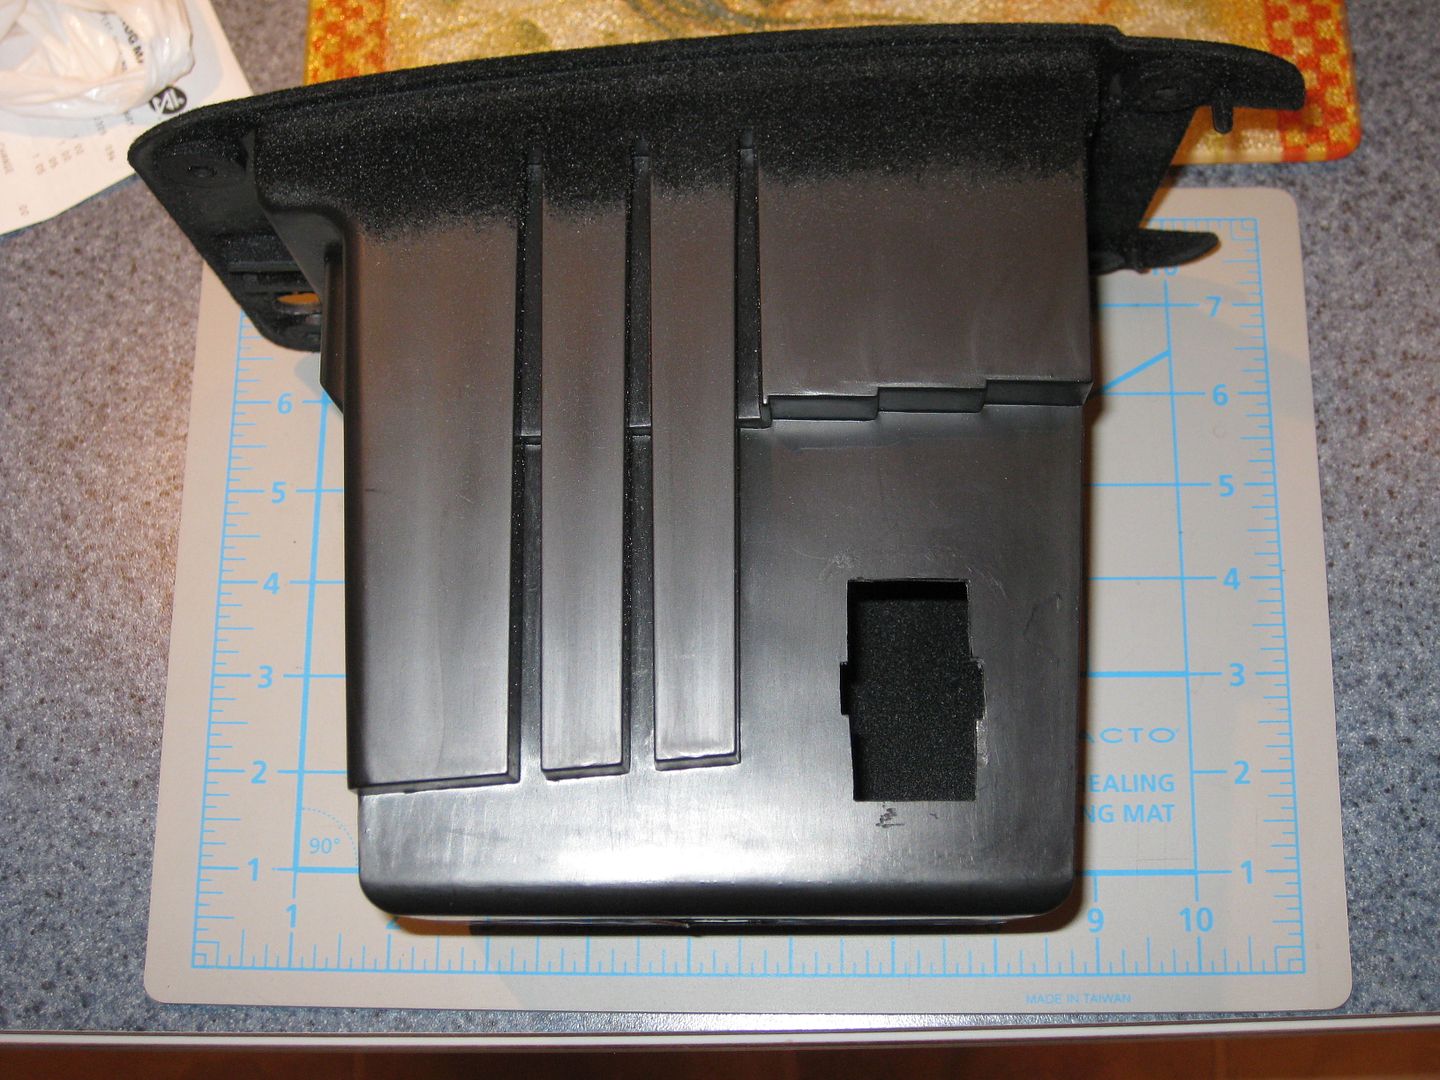
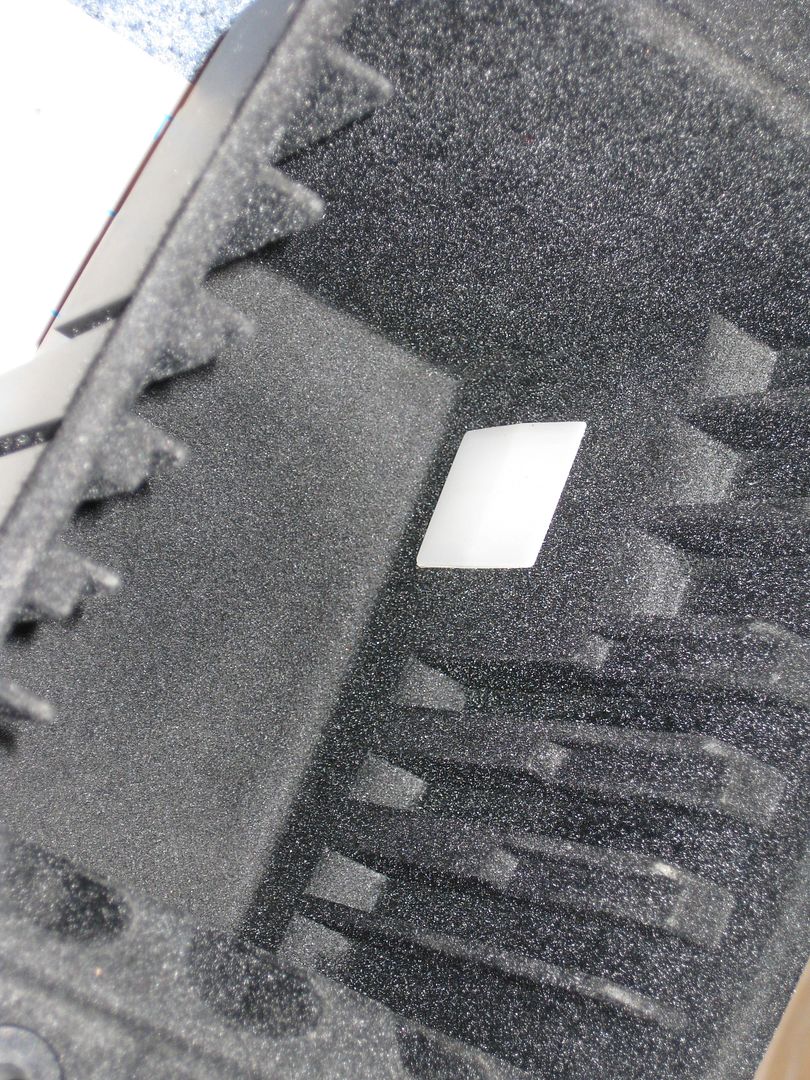
Here’s a picture of the cup holder and CD/Cassette insert after the hole was drilled and the parts are removed from the vehicle.
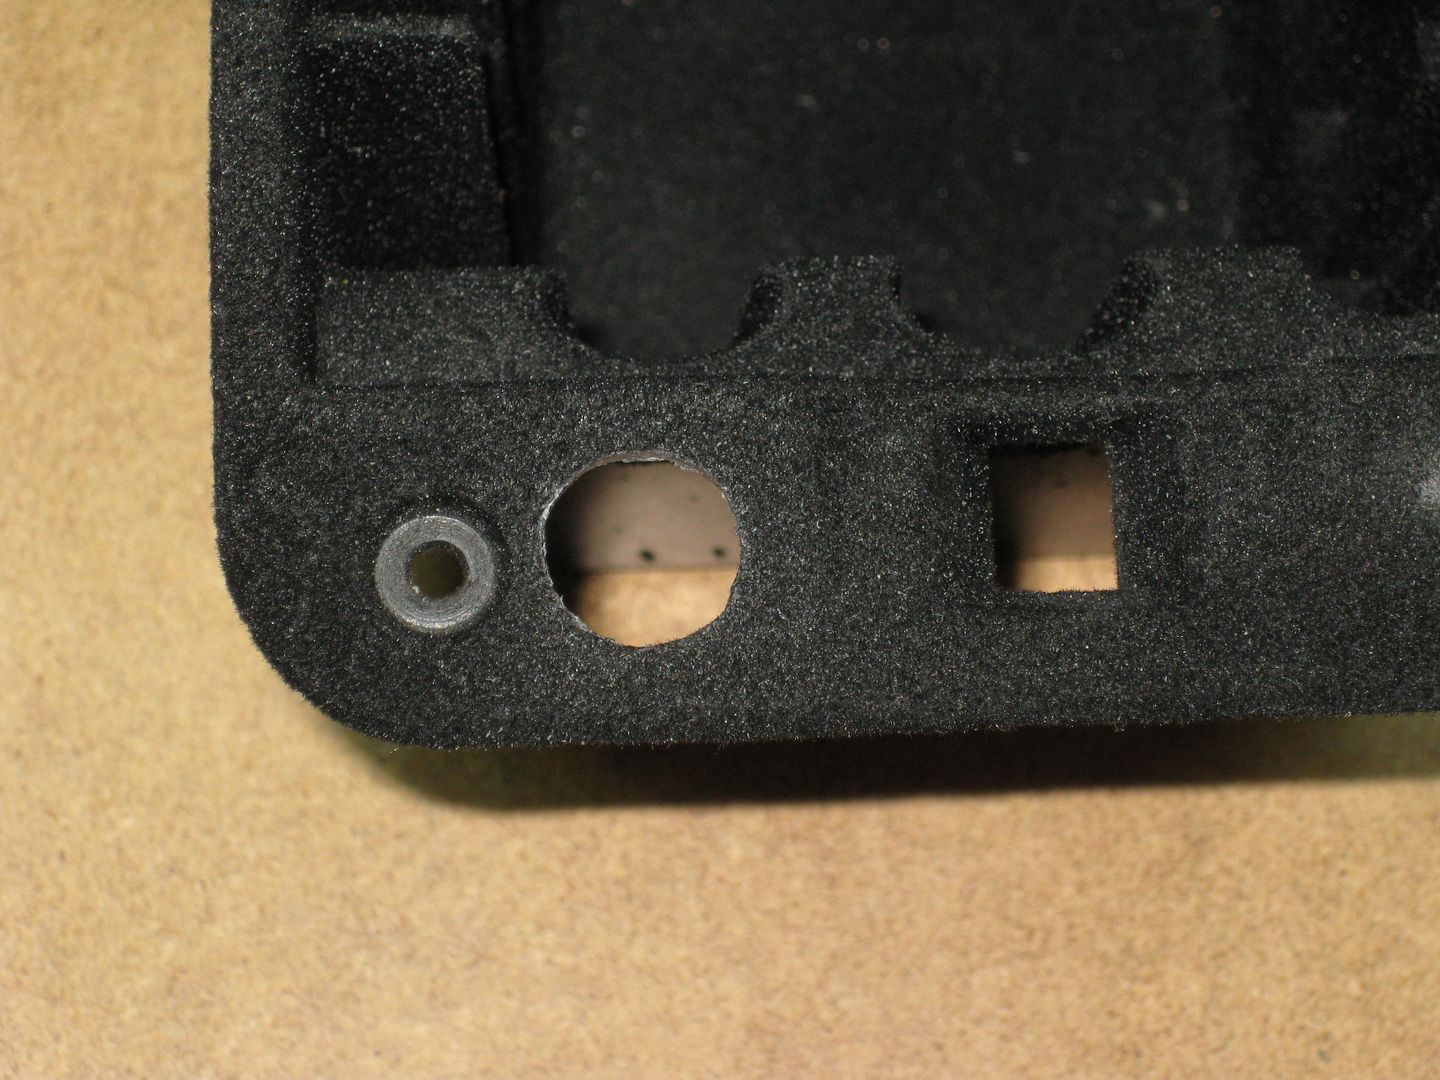
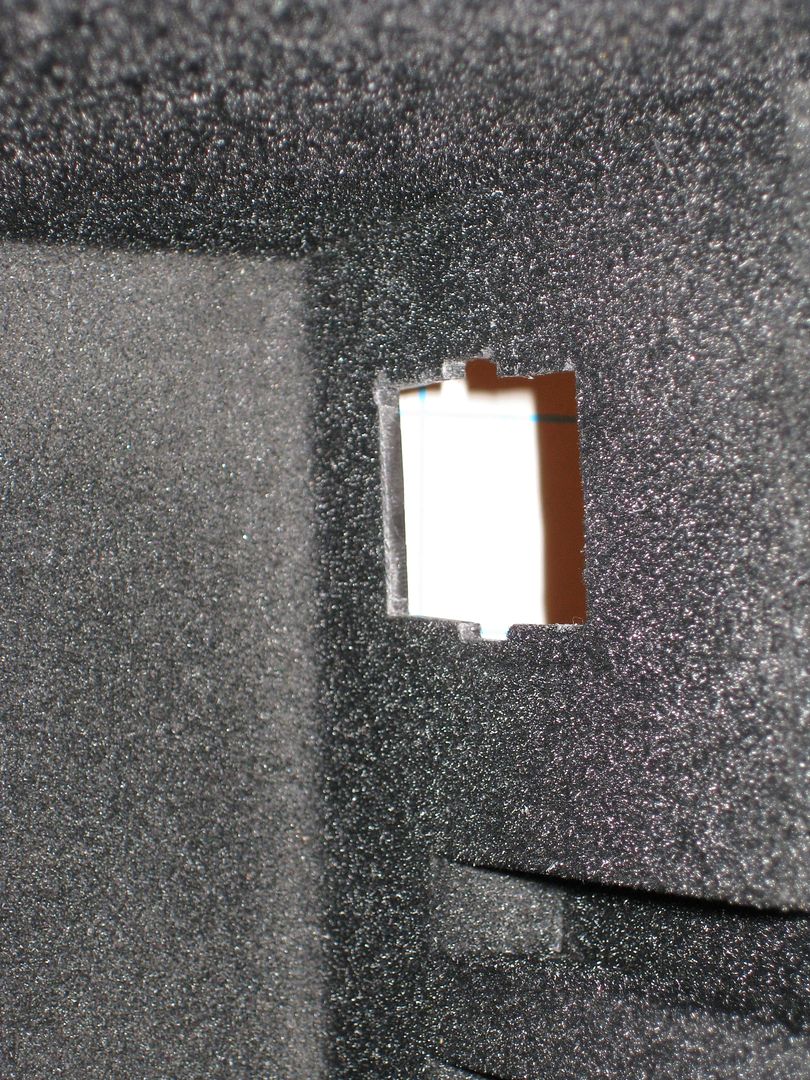
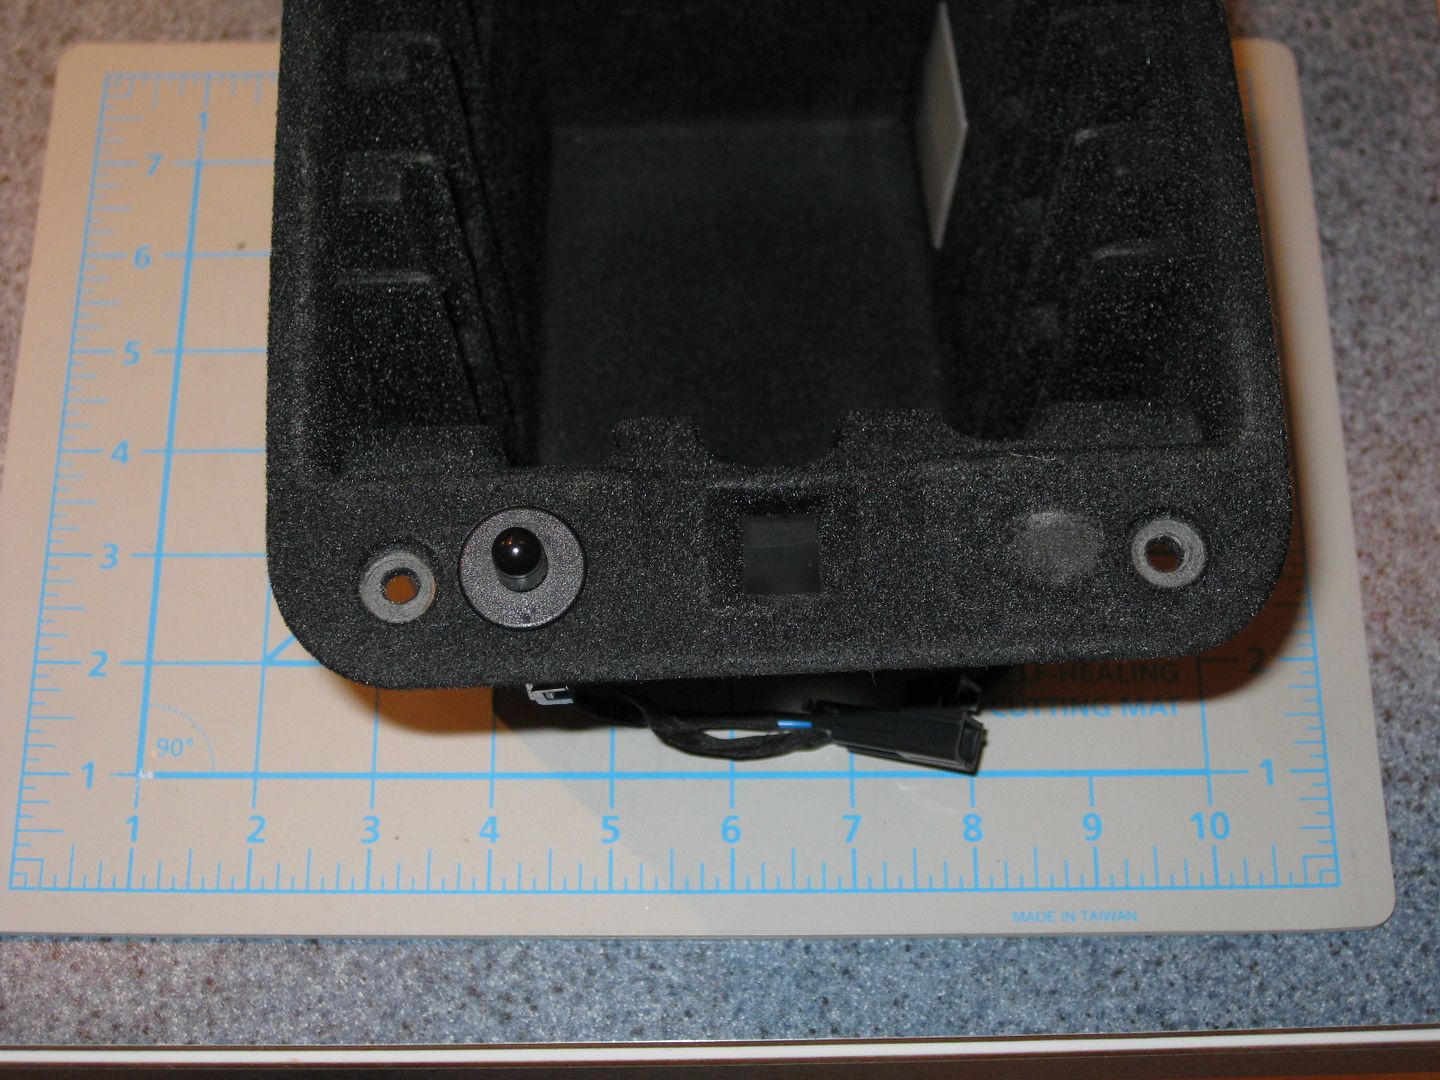
I opened up the hole in the cup holder to a ‘U’ shape. This allows for easy installation and removal of the cup holder without having to remove the switch first. The CD/Cassette insert has its own wiring harness and is intended to be removed as a single component, light and switch attached. Without creating the ‘U’ opening, this would not be possible.
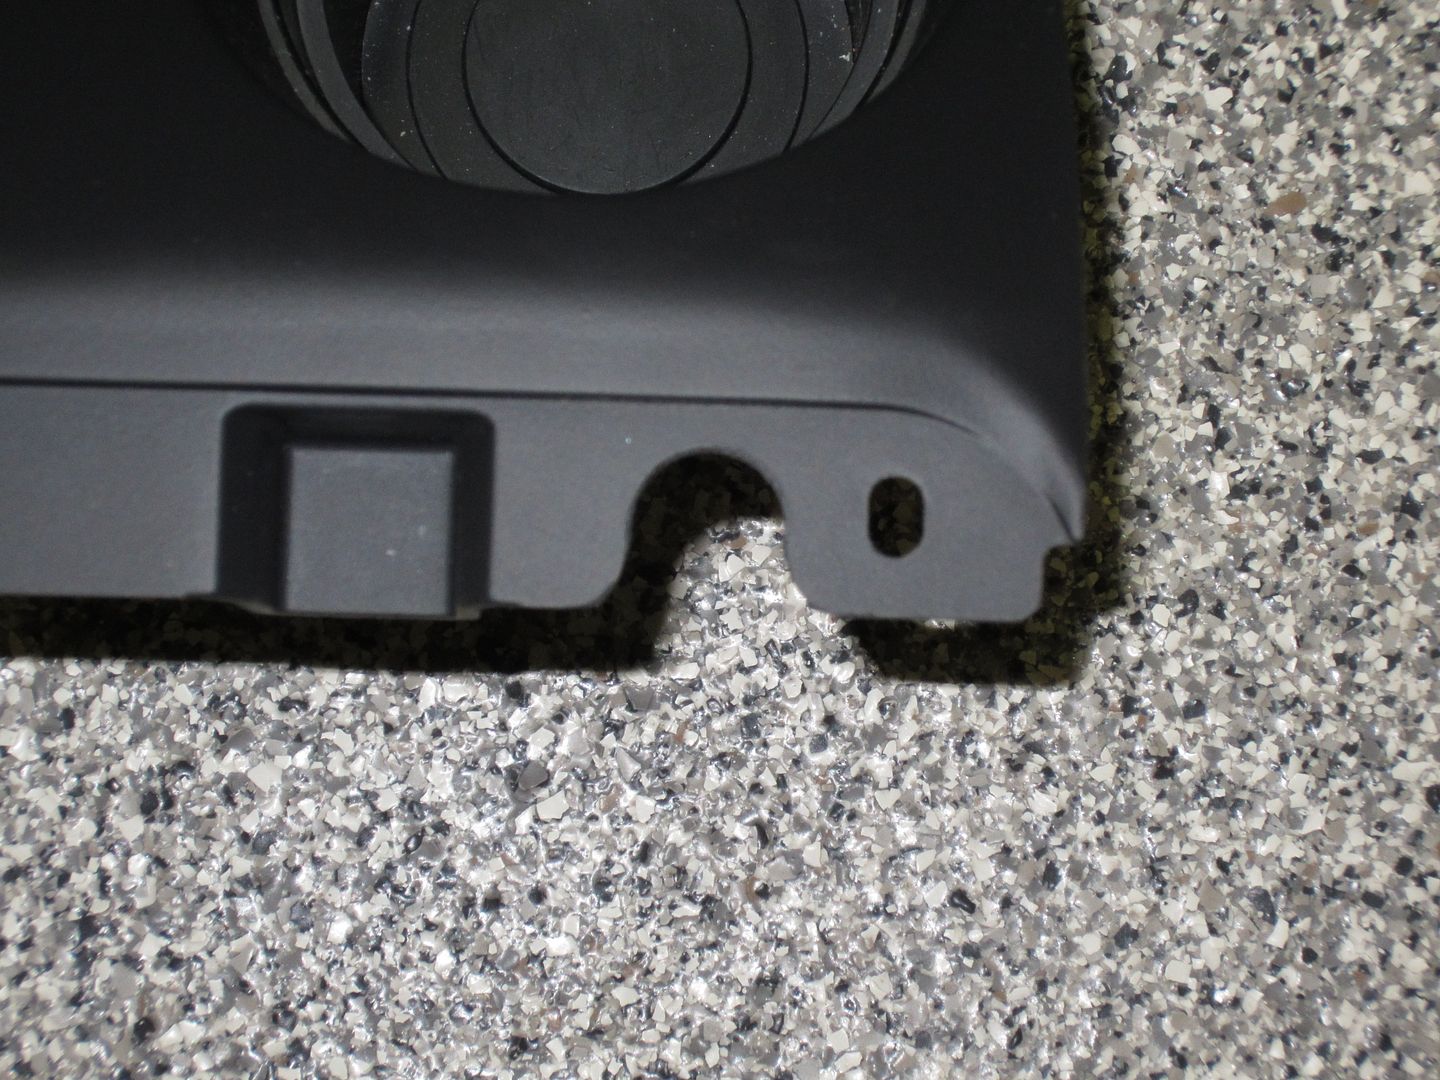
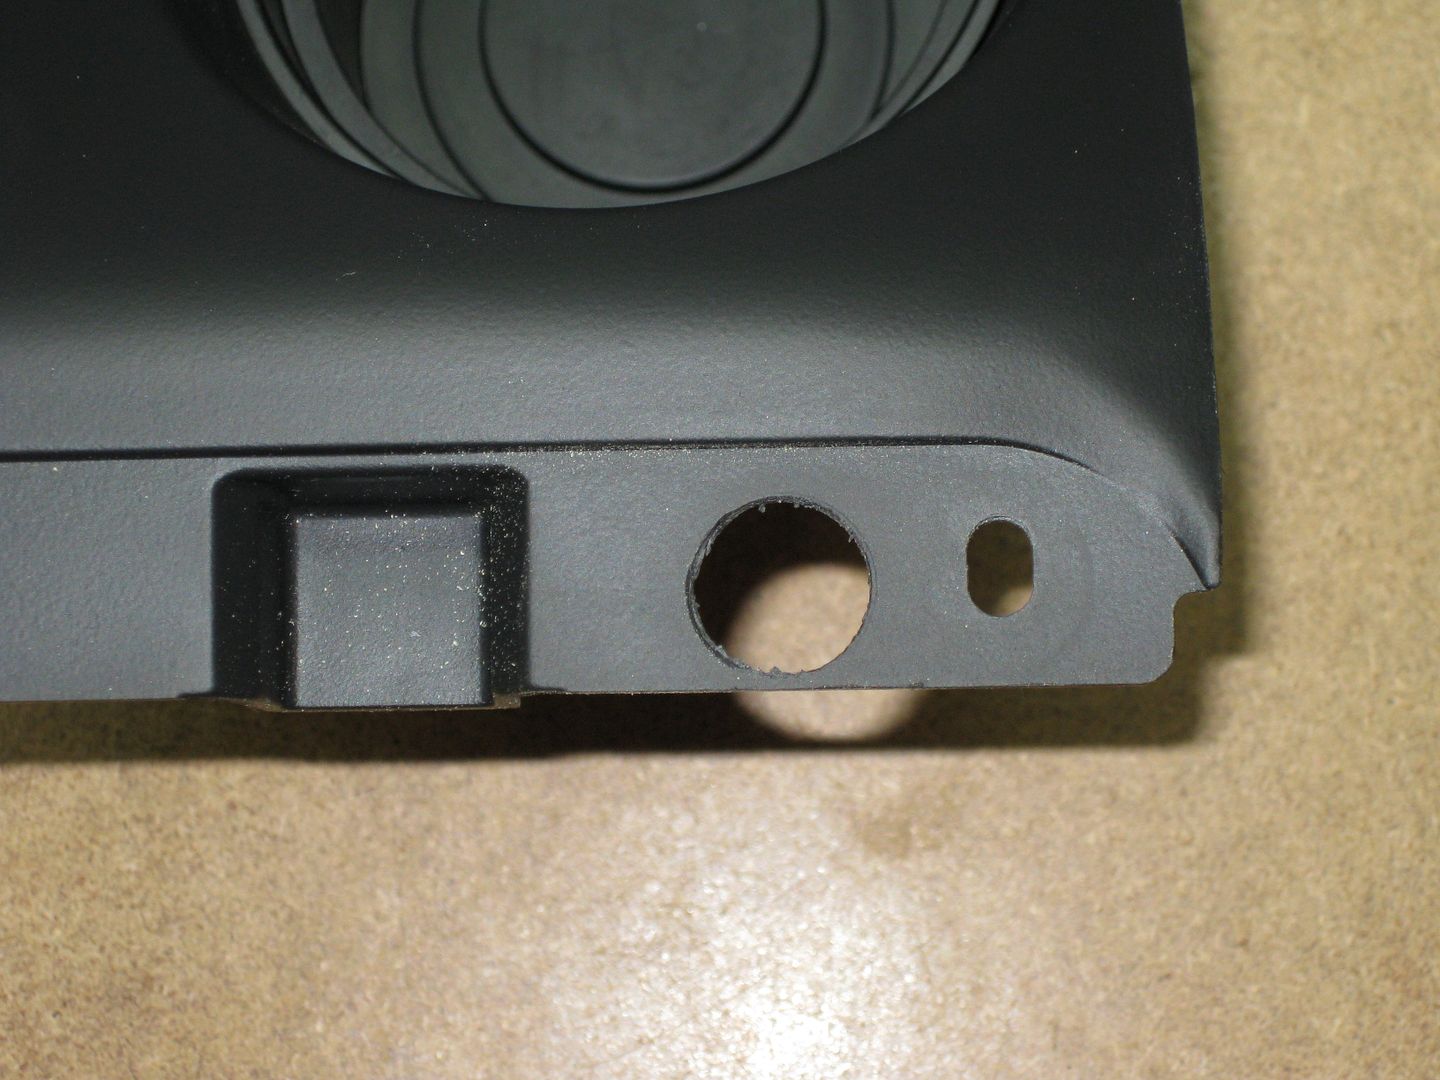
Next was creating the opening for the lamp assembly. The hole is not a rectangle (although it looks close) so I had to make a template.
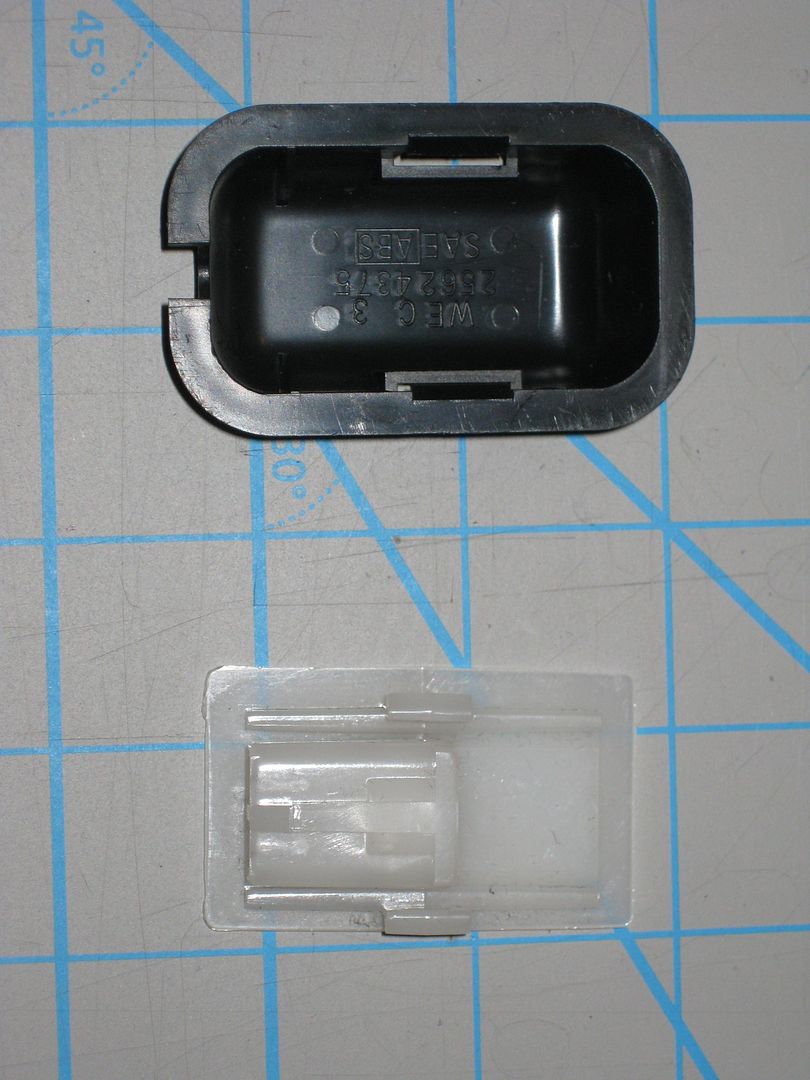
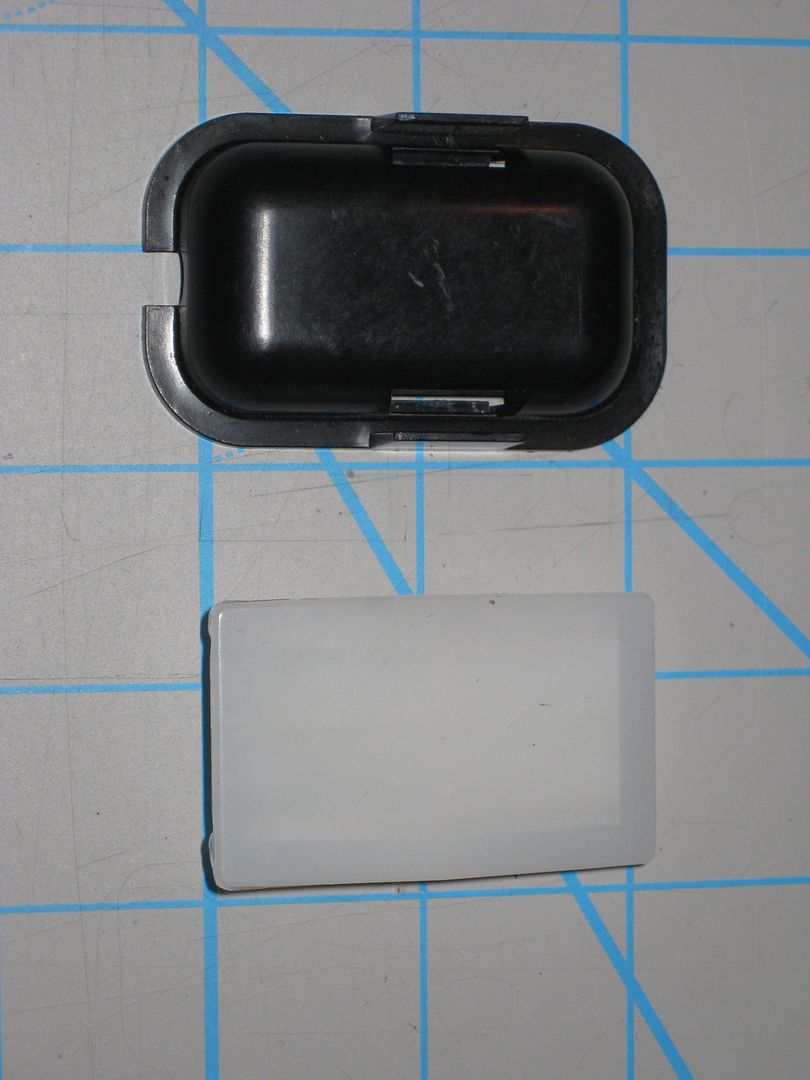
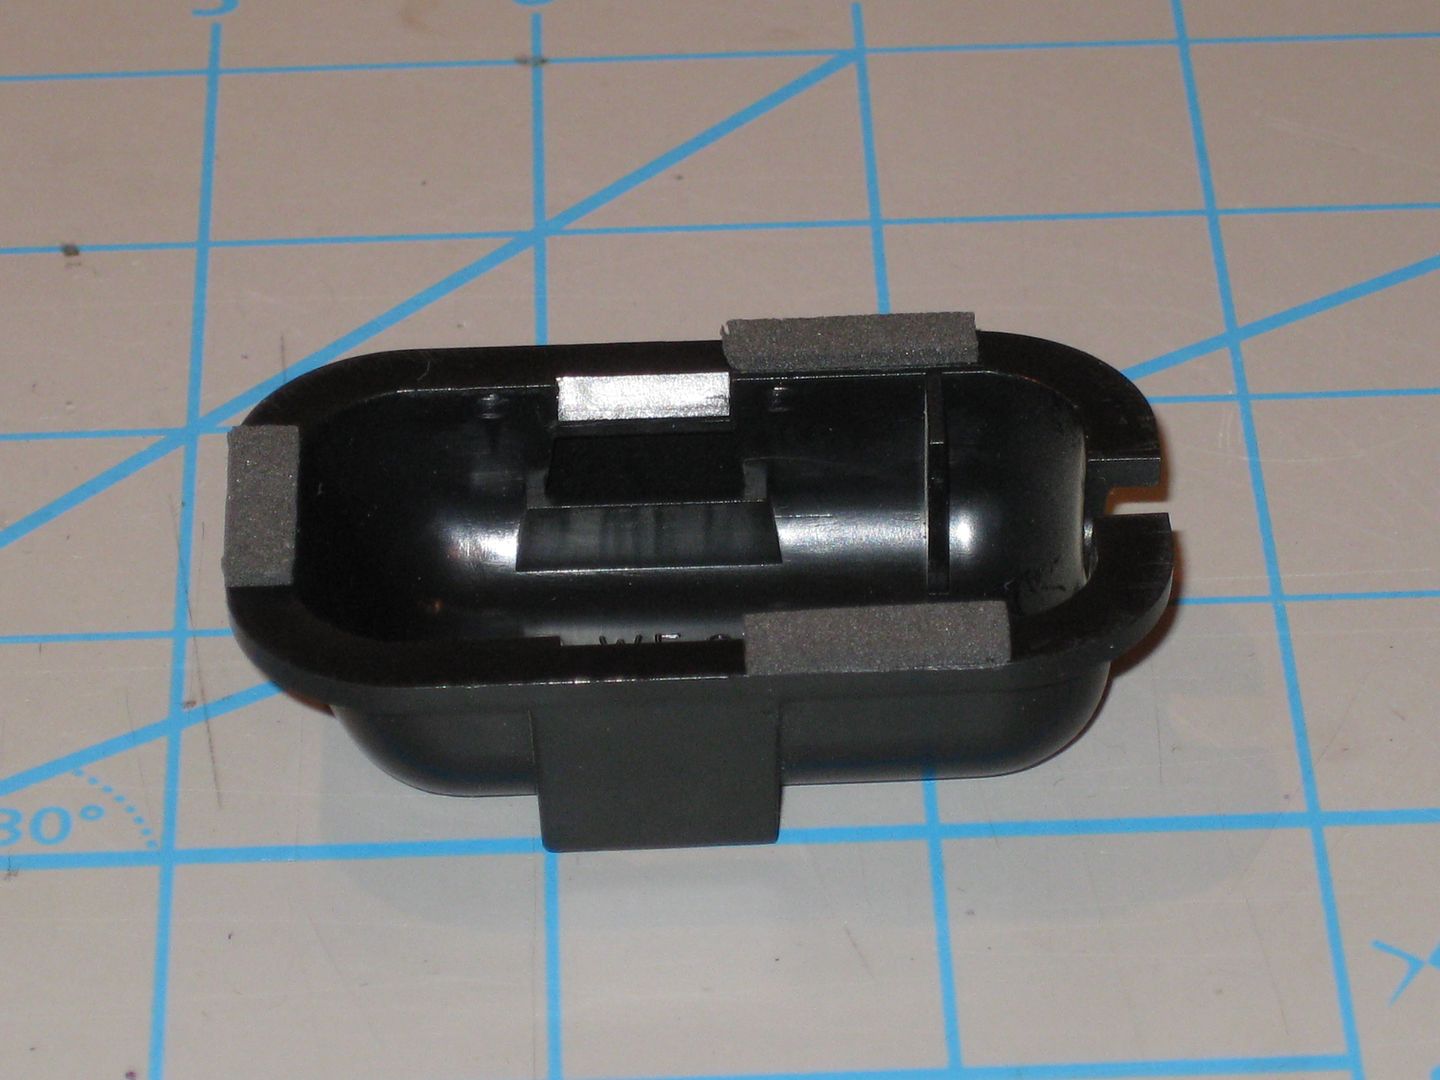
This is the lens and rear cover. I added some foam tape to the cover so that when everything snaps together it is firmly held in place. Without the foam tape there is still a small amount of play in the lens assembly. Not that the bulb gets that hot, but I did leave some gaps around the edge of the rear cover for ventilation.
Now it’s time to build the wiring harness…
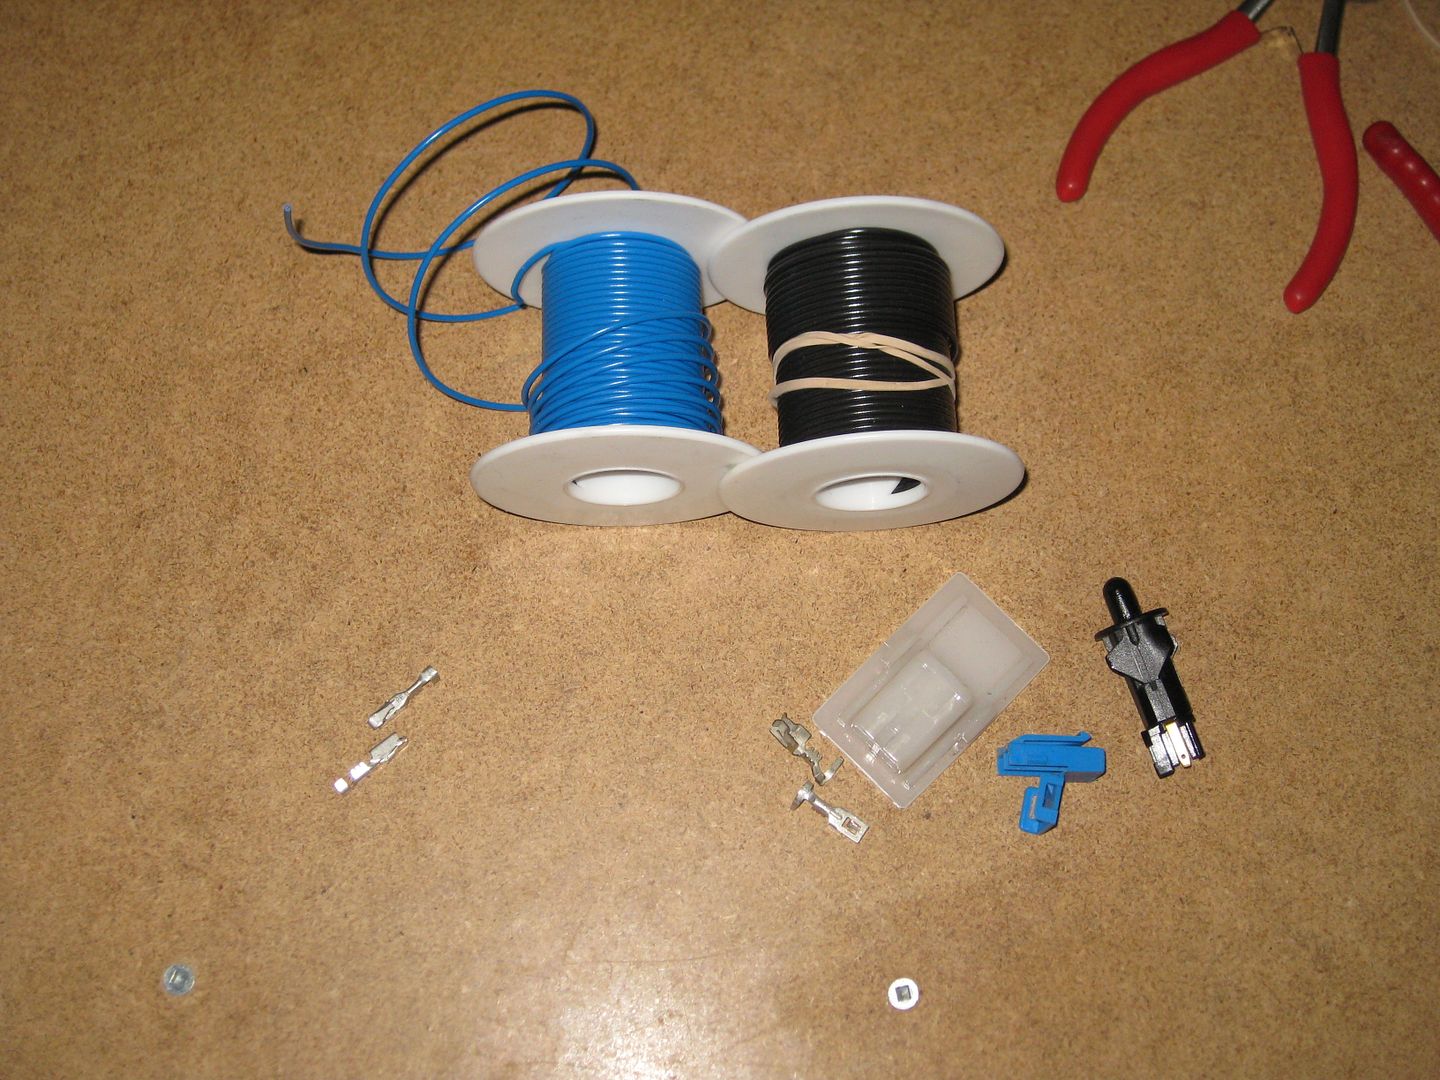
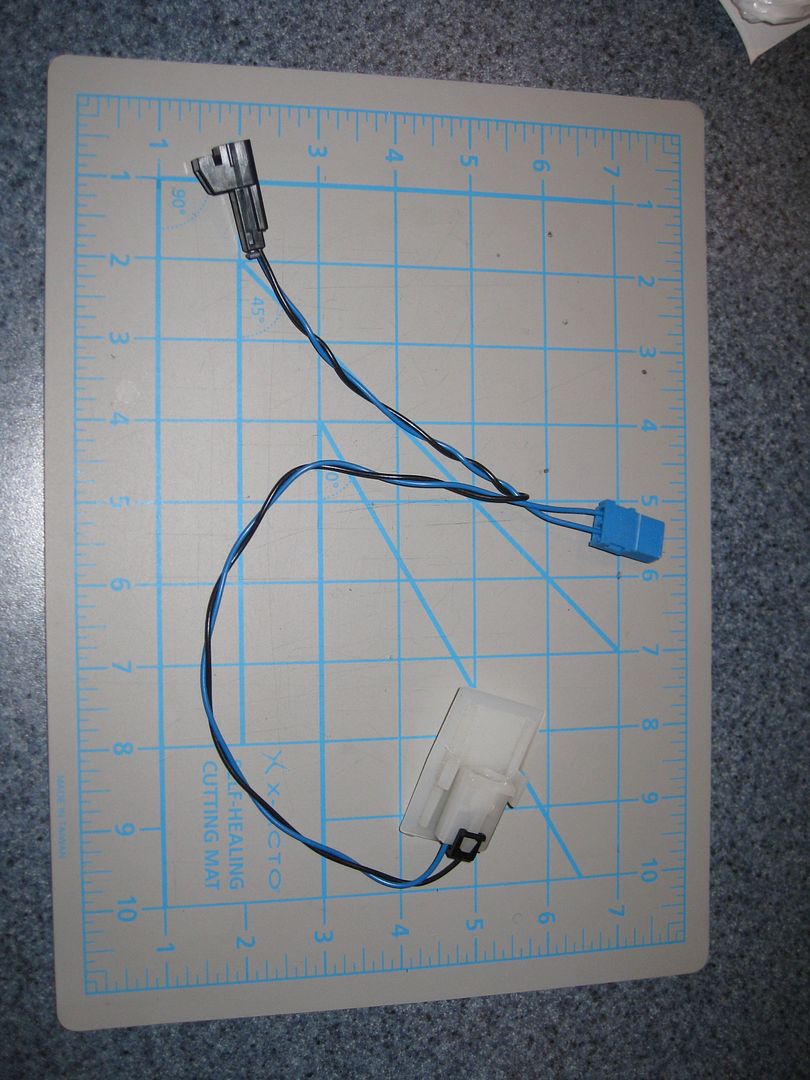
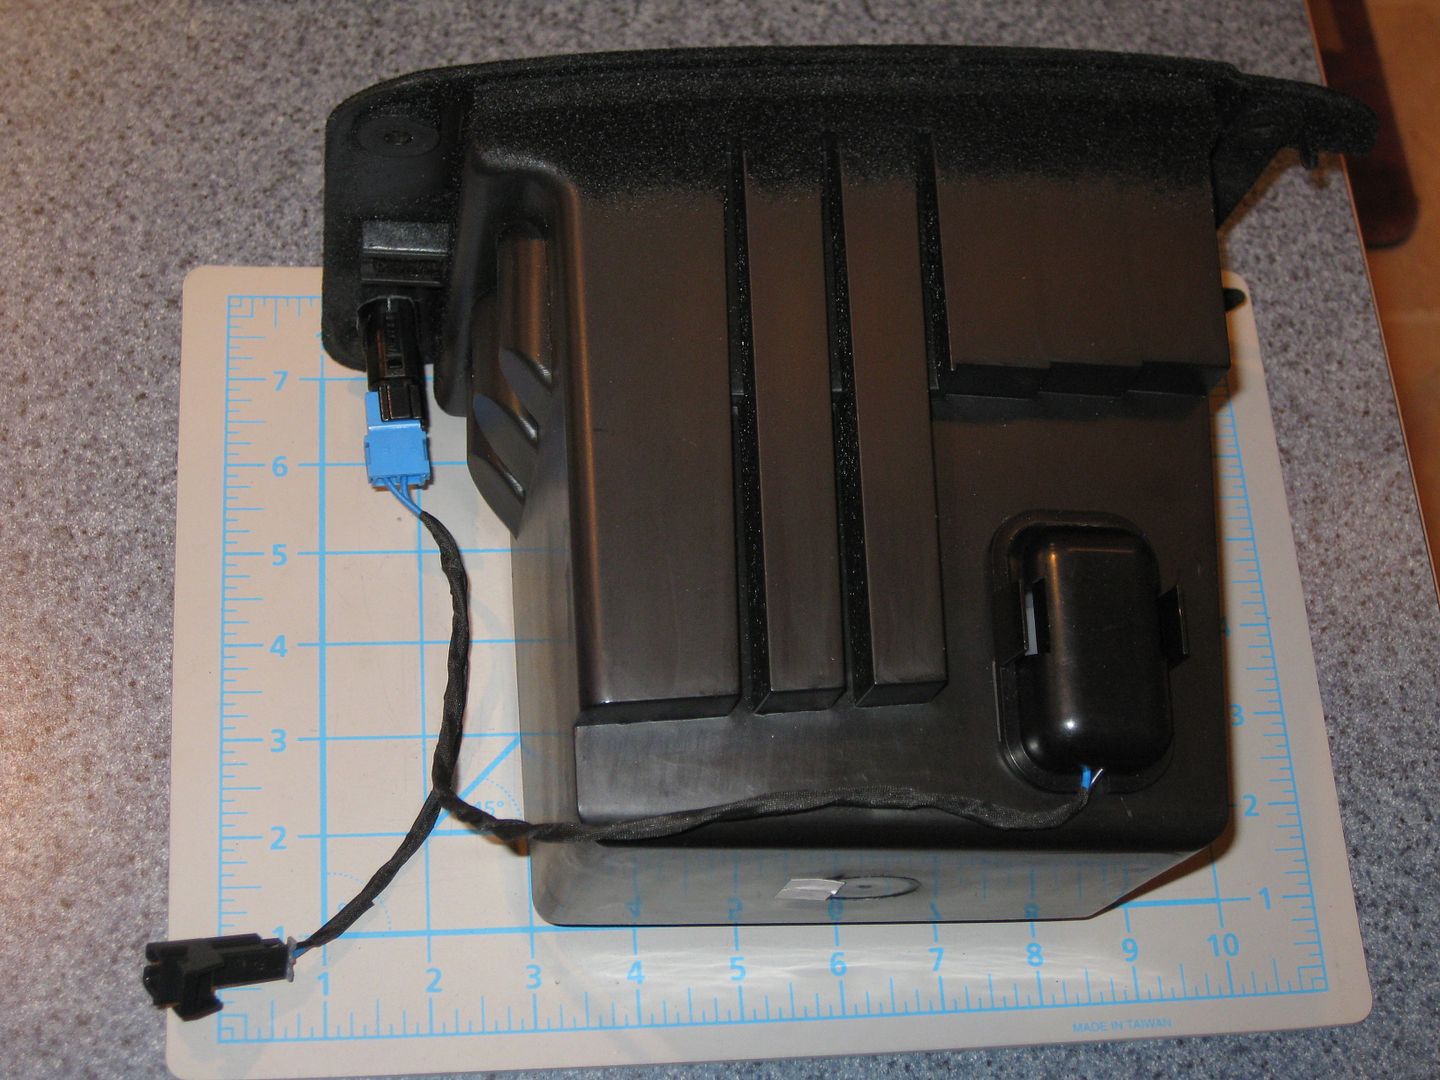
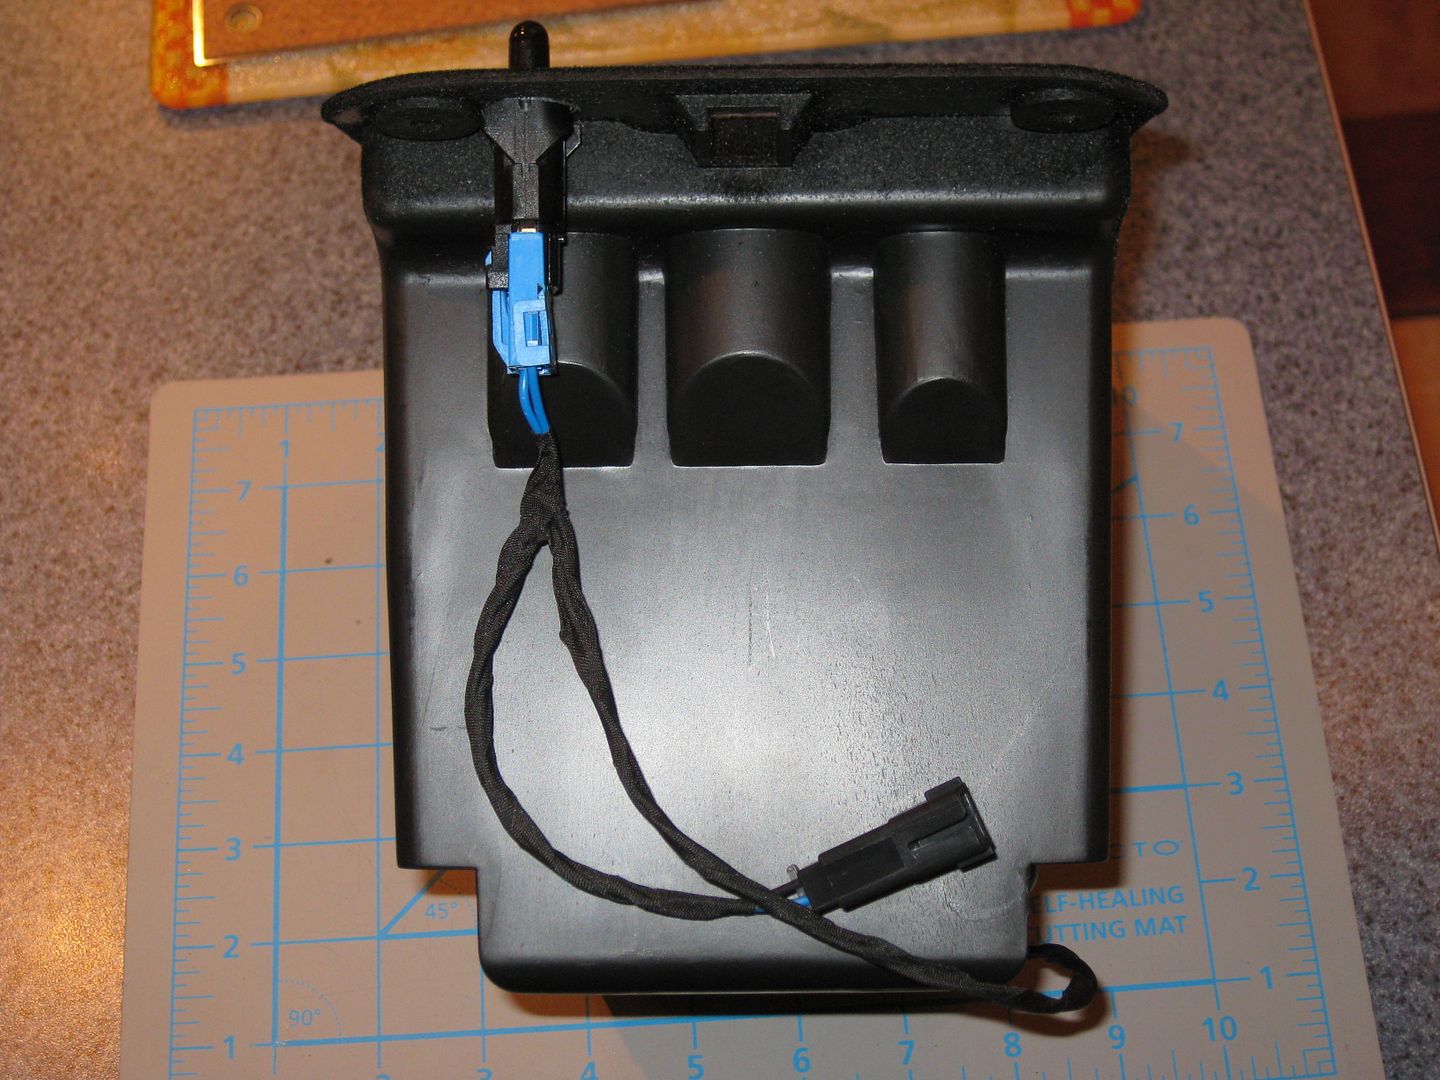
As with all my wiring projects, I use new wiring and terminals. Some connector housings can be reused as long as they are in “like new” condition, otherwise I buy those new as well. This is the completed wiring harness (for the CD/Cassette insert), along with a photo of the CD/Cassette assembly complete and ready for installation.
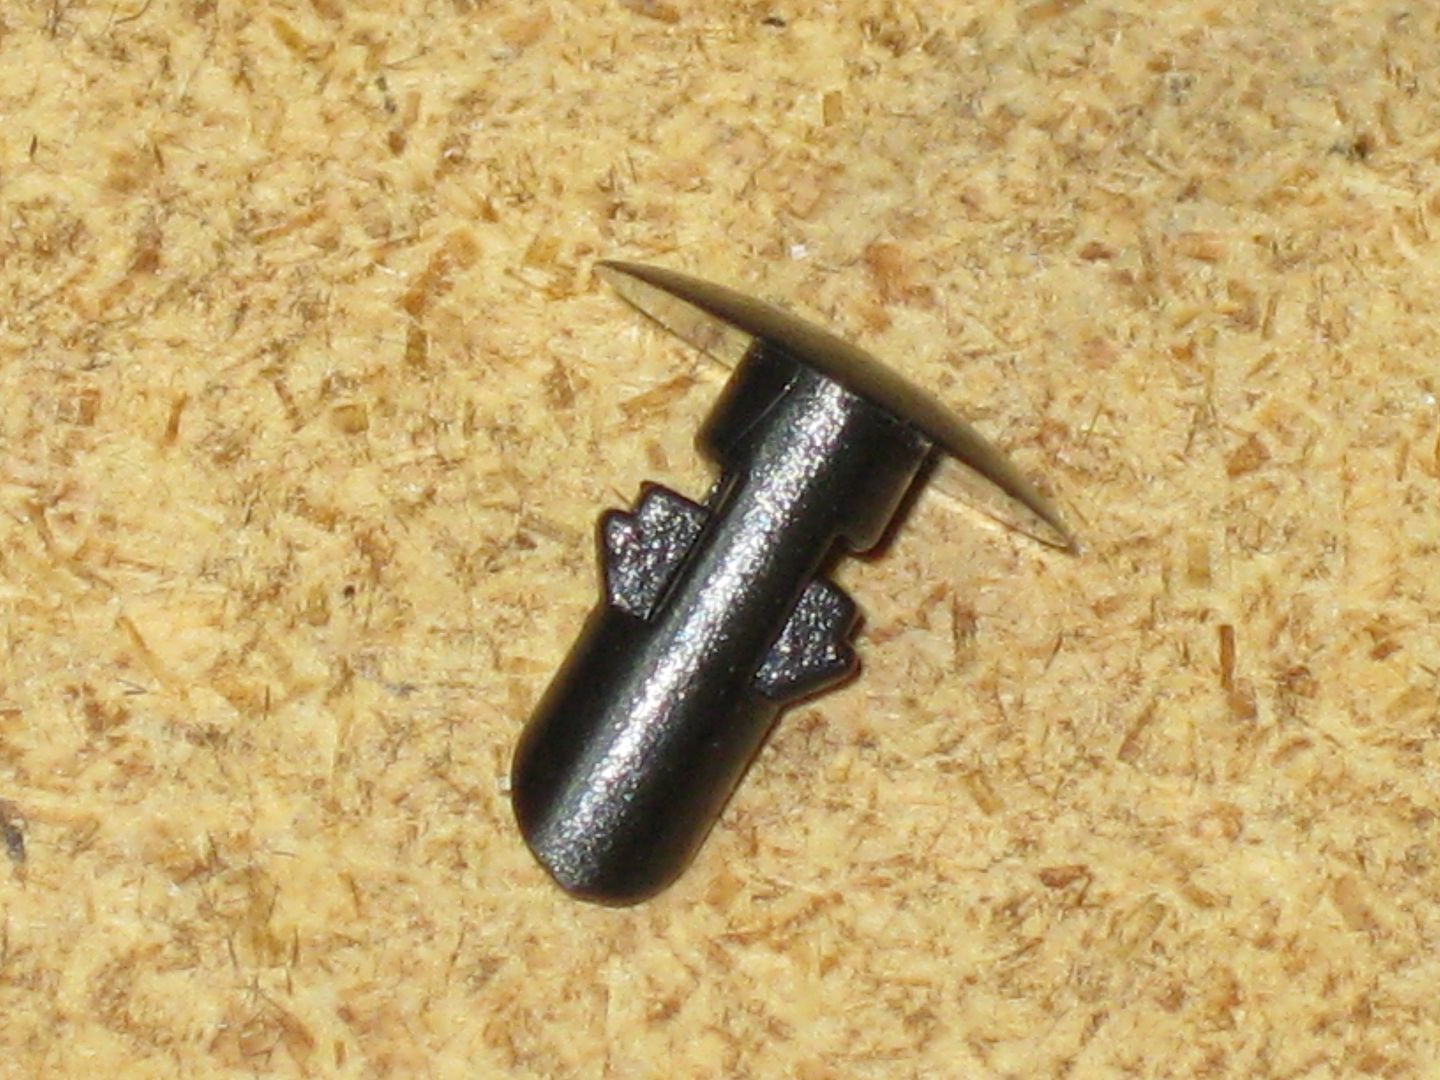
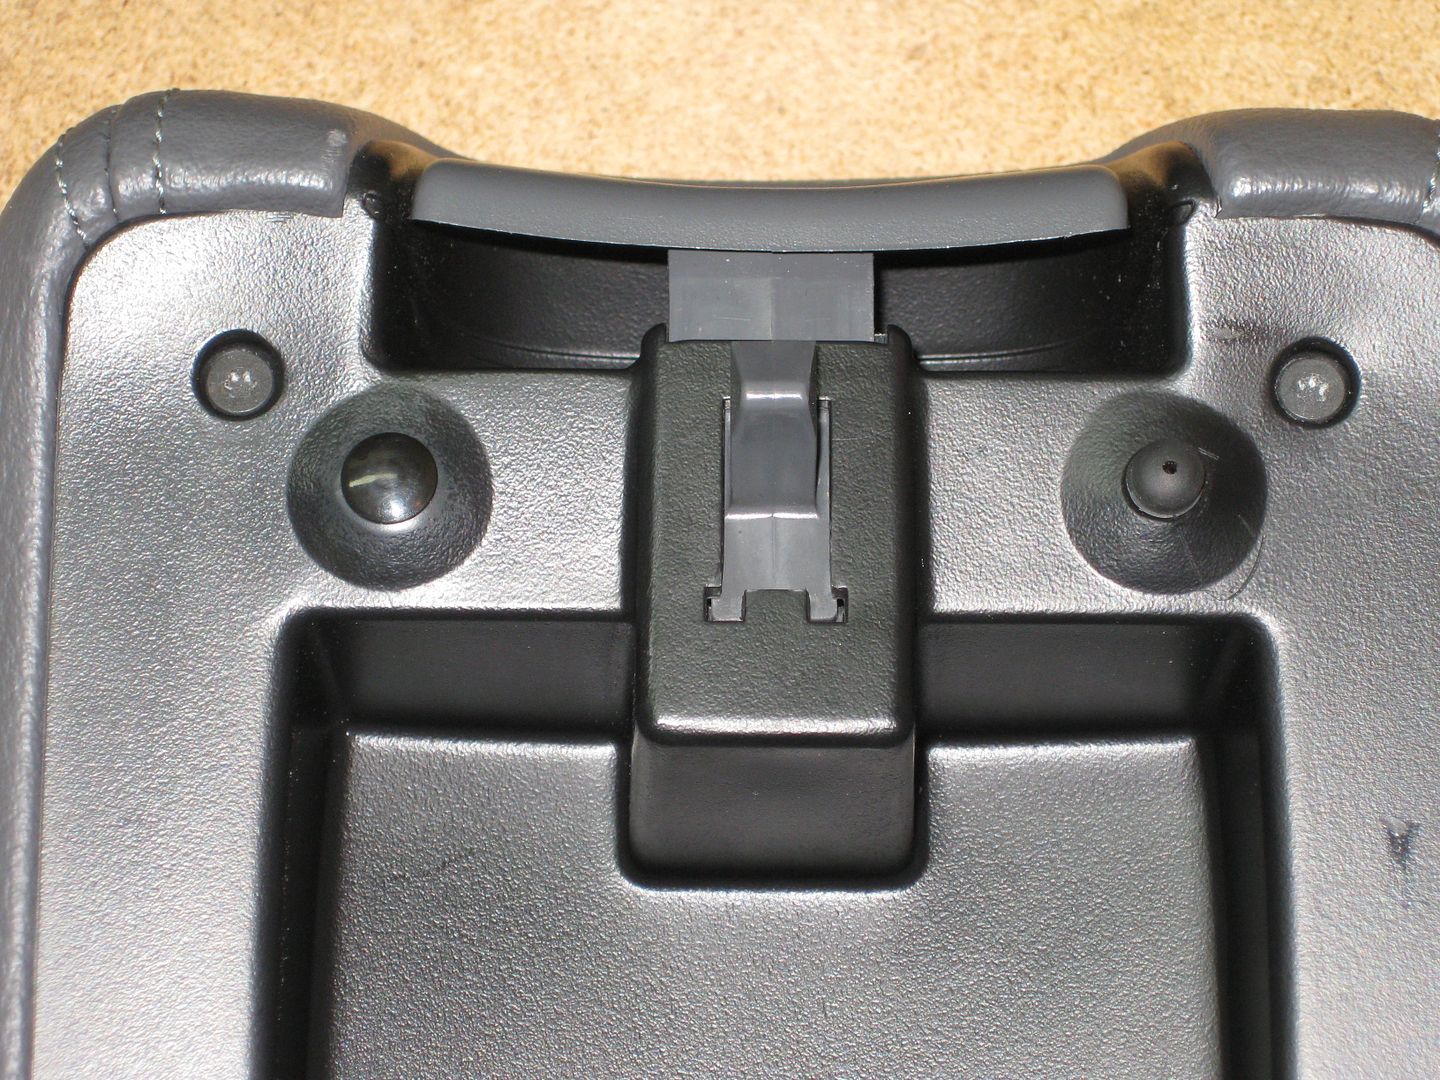
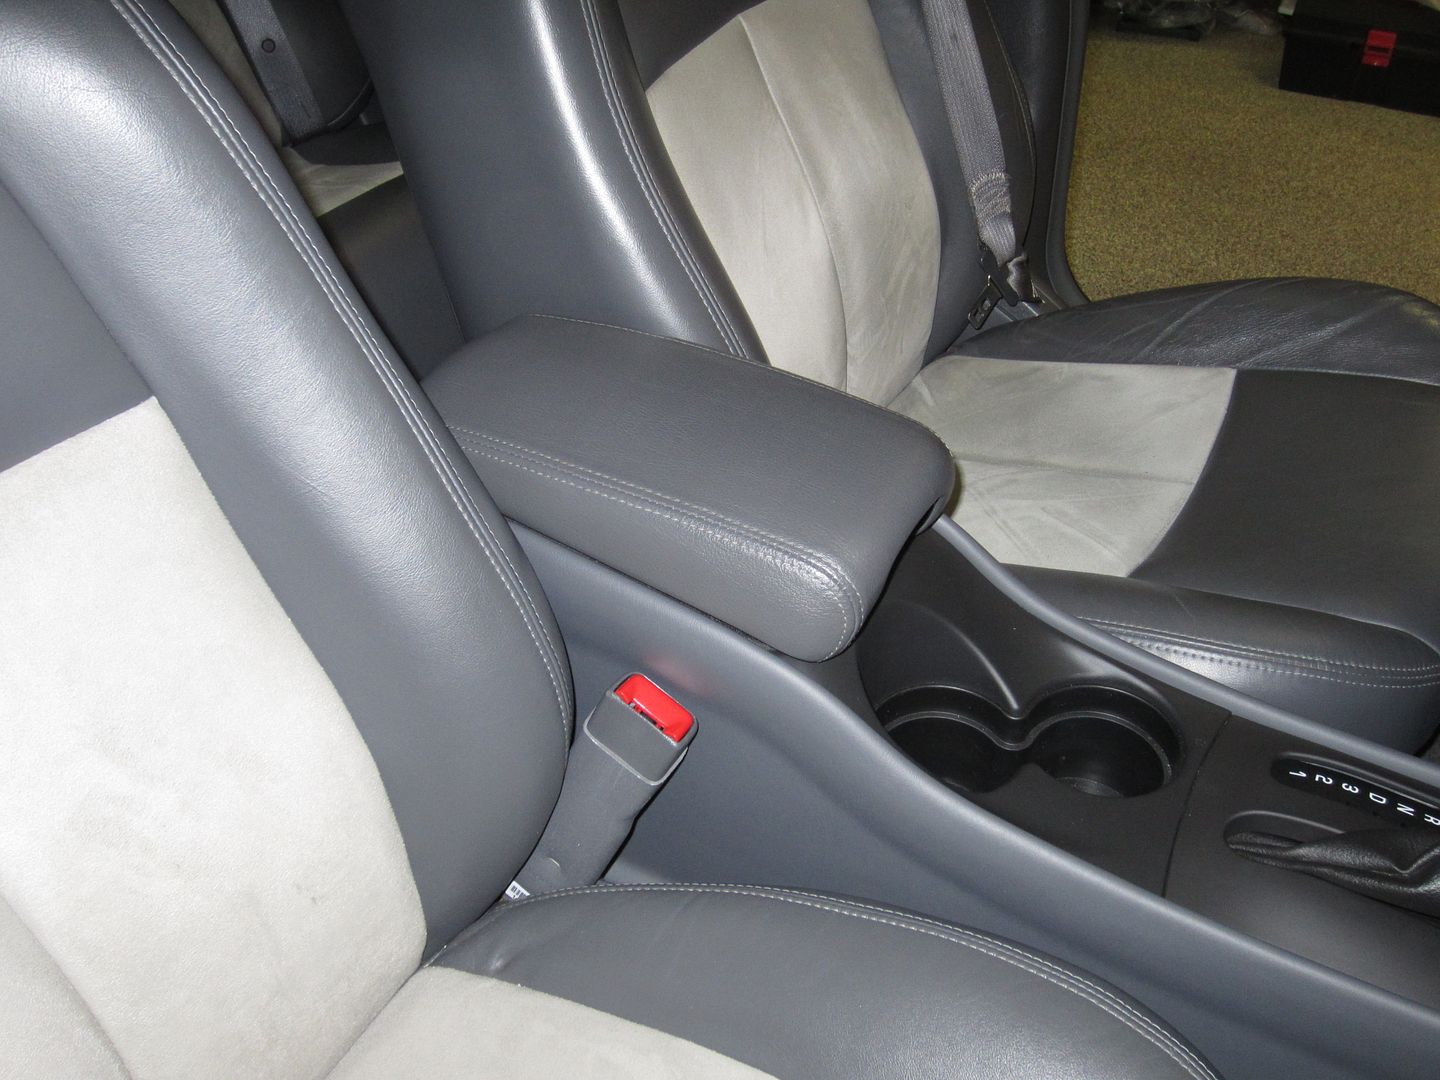
The other key part to this modification is in the center console lid. I removed the right hand rubber bumper, flattened the surface a little and then enlarged the hole slightly. This allows for the insertion of a push-in type retainer which is used as a solid surface to contact the switch when the lid is closed. The rubber bumper would quickly be destroyed if not replaced with a more robust part.
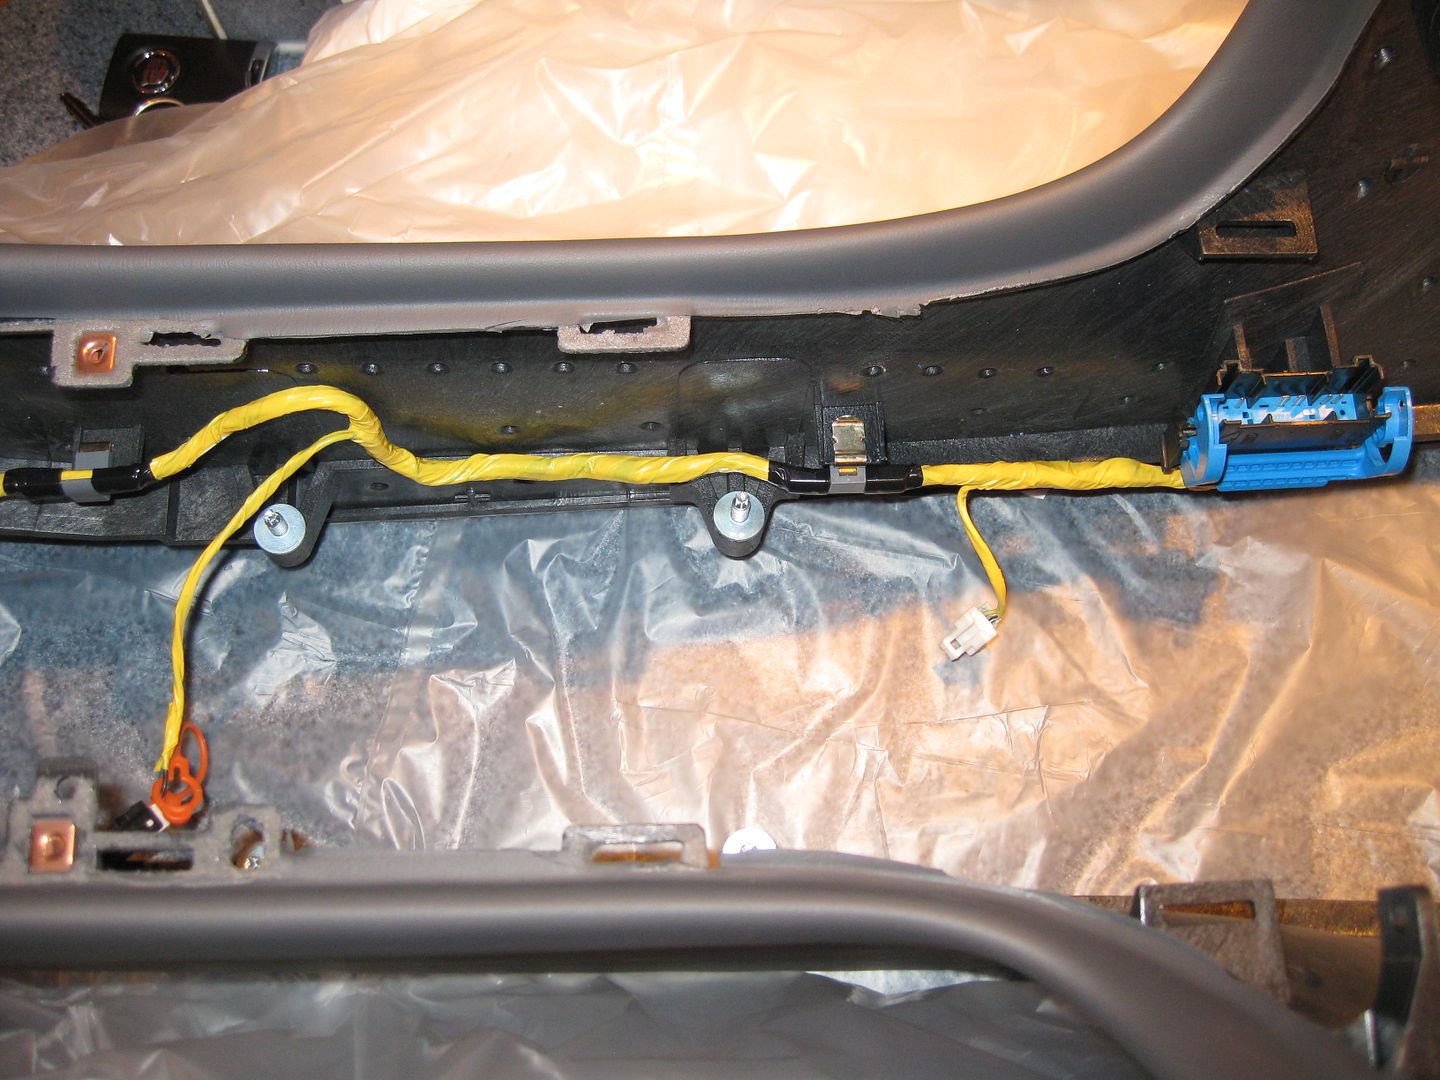
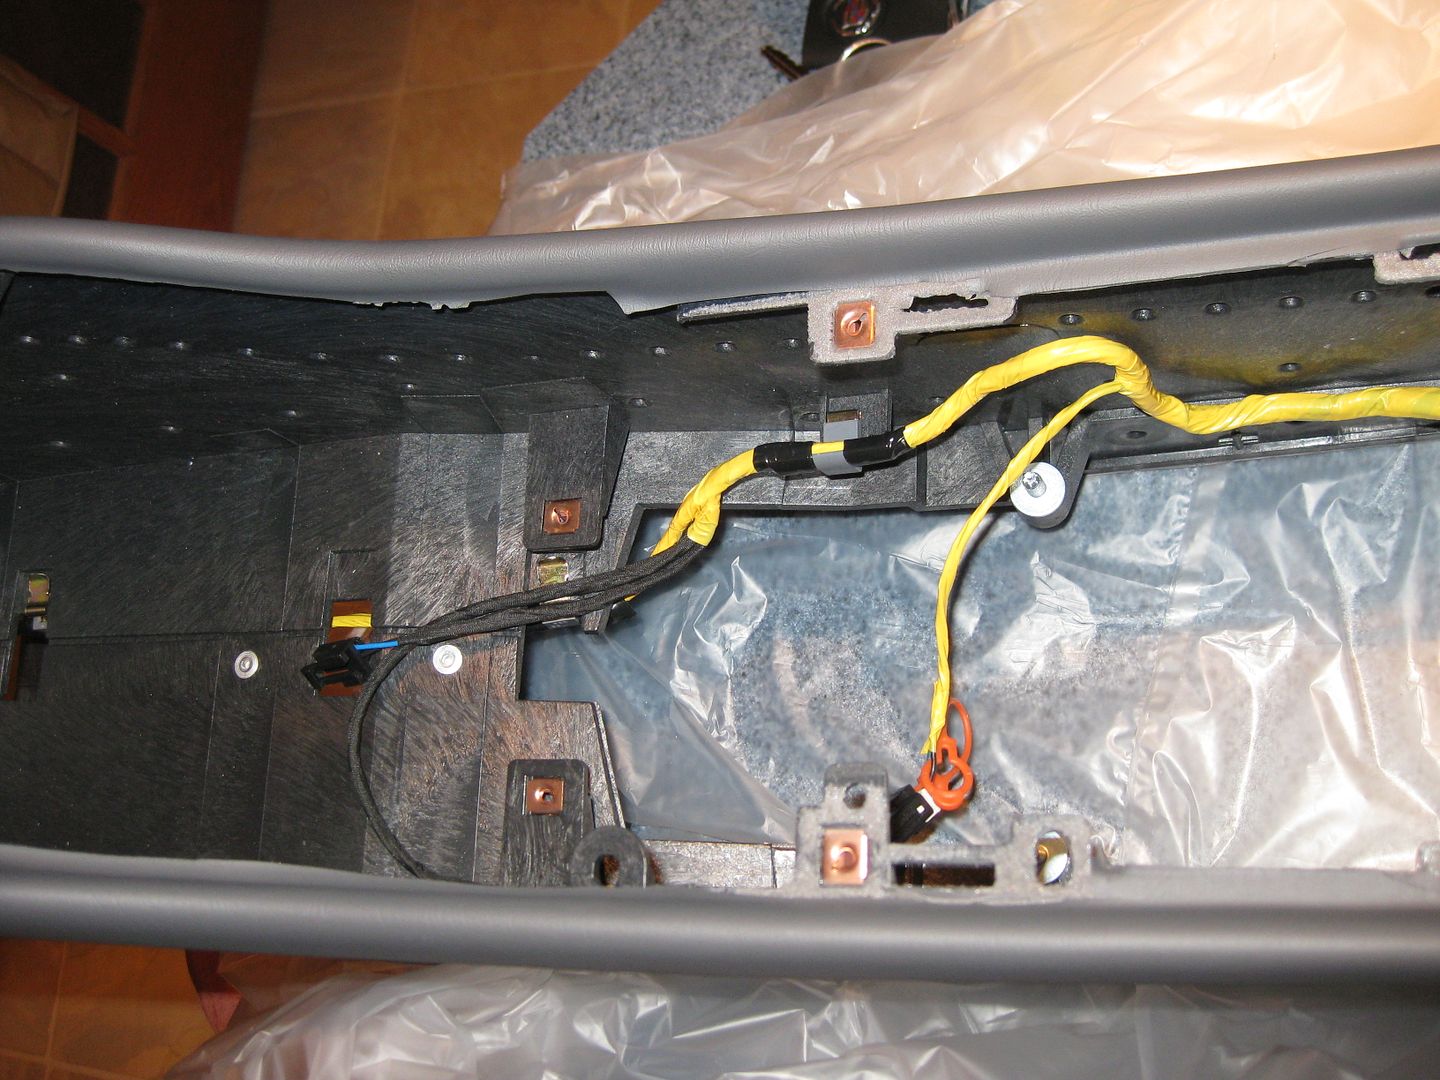
As mentioned previously I unwrapped and added wiring into the center console harness in the same manner as GM would have done. I won’t go into a bunch of detail, only that ultimately the wiring connects in the dash in parallel with the glove box lamp. Here are a couple of photos of the center console wiring. The last two are the new harness installed In the console.

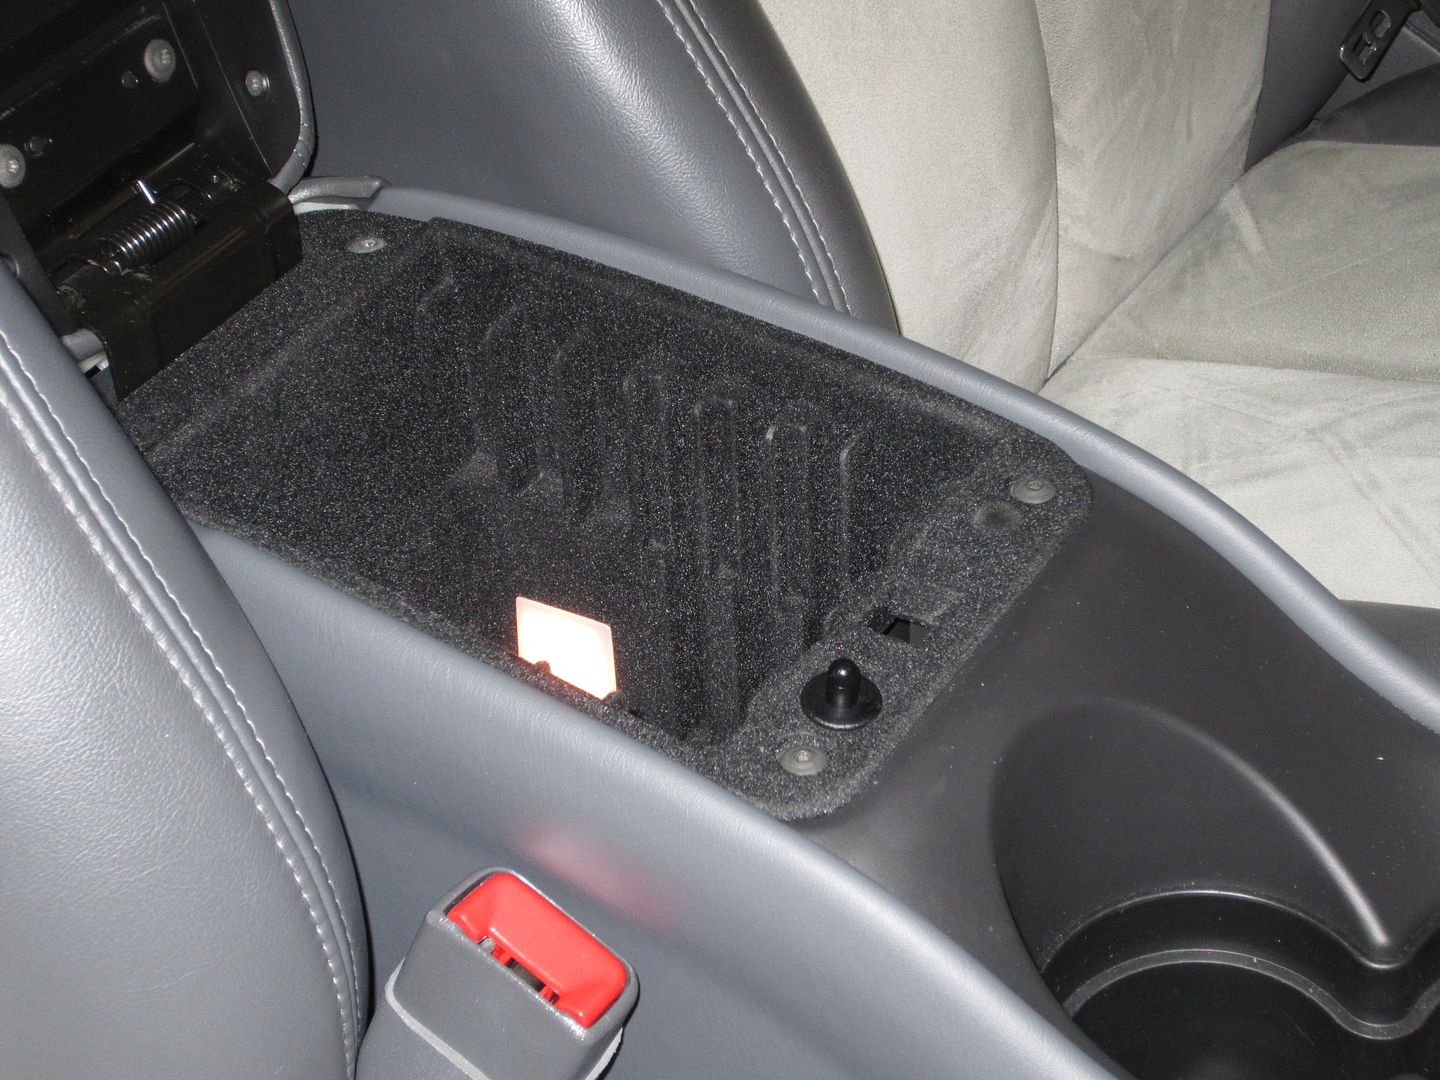
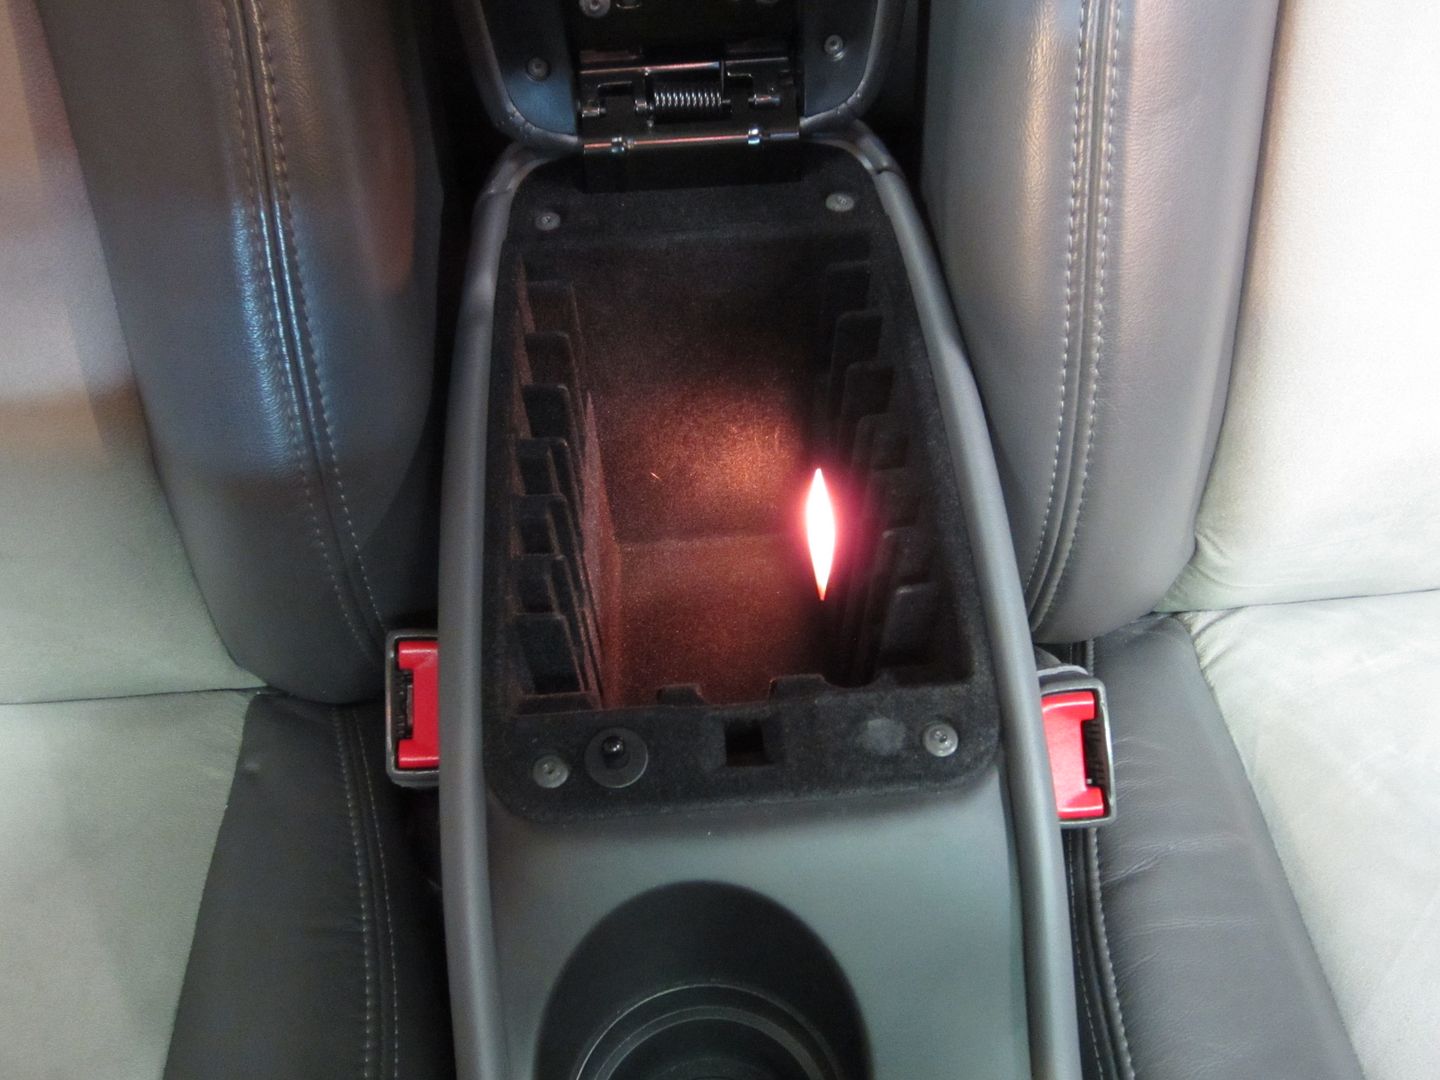
The final, installed product looks like this…
That’s pretty much it. This isn't an expensive upgrade but does take a little time and care.