Change Accessory Belt Series II 3800 (Applies to 95-99 normally aspirated; 96-99 supercharged similar)
If your accessory belt looks like this or worse:
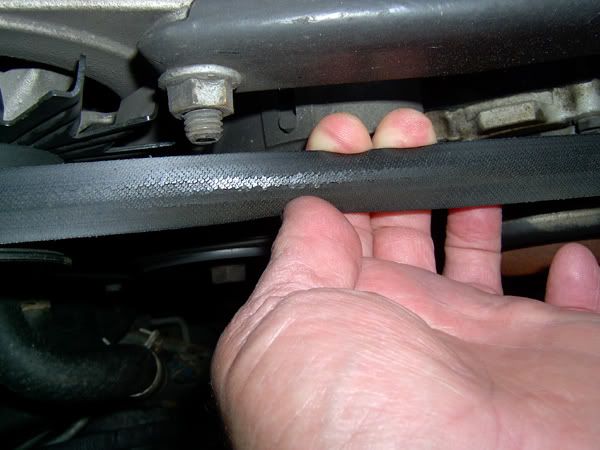
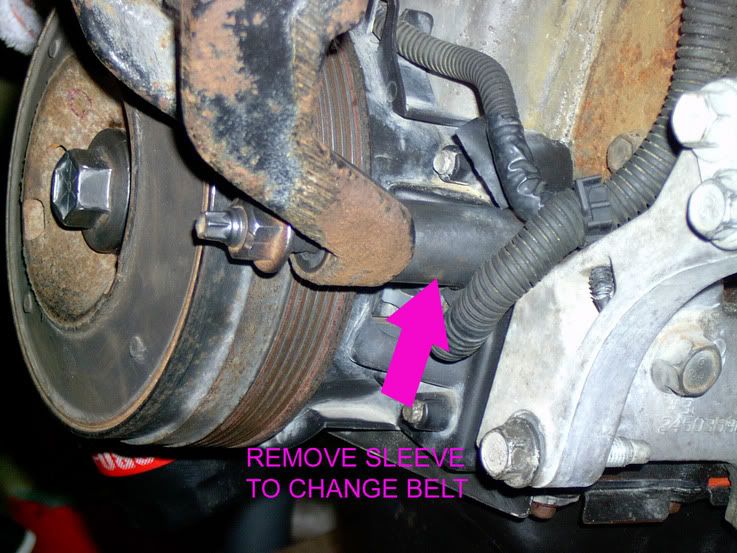
It is time to install a new one. On most cars, this is a simple job, but on the Series II 3800, there is a spacer that must be removed from the lower bolt (stud) on the front motor mount to allow the belt to be removed or installed.
Alternate methods: Some have reported that the spacer can be removed and replaced without lifting the car. However, removing and replacing the lower bolt is much easier with the wheel removed. Some have reported that the engine needs to be supported or lifted to replace the spacer. If you need to do this, use a 1-foot 2x4 under the pan so it is not damaged by the jack pad.
It took me about an hour to get the belt changed stopping to set up and take photos. It took less than fifteen minutes the next time around.
Tools I used to do the job:
a jack
a jackstand
15mm socket for tensioner
18mm socket for motor mount
19mm (3/4") socket for lug nuts and covers
socket handle
pliers
a 12mm socket with a very long extension or
an appropriately sized piece of pipe
2-4lb hammer (4-lb hammer works better)
torque wrench for lug nuts
Because my wheel and rotor were corroded, I also needed:
a wire brush
a sturdy scraper

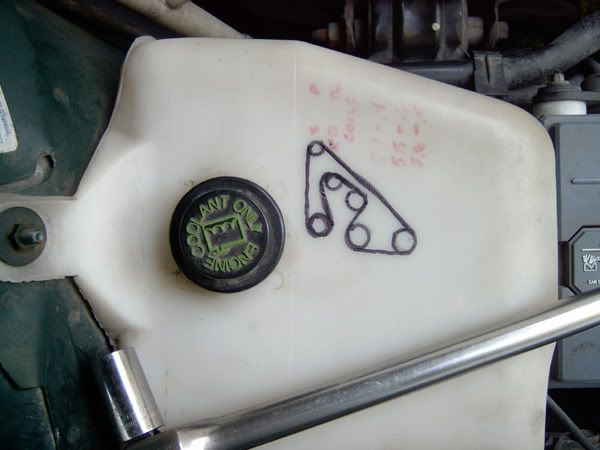
The first thing I wanted to do was make sure I had a belt routing diagram
before I removed the belt. I did not have a sticker in my engine compartment, so, I drew one up by looking at the belt on the engine and stored it in a convenient place where I would not be likely to lose it.

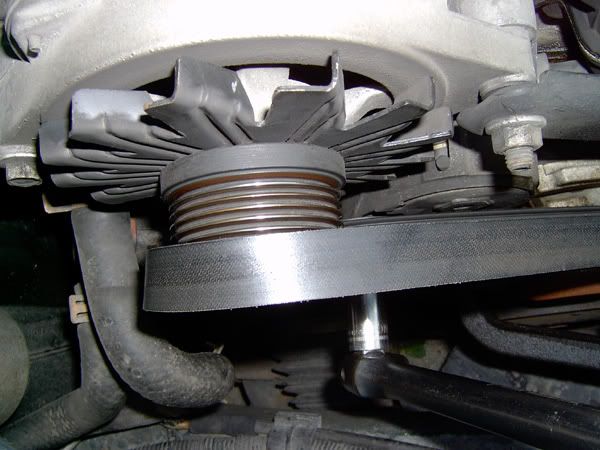
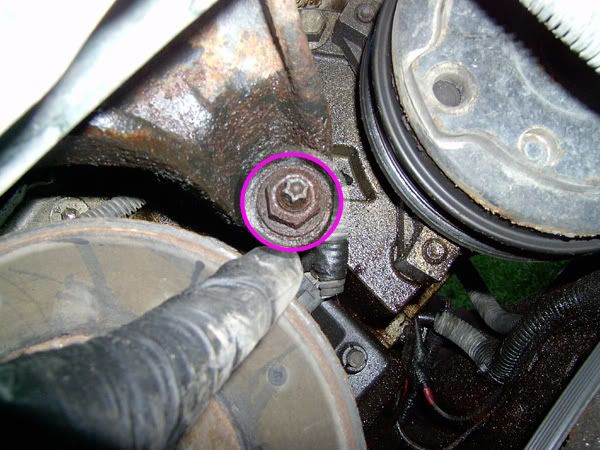
Loosened the old belt by placing a 15mm wrench on the tensioner bolt (big arrow) It helps to have a nice long handle to provide some leverage. Note the position of the tension indicator (little arrow).
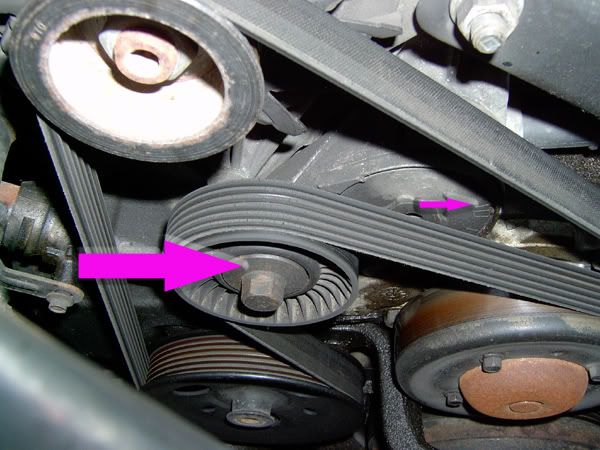
Turned the wrench counter-clockwise to remove tension on the belt...
then just slipped the belt off the alternator pulley.
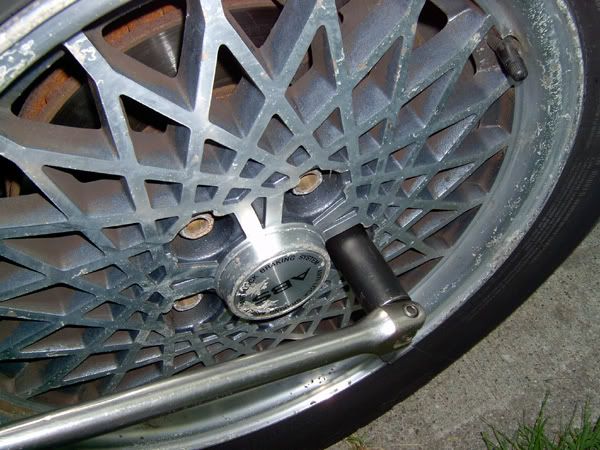
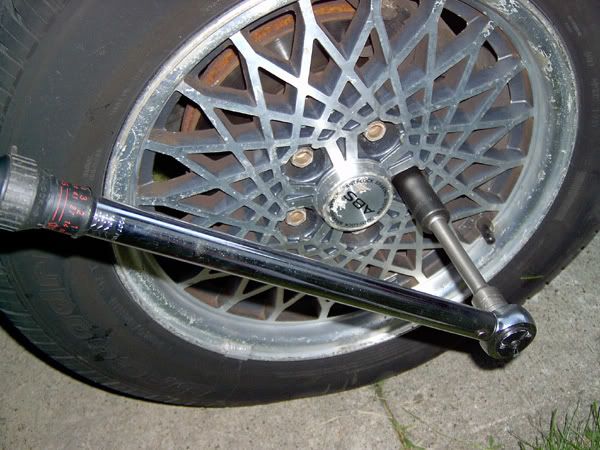
Then, removed the lug nut covers. I needed a 3/4" socket for mine.
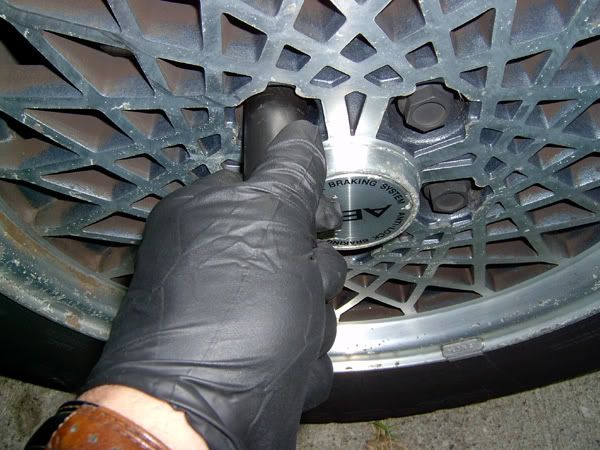
Then loosened the lug nuts.
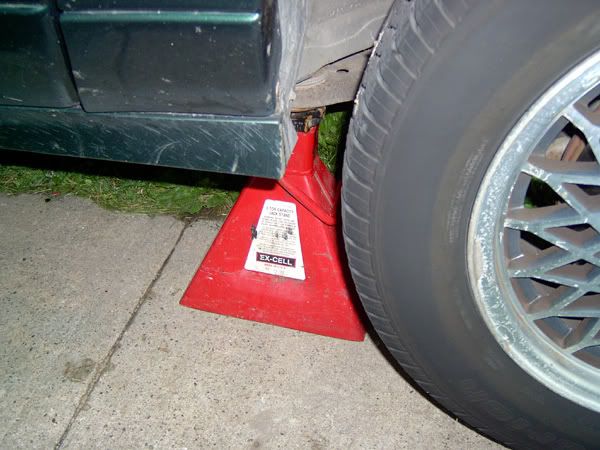
Now I jacked up the car...
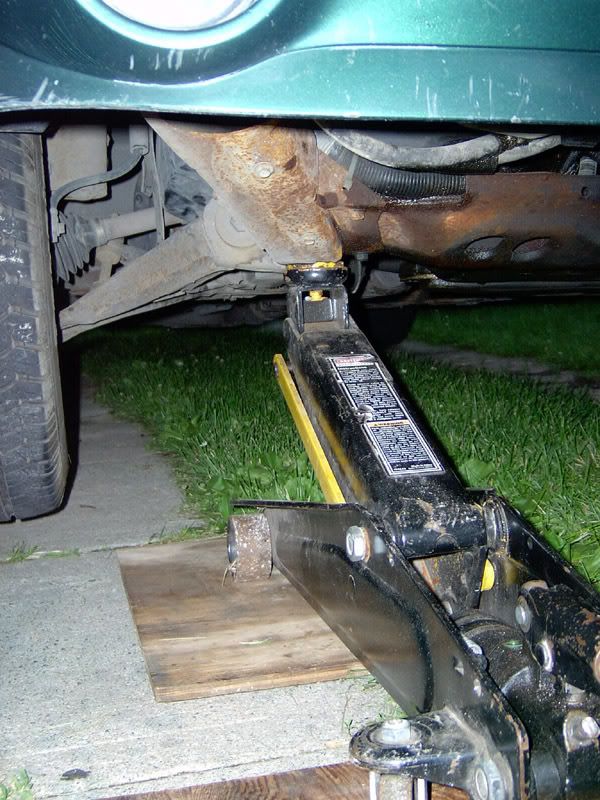
and supported it safely. Then removed the wheel.
Used pliers (or side cutters carefully) to pull out the center button on the 3 plastic retainers for the engine shield.
This retainer hides up under the front of the fender.
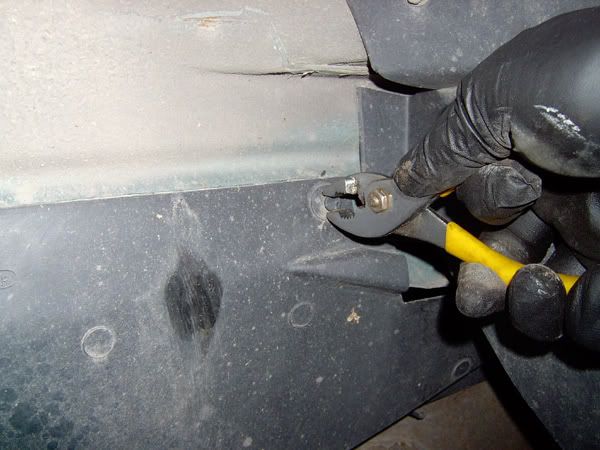
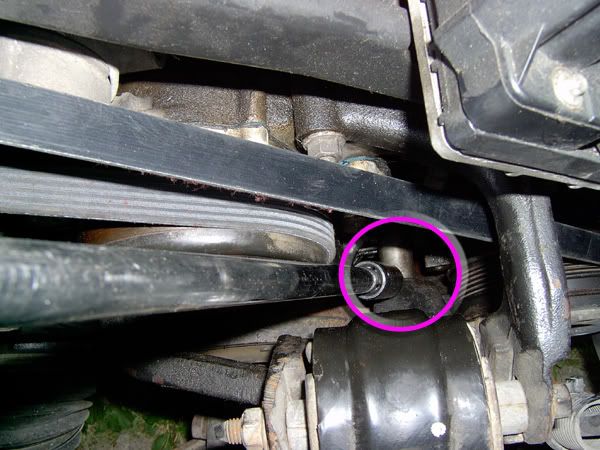
Swung the engine shield out of the way. This exposed the stud that must be removed to slip out the spacer allowing removal and installation of the belt.
On my car, the stud is secured by an 18mm nut rusted tightly to the stud. If the nut had come off leaving the stud in the block, I would have needed an external torx socket to remove the stud. Once the stud is out, the spacer is free. Wiggled the spacer up as far as it would go, then jerked it out lifting the outer end. With the spacer out, the belt can be removed.
Edit: Gearhead Bob thinks the size of the torx socket needed is an E10, but he and others advise that a 5/16" socket can be used to undo the stud.
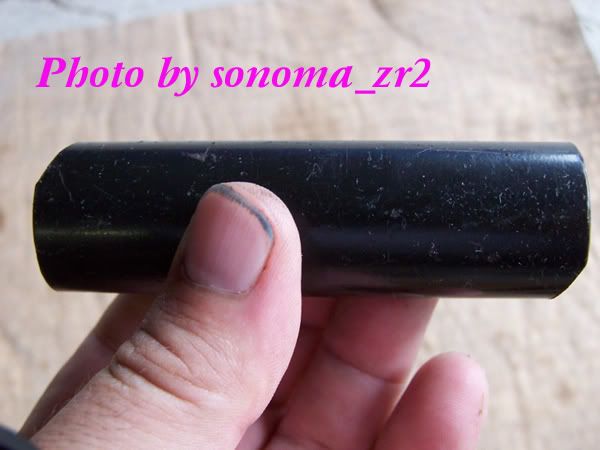
Here is another photo of the spacer with the engine on a stand.
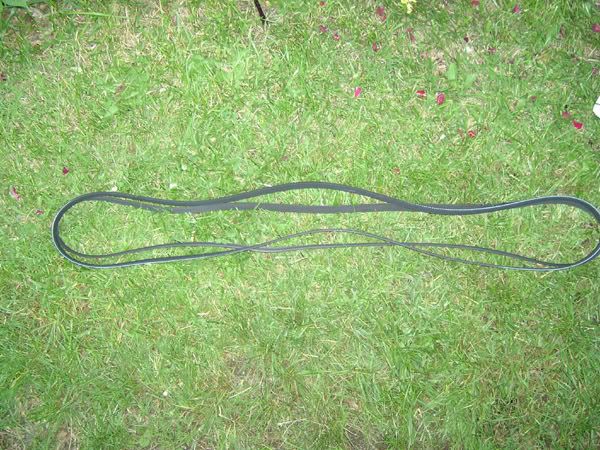
I placed the new belt beside the old one, then picked them both up with my index fingers and pulled them tight to make sure the new one was approximately the same size.
Slipped the new belt down through the opening where I had pulled the spacer and removed the old belt. Routed the belt around all but the alternator pulley.
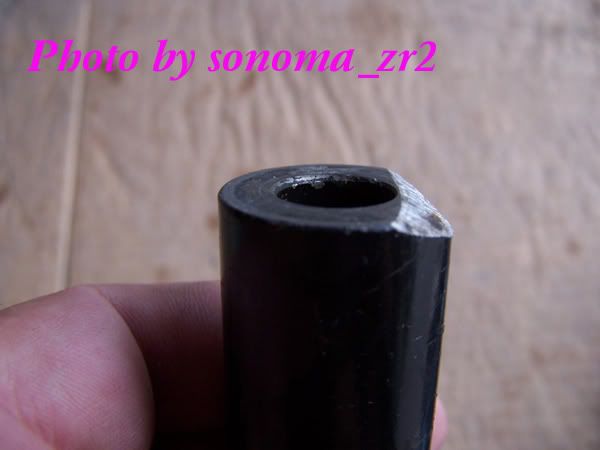
Here is where it got tricky. The spacer did not want to go back in between the mount and the block without a little persuasion. There is not room to insert the spacer at its shortest length (perpendicular to the block). The spacer must be tilted slightly which increases the length just enough to prevent it from slipping past the top of the engine mount. Some guys grind or file a chamfer on one or both ends of the spacer where it touches the block and/or the motor mount. (See sonoma's pix below.)
In my case, I could almost get the front bottom edge of the spacer over the top of the motor mount, but not quite. I grabbed a long 1/2" drive extension and slipped on a 12mm impact socket. The idea was to find something that would hold against the upper edge of the end of the spacer stuck on the engine mount allowing it to be tapped into place. An appropriately sized piece of pipe would have worked as well. I just fitted the spacer in place above the holes keeping it as close to perpendicular to the block as possible, then applied the "special tool" and gave it a whack with a 2-lb hammer. That was enough to pop the end of the spacer past the top edge of the mount. I suppose I could have loosened all the bolts on the mount to achieve the same result, but that would have required supporting the engine and I was willing to give this a try first. It worked fine.
Once the spacer was past the mount and perpendicular to the block, it could be easily moved into alignment with the holes for the stud. The stud could then be replaced and tightened back up.
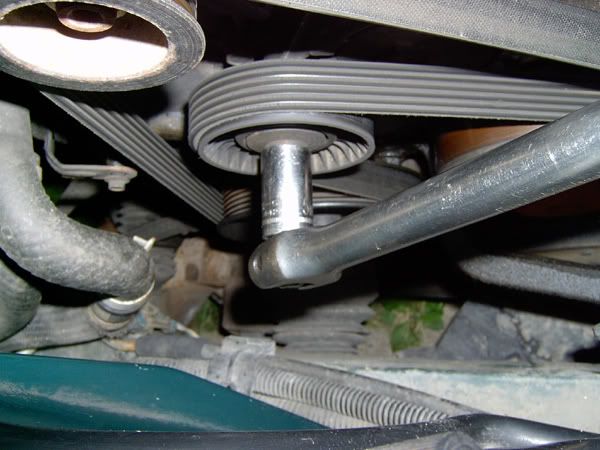
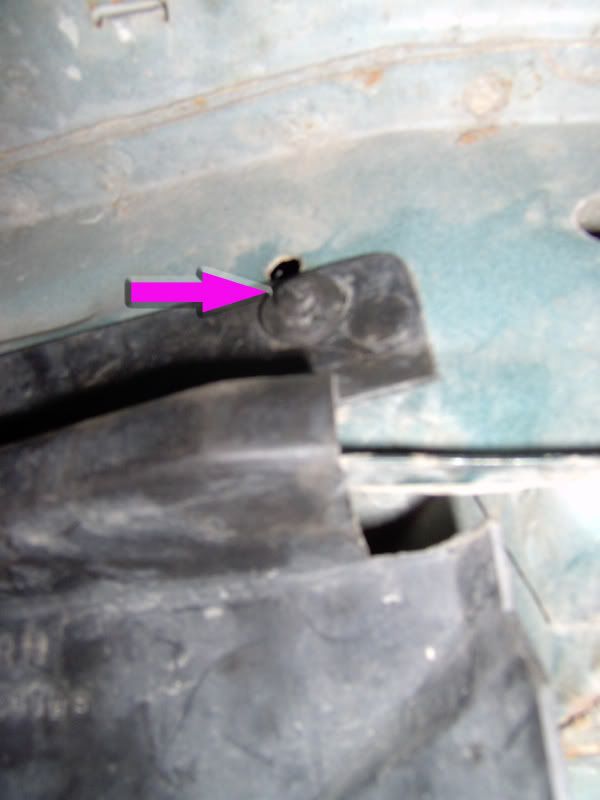
The picture below shows the spacer in place and the approximate position of the "special tool" where I whacked it.
I put the 15mm socket and handle on the tensioner pulley bolt and turned counter-clockwise to give room to slip the belt back over the alternator pulley. Released the tensioner. Checked the mark on the belt tensioner to make sure it was between the upper three scribed lines indicating maximum tension (top mark) average tension (middle mark) and minimum tension (bottom mark). Started the engine and made sure the belt ran OK.

There was rust and corrosion from the wheel stuck to the rotor. If left in place when you remove and replace a wheel, this can cause your rotors to warp....really! So, the rotor got brushed...
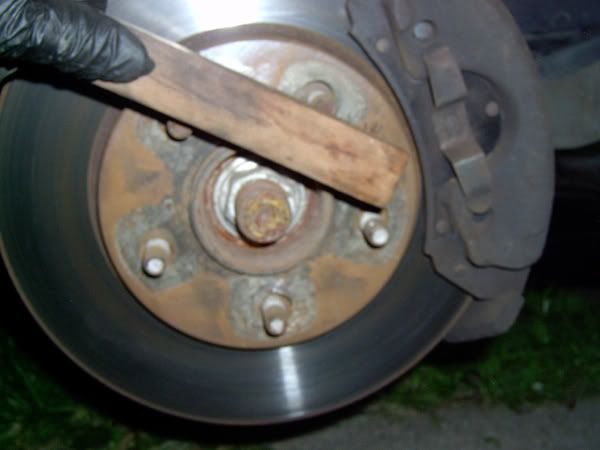
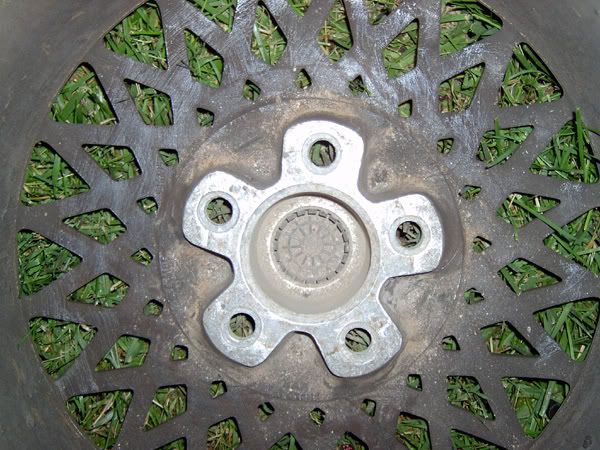
and the wheel got scraped with a heavy duty scraper...
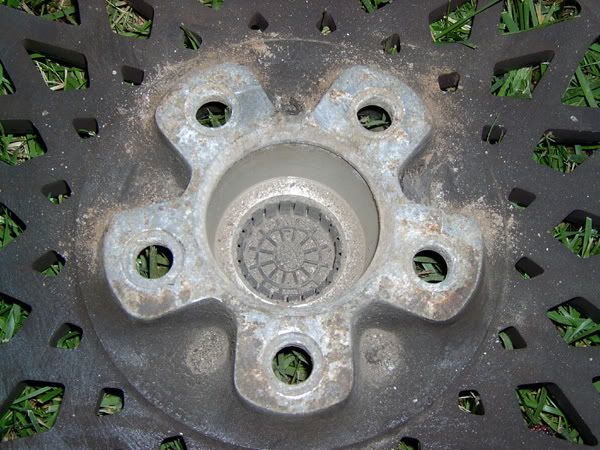
then wire brushed so the mounting surfaces would both be true.
Plastic splash shield was re-attached. Wheel was replaced and lug nuts were snugged up. Car was taken off the stand. Lug nuts were final torqued to 100 ft-lbs in a star pattern. Replaced the lug nut covers. All done.
_________________

1998 3.8 Dodge Caravan 214K
2000 3.3 Dodge Caravan 175K
1949 Plymouth Special Deluxe 4-dr sedan 25K (needs some work!)


