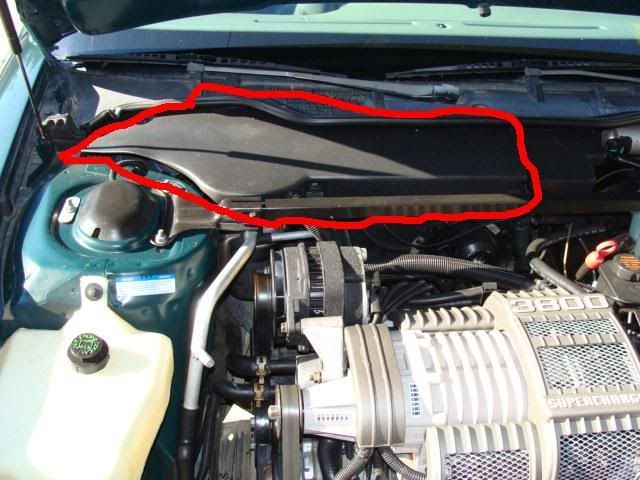
Evap cleaning 101 (if you think your airflow is low due to clogged passages in the evap core, or if your car is 6-10 years old in order to restore lost airflow with heat or AC) READ THE ENTIRE PROCEDURE BEFORE STARTING:
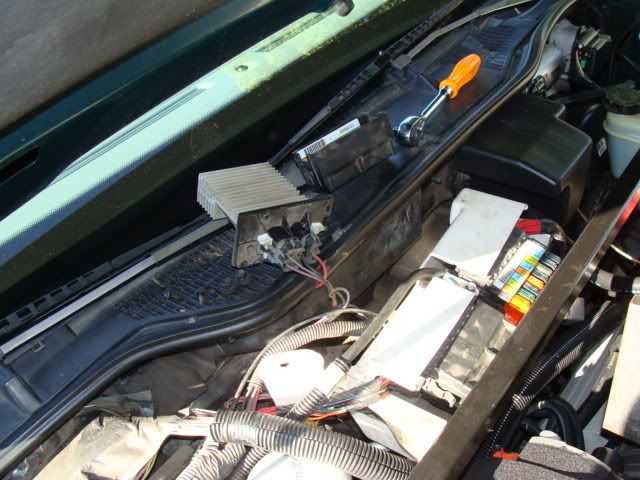
1. Remove maxifuse relay center cover under the hood.
2. Remove two 10mm nuts holding the maxifuse relays and fuses marked in
GREEN. The
RED is a HOT LEAD direct from the battery (yours will look different, I rewired my cables).
BLUE is where the fuel lines are. Think about a HOT lead sparking and fuel lines (that's your warning):
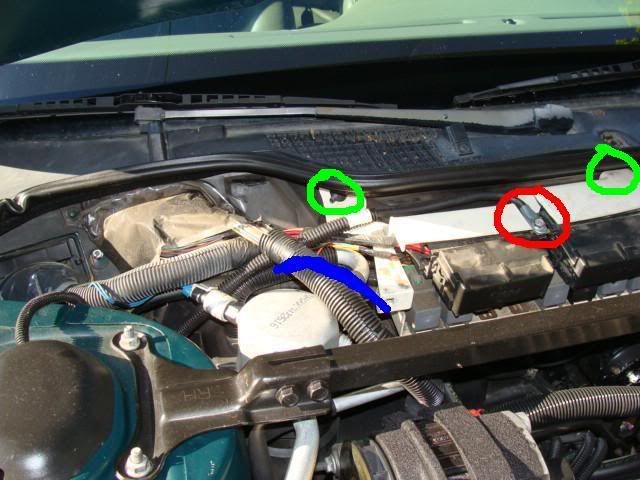
3. You may have to move the wire harness (circled in
BLUE) to access the 10mm nut (circled in
GREEN):
4. Remove the 3 small hex screws holding the blower resistor pack (if equipped) circled in
RED. Remember the fuel lines marked in
BLUE:
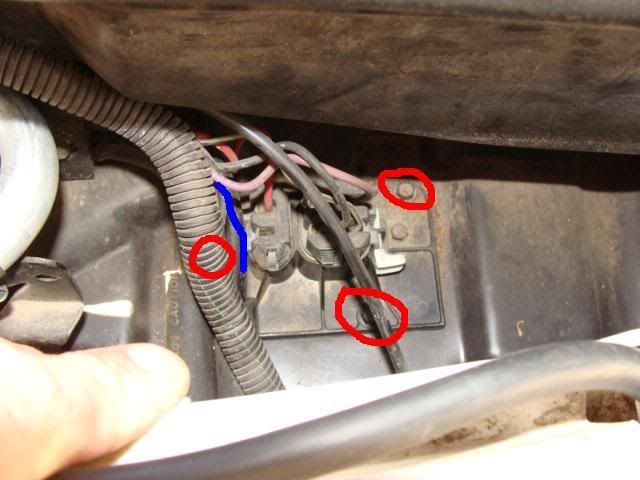
5. Pull the resistor pack (used to control AC/heat blower speeds) out of the way:
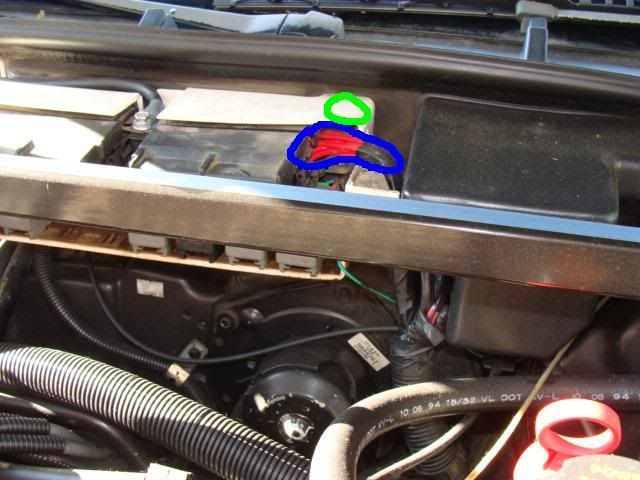
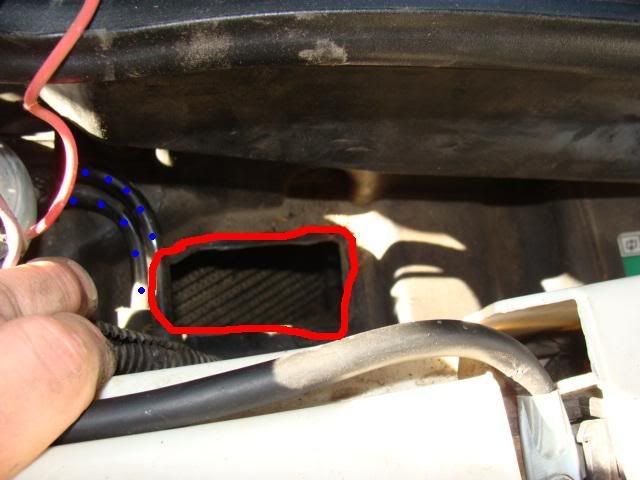
6. Here's the hole of interest (circled in
RED) that you'll be working through. See the evap core in there? That's what we're cleaning:
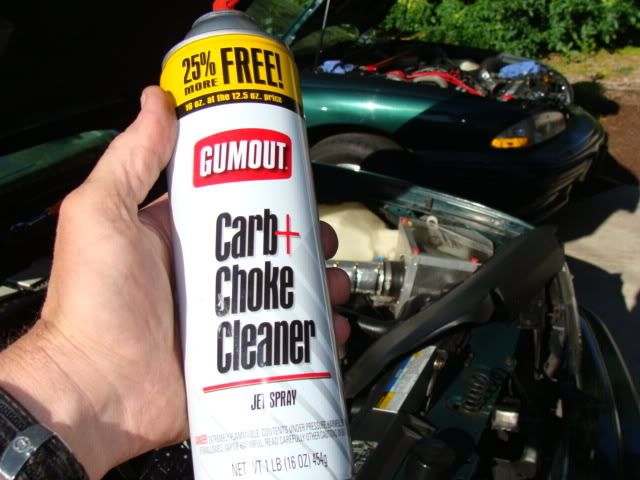
7. You already bought this (really, you did) before you got started. You chose this because it's been TESTED on the plastic parts surrounding the evap core, and is known to not degrade it. Furthermore, it was selected due to it's rapid evaporation rate. You'll learn how this is important later:
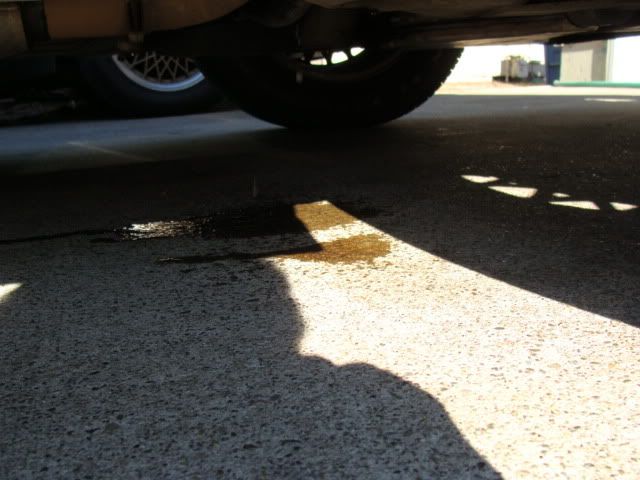
8. Spray it all over the core exposed and shown in step 6. Start with the areas you have to have the can UPSIDE DOWN to hit FIRST, so the solvent level in the can won't prevent spraying as it gets low. Use about HALF the can, and be aware that this stuff EATS PAINT. As you begin to use it, you SHOULD see some of it start leaking out under the car as it dislodges and disintegrates debris built up in the EVAP CORE DRAIN at the bottom of the EVAP HOUSING. This is the drain that keeps water out of the footwells in downpours:
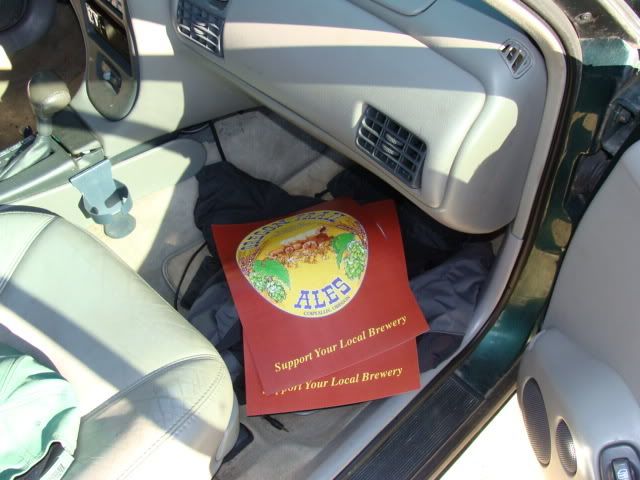
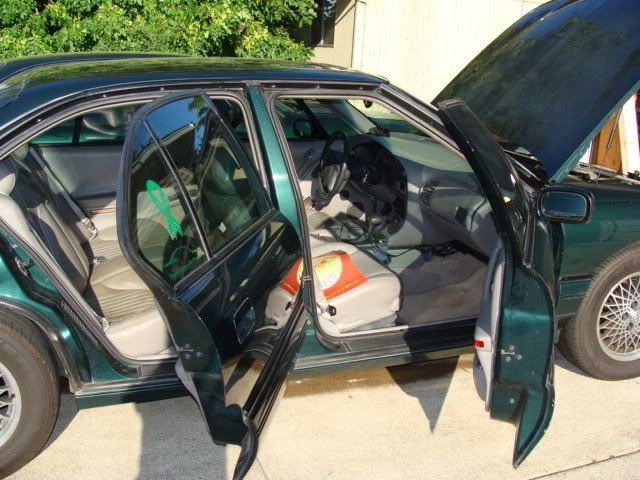
9. Before going any further, remove ANYTHING in the right front passenger footwell, including your floor mat:
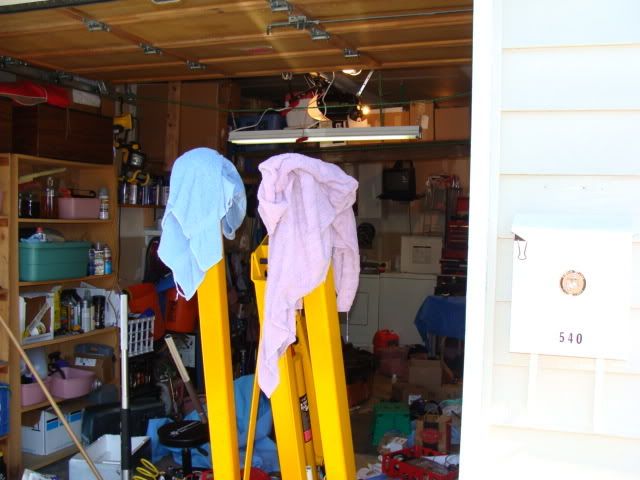
10. Grab the two towels off your engine hoist (you'll need them if you get too over-happy in the next couple steps):
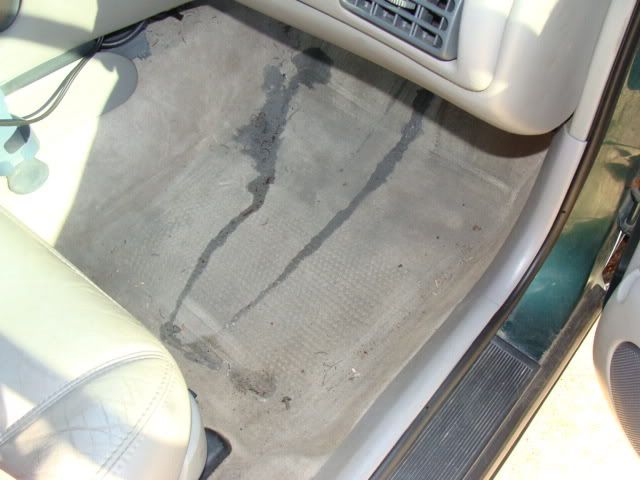
11. Time to get the garden hose. You're going to hose out through the hole in step 6 as best you can, working top to bottom on the evap core in SMALL AMOUNTS. Why? Think of this as a gallon milk jug. The cap removed exposes the step 6 hole. Cut a hole halfway down the jug. That's your airmix door that dumps into your vents and isn't water-tight. If you overfill the housing faster than the drain hole can keep up, you will pour your solvent and water into the car as shown here (done deliberately to prove a point as I did years ago trying to do it right on the other green car):
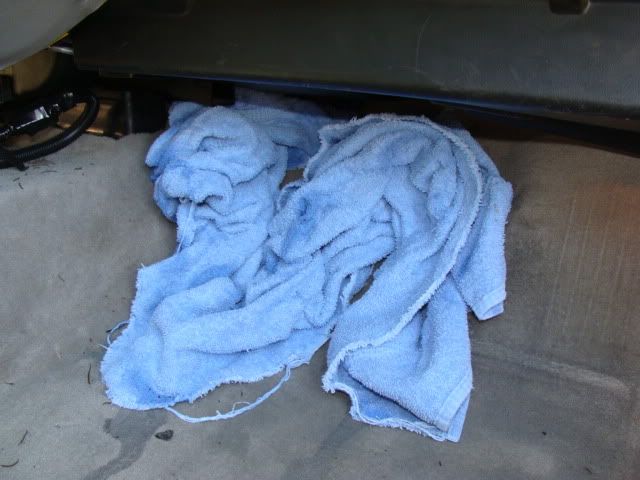
Remember those towels mentioned earlier? This is where you put them (but just low enough below the hushpanel that you can SEE flow as you rinse repeatedly):
Results? This is what washed out of mine (I've never done this car, but have the other):
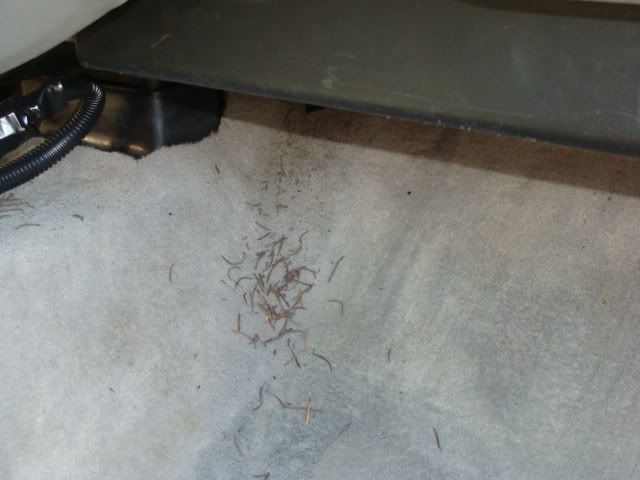
That's what didn't wash out the DRAIN under the car, and is a result of over-rinsing. Keep the rinse spray to a fine mist, and work top to bottom in bursts. Allow drain time each time unless you want to clean your carpet with gumout (works really good, actually).
12. OPEN a few doors.
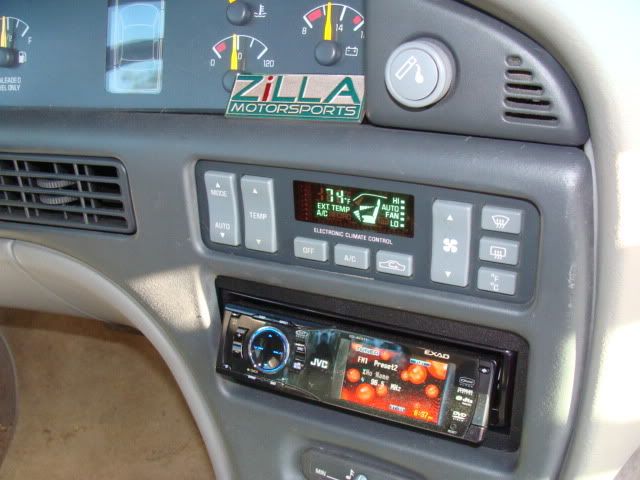
13. Start the car, and turn the temperature on high, then select the dash vents with the fan on HIGH (if you can, 92/93 SSE/SSEi may not be able to) so you can smell the solvent as it evaporates. Run the car until the smell is gone, and be aware that it may be obvious for a day or two (keep a window or 4 cracked open until it smells normal):
What did we just do? This is the 'thing' the blower motor blows through to create airflow (either hot or cold) in the car. Cleaning it can increase airflow (and heating/cooling efficiency) to a very dramatic level. We used HEAT to help evaporate the solvent and dry out the water used for rinsing.
If you have any questions, post them.