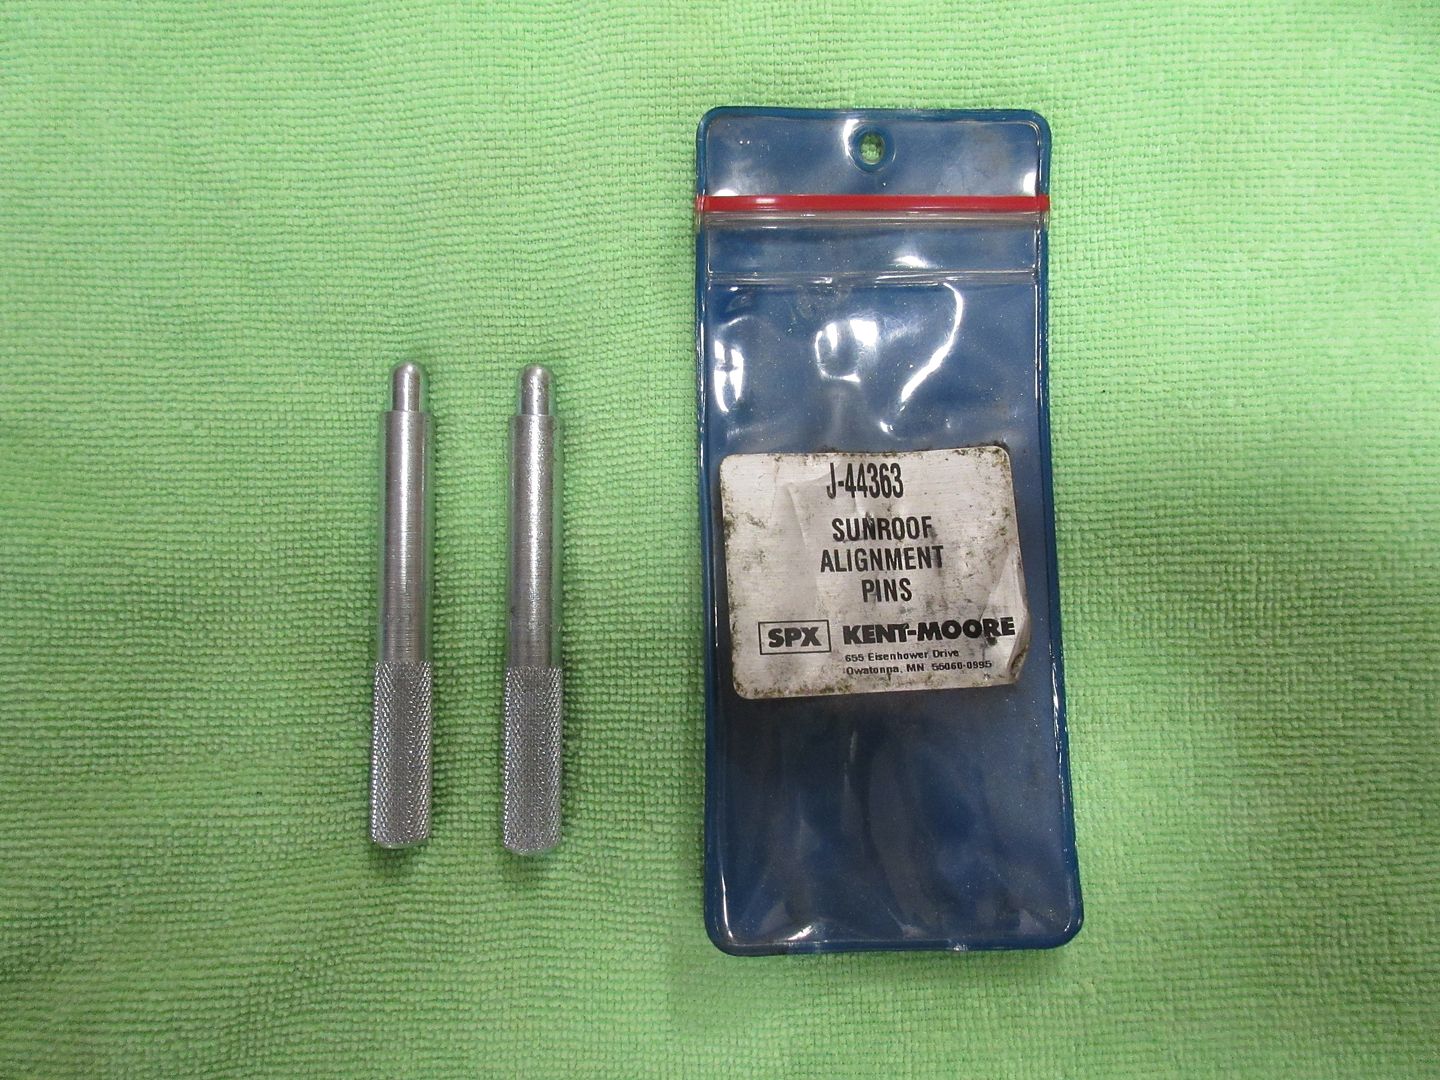
There are no pins that I recall, only screws, and SI says the same;
How to adjust the sunroof;
Quote:
Sunroof Window Height and Opening Fit Adjustment
1) Cycle the sunroof window from the full open to closed position.
2) Loosen the 4 adjusting screws (1).
3) There are 2 adjusting screws on each side of the sunroof window.
4) Center the window front to rear in the opening.
Notice: Use the correct fastener in the correct location. Replacement fasteners must be the correct part number for that application. Fasteners requiring replacement or fasteners requiring the use of thread locking compound or sealant are identified in the service procedure. Do not use paints, lubricants, or corrosion inhibitors on fasteners or fastener joint surfaces unless specified. These coatings affect fastener torque and joint clamping force and may damage the fastener. Use the correct tightening sequence and specifications when installing fasteners in order to avoid damage to parts and systems.
5) Adjust the front of the sunroof window (2) from flush to 1 mm (0.04 in) (1) below the top surface of the roof panel (3).
6) Tighten the front sunroof window adjustment screws to 5 N·m (44 lb in).
7) Adjust the rear of the sunroof window (2) from flush to 1 mm (0.04 in) (1) above the top surface of the roof panel (3).
8) Tighten the rear sunroof window adjustment screws to 5 N·m (44 lb in).
9) Cycle the sunroof window through all of the positions.
- Verify the sunroof window fore/aft adjustments.
- Verify the front and rear height adjustment.
- Readjust the sunroof window, if necessary.
the use of thread locking compound or sealant are identified in the service procedure. Do not use paints, lubricants, or corrosion inhibitors on fasteners or fastener joint surfaces unless specified. These coatings affect fastener torque and joint clamping force and may damage the fastener. Use the correct tightening sequence and specifications when installing fasteners in order to avoid damage to parts and systems.
Adjust the front of the sunroof window (2) from flush to 1 mm (0.04 in) (1) below the top surface of the roof panel (3).
Tighten
Tighten the front sunroof window adjustment screws to 5 N·m (44 lb in).
Adjust the rear of the sunroof window (2) from flush to 1 mm (0.04 in) (1) above the top surface of the roof panel (3).
Tighten
Tighten the rear sunroof window adjustment screws to 5 N·m (44 lb in).
Cycle the sunroof window through all of the positions.
Verify the sunroof window fore/aft adjustments.
Verify the front and rear height adjustment.
Readjust the sunroof window, if necessary.